Kolibri (Hummingbird) Stove – from Hungary

Here’s a Kolibri kerosene-burning stove I received from a seller in the stove’s native country of Hungary. Kolibri means “Hummingbird”. It’s an attractive little porcelainized stove with very 1950’s or early ’60’s styling.

Just click on any image for a larger picture.

1

2

3

Sadly, while I received two of the original inner caps, no outer cap came with the stove.

5 4

Here are some detail shots of the stoves workings.

6 7 8
The on-off valve is missing it’s plastic or bakelite handle. This valve does not control flow rate, only whether the fuel is on or off.

9

The knob on the front controls the cleaning needle which acts to throttle the stove.

10This ceramic knob pump knob is unlikely to be original. It is probably a cabinet door pull. The original would have been a round black sphere.11 12

The stove was disassembled and cleaned.

13 14 Here is the cleaning needle/throttle peeking out of the stove body.15

Unthreaded and removed.

16

The unique shaped NRV (Non-Return Valve) from the bottom of the pump tube.

As the stove came without a complete set of silent caps, I made a pair of stainless steel outer silent caps to match the inners. The number and size of exit holes and the general shape and size of the outer caps I based on inspections of photos of complete stoves researched from the web.

19 20 18

The fabricated outer caps worked well. Strong full flame. Note in the photo below that I repaired the chipped porcelain around the pump tube mount with matching white epoxy paint, built up in layers and smooth and polished with ultra-fine abrasives and polish.

21 23

And a nice simmer.22

But, I also liked the performance of the stove with this 3D laser-printed BernieDawg prototype cap.

17


Silent Cap for Optimus 111 or 111B?

Hello BernieDawg,
I’m sure you’ve received this question before, but I’ll go ahead and ask. Do you have a silent damper for the Optimus 111 stove (hiker) with the “roarer” burner?
Thanks,
“Bugged by Noise”

Hi, “Bugged”
Thanks for your question and your interest in my silent cap products. I *have* received this question quite a few times.

The short answer to your question is no. No one anywhere to date has a silencing product to work on your 111 roarer burner. Sorry.
Now, in the past, some folks have gotten all mad and upset about this. It’s almost like they think I’m holding out on them or something. So, I hope you won’t mind too much if I try to show why I do not have any caps for the 111 style burner.
Here’s the explanation. The standard 111 or 111B burners have the traditional shaped design where the vaporization chamber is above the jet. Fuel moves into that chunk of metal above the jet (the burner “head” or vaporization chamber), the fuel is heated into a vapor up top and then the vapor moves down a tube, into the jet and spews upward as flame to heat the vapo chamber. It’s pretty neat how these work, really. These burners look like this one on a Optimus 22:
111 roarer copy
All silent caps, mine or others, are designed to work with another, and very different, type of roarer burner where the design uses a bell-shaped structure. Here’s a Dragonfly burner without it’s flame plate in place. With this burner, the jet spews vapor upward which hits a flame plate above the burner. The flame plate spreads the flame out and the flames heat the side walls of the bell. The heat from the flames is conducted back down to the base of the burner which is where the vaporization of the fuel is going on.
P4210030
What the caps do is capture the vapor stream and emit it through hundreds of tiny holes. There are then hundreds of teeny flames that bathe the rim of the bell in heat and the heat is conducted back to the base of the burner to vaporize the fuel. Lots of teeny flames are much quieter than one big monster flame.
P4210026
You can see how the flame plate sits on the bells of these two Primus 96 stoves.
P5190092
This is a burner from a Phoebus 625 which really shows the bell structure well.
P9030005P9030006
It is pretty straightforward to replace a flame plate with a silent cap on a bell-shaped burner. Just pop the flame plate off and add the cap to replace it. Here’s a MSR FireFly stove shown with a flame plate and then a silent cap.
PA230642PA230643 - Version 2
But, so far, nobody has been able to come up with a way to remove the flame ring on a standard roarer burner with that overhead vaporization chamber and add some sort of device to make it silent.
111 burning
Believe me when I say I have thought long and hard on how to make a “cap” for the traditional overhead vapo chamber roarer. I’ve tried a few experiments, too. Nothing that’ll work so far. The feller who can come up with a way to silence these burners is going to have a really popular product on their hands. 😉
The good news is that Optimus made a silent version of your 111 stove in two different flavors, the 111T and the 111C. These came standard with a third type of burner which is designed to operate very quietly straight from the factory, no aftermarket caps needed.
111T:
Screen Shot 2015-10-31 at 2.12.41 PM
111C (out of it’s case ‘cause I was working on it):
111C
The 111T is much more common, but both stoves show up on eBay from time to time.
I hope this helps explain things. Good luck to you if you decide to pursue a 111T or C on eBay. They are really nice stoves – you wouldn’t go wrong if you bought one.
Happy Camping!
BernieDawg

Coleman 345 (and 348!) paperwork

Hi BernieDawg
I’ve heard you have lots of documents in your collection. I have a Coleman 345 marine stove and I would really like to get the instructions for the operation of the stove. Do you have such a thing?
Sincerely,
Coleman Searcher


Hi Coleman Searcher
You bet! I have the instructions for both the 345 (kerosene) and the 348 (denatured alcohol) versions of these awesome old marine stoves. Here is the paperwork for your stove:
(just click on the thumbnail images for the larger versions)
Coleman 345 pp
Coleman 345-2pp

I don’t believe that these sorts of documents on old stoves should be kept behind membership requirements or pay-to-view mechanisms on the internet just to promote the sites that hold them hostage. I believe that the free exchange of information without strings attached is what best promotes the collection and preservation of old stoves. Isn’t that what the internet is supposed to be about?

I hope this helps you with your stove. It’s a nice one!

Happy camping!
BernieDawg

UPDATE! Here are the instructions for the Coleman 348 alcohol burning version of this marine stove set.
large 300dpi PDF, about 3MB

Coleman 348 Marine Alcohol Stove Instructions large 300dpi PDF, about 3MB

Smaller 72dpi JPG images – about 300KB each:

A “Tool” for Burner Removal – Optimus 8

With some vintage Optimus 8 stoves, there is no nut cast into the fuel feed pipe.

OLYMPUS DIGITAL CAMERA

OLYMPUS DIGITAL CAMERA

This makes disassembly to service the wick or unclog a fouled fuel line difficult. It is quite possible to break the fuel feed/vaporizer by trying to remove it through applying force to the spindle housing or the the small “stilt” that supports the burner. Then your stove is toast!

OLYMPUS DIGITAL CAMERA

Here’s a simple do-it-yourself tool you can make. To remove the fuel feed/vaporizer body from the tank, make a block of wood. Drill a hole through it just the size of the fuel feed tube.

OLYMPUS DIGITAL CAMERA

Then, cut it in half lengthwise. A thin-bladed saw such as a bandsaw works well for this so that you remove the least material. You could also use a Japanese pull saw if you don’t have machinery.

OLYMPUS DIGITAL CAMERA

Clamp the block around the fuel feed tube in your bench vise or with a big clamp. Turn the tank counter-clockwise by hand to unscrew the vaporizer from the tank.

OLYMPUS DIGITAL CAMERA

You can then service a clogged or charred wick, replace the wick or what have you. Enjoy the blue flames from your service work.

OLYMPUS DIGITAL CAMERA

OLYMPUS DIGITAL CAMERA

BernieDawg Cap Instructions

Featured

Hi Berniedawg
Where can I find instructions on how to fit/mount your silent caps on various burners, say like the Svea 123R? Youtube maybe?
Best,
“Hans”

Hi “Hans”

Thanks for your BernieDawg cap question.

The instructions for the caps can be found at:
https://www.berniedawg.com/berniedawg-silent-damper-cap-instructions/

That same link to the instructions can also be found at the main page of my product manufacturing partner page. (it’s down at the bottom of the text.)
https://i.materialise.com/shop/designer/gary-adams

The link can also be found at the end of the description of each cap product at my manufacturer, i.materialise. When you decide to order a silent damper cap product, you can just cut and paste the link into your browser to get to the instructions webpage.

The instructions are on this website, too, at: https://www.berniedawg.com/berniedawg-silent-damper-cap-instructions/

Happy camping!
BernieDawg

Making a New Pump Tube

A Burmos 96 stove was sent to me for removal of a badly stuck NRV. After replacement of the NRV there was still leaking going on in the pump tube. I removed the pump while the stove was pressured and added some water in the pump tube. Using a small but strong flashlight, it could be seen there were several locations emitting streams of bubbles around the inside of the pump tube. This was likely caused by poorly drawn brass tubing that left stresses in the tubing back when the stove was made.

The pump tube was pulled and the tube was replaced with one I manufactured to match here in the BD Labs. Those photos follow.

“click” an image to enlarge


Optimus 11

This is a late-in-the-series Optimus 11. This stove has never been fueled or fired. The spindle knob is not original to the stove. The knob form on the spindle is correct for the period, but the shaft is a round end that I consider mechanically squaring so that it could be used with the square spindle on the stove.

Hank Roberts & Gerry Stove Adapters

Hi BernieDawg
I have a Gerry and a Hank Roberts mini-stove and I want to adapt them to use todays fuel canisters. Do you have and sell a conversion kit or can you refer me to someone who does? Should you have one, how can I order it and how much does it cost? Thanks for your help.
Signed,
Gerry Guy


Hi Gerry Guy
Thanks for your question. I’m going to tell you the honest truth. It may not be what you want to hear. I hope you won’t be mad.

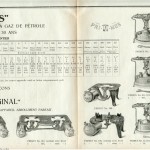
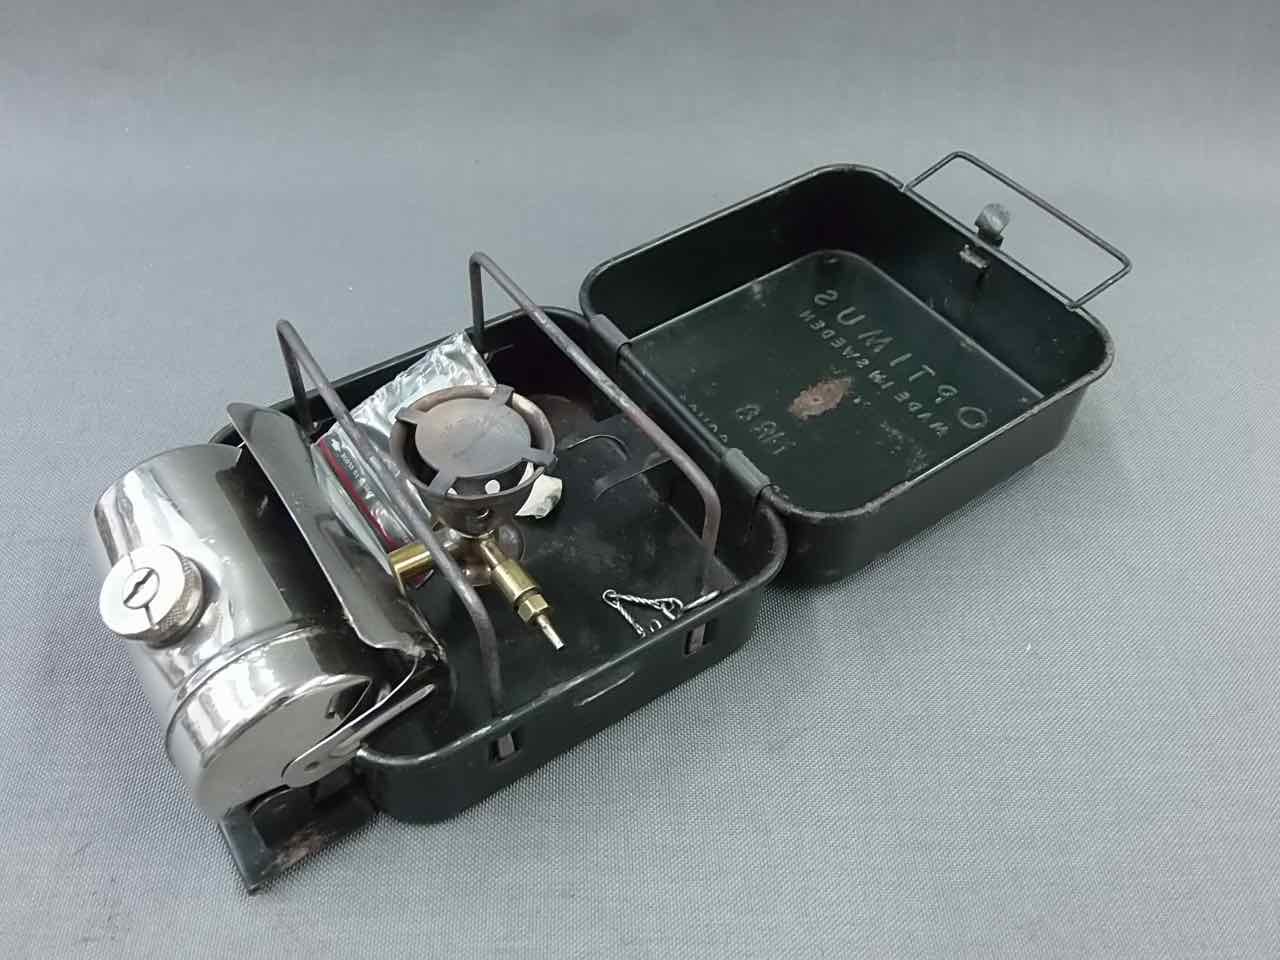
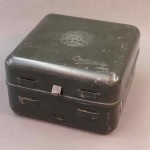
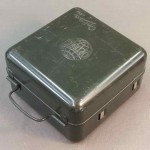
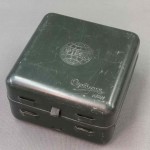
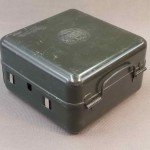
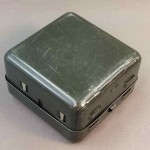
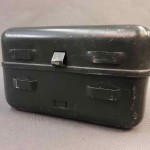
As you know, the cartridge style used for Hank Roberts, Gerry and similar stoves has been out of production for many years now. The Hank Roberts and Gerry branded stoves have gone the way of 8-track tape players, Sony Betamax VCRs, and crystal radio sets – they are outmoded and obsolete, having been replaced by much better modern alternatives. On the other hand, I do understand that some people enjoy collecting these old dinosaurs. Heck, I have a few of them myself!

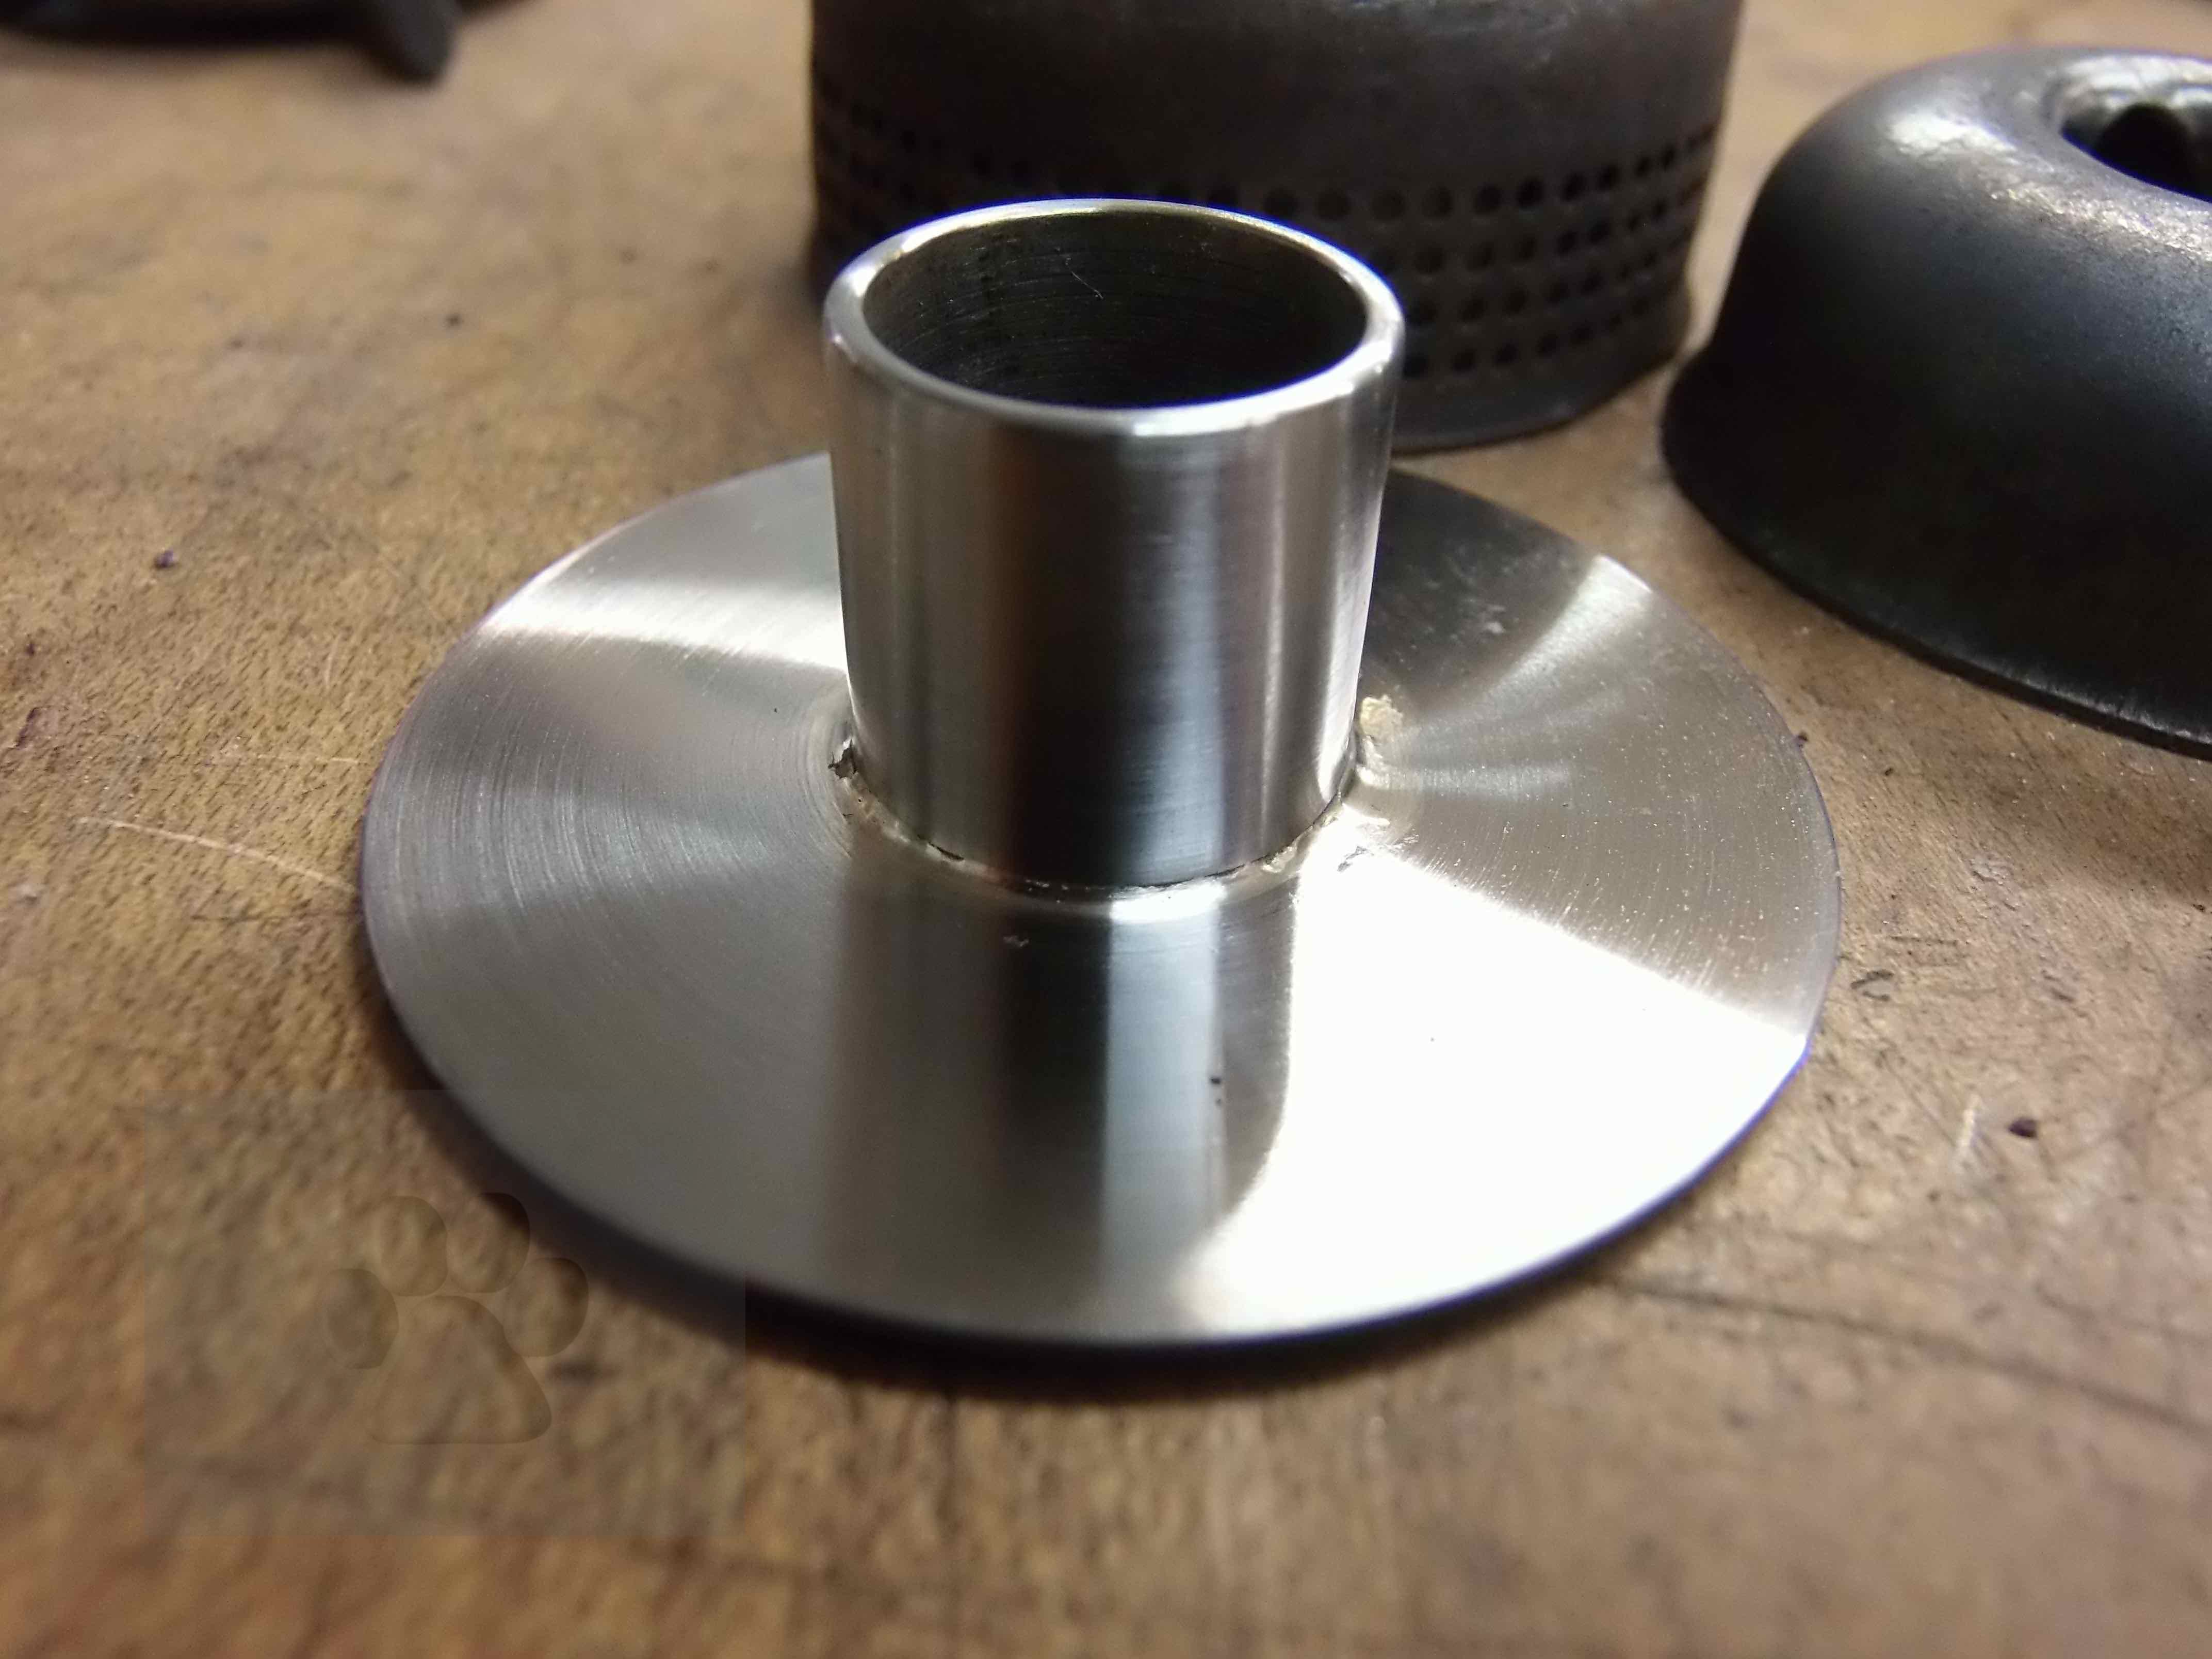
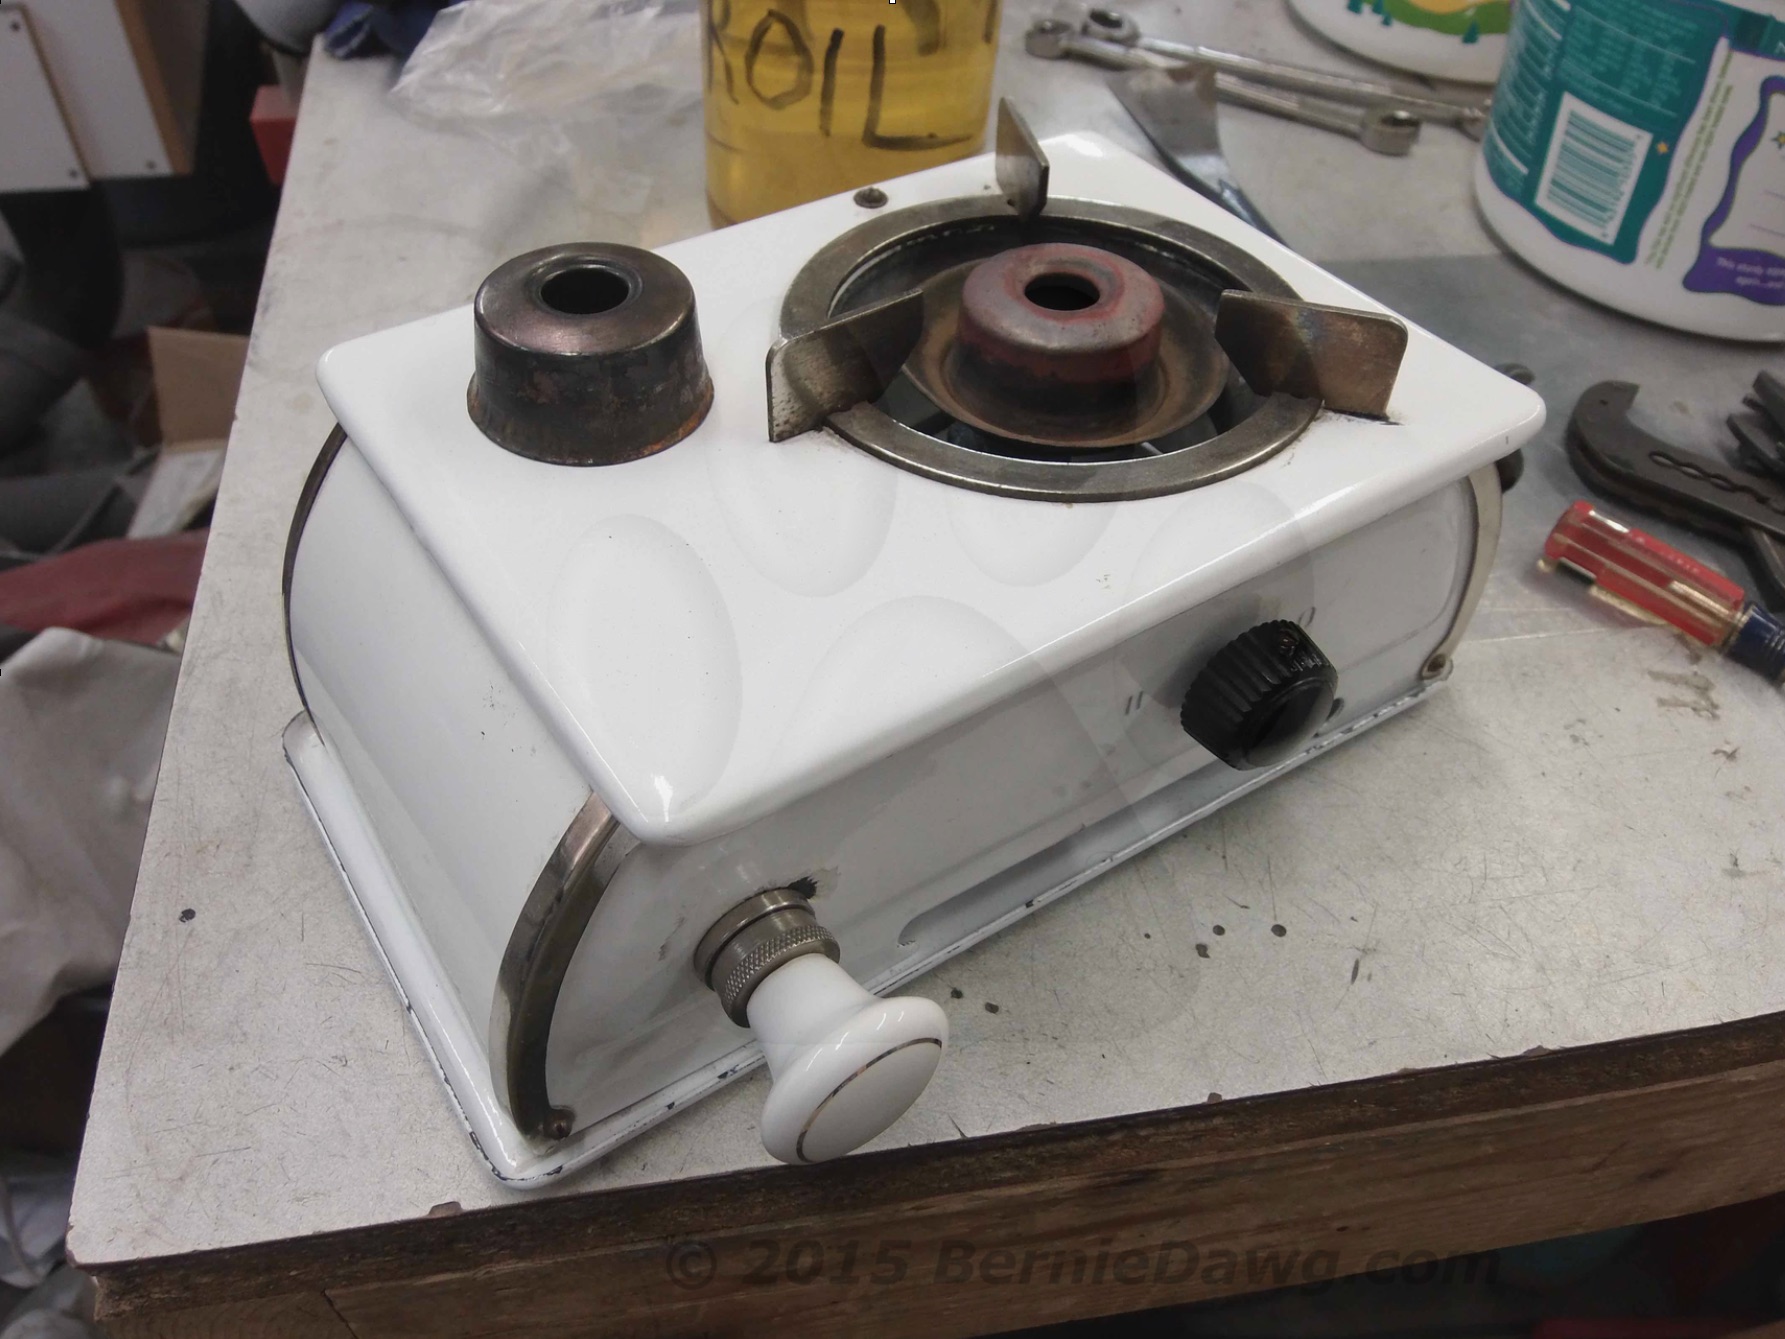
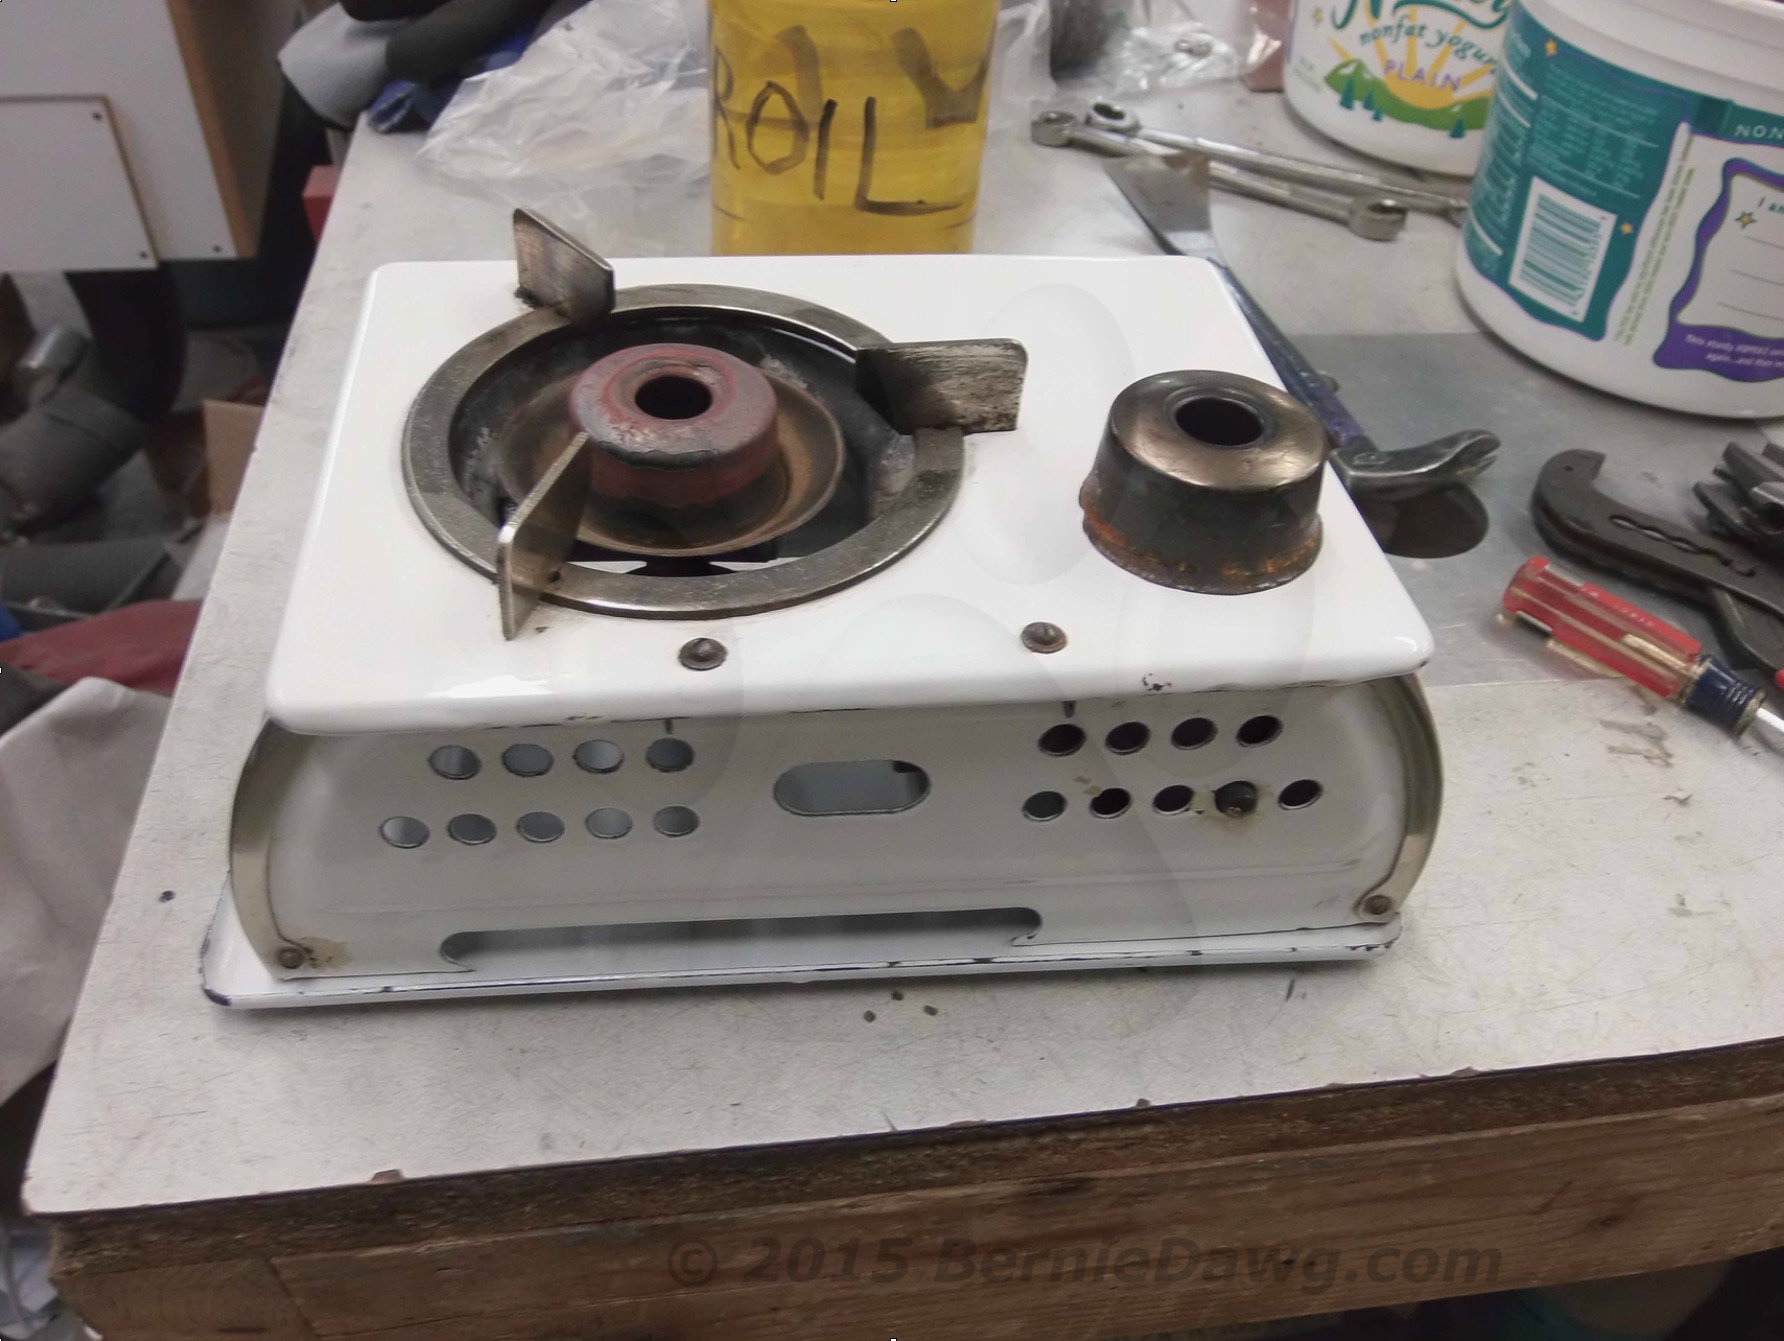
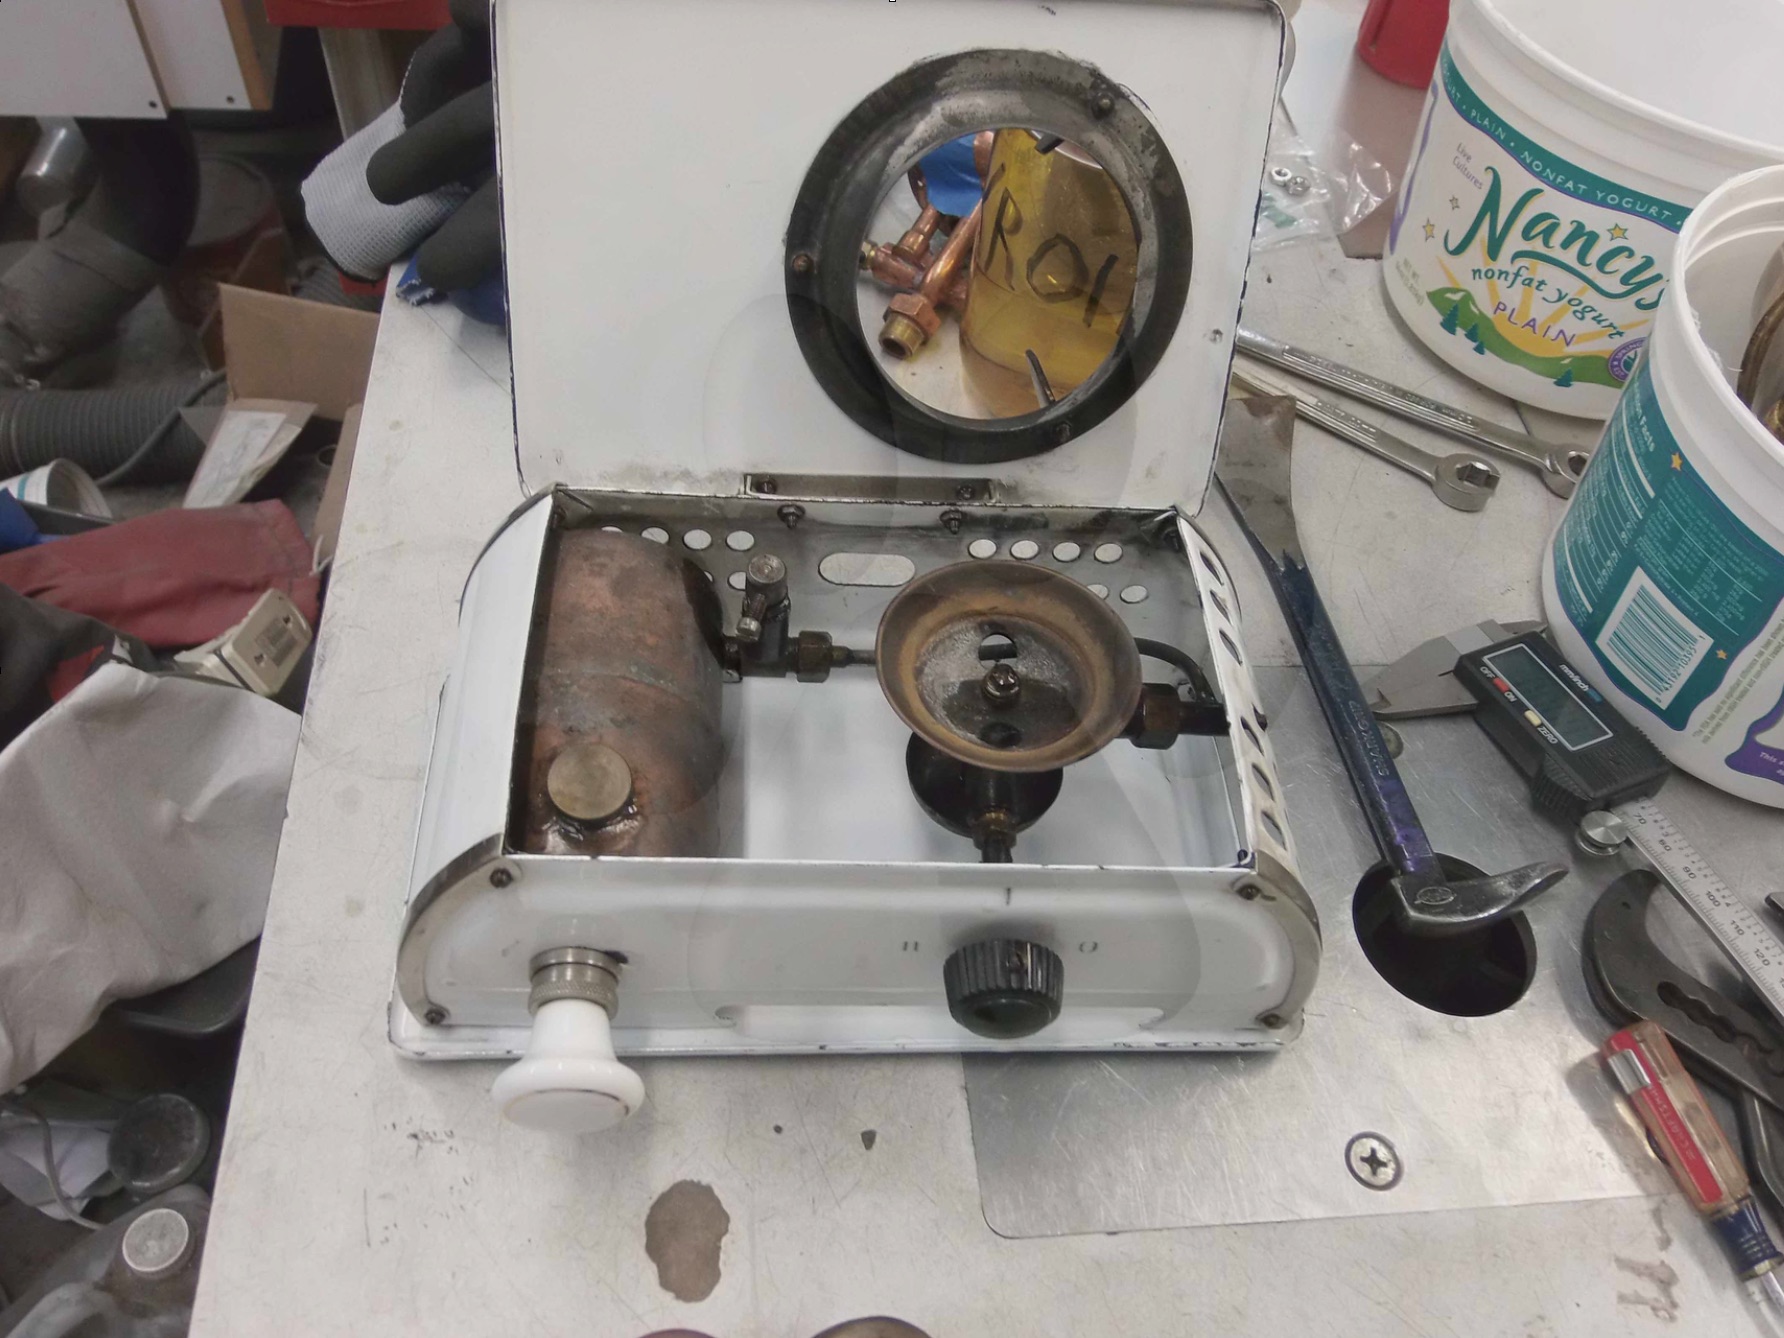
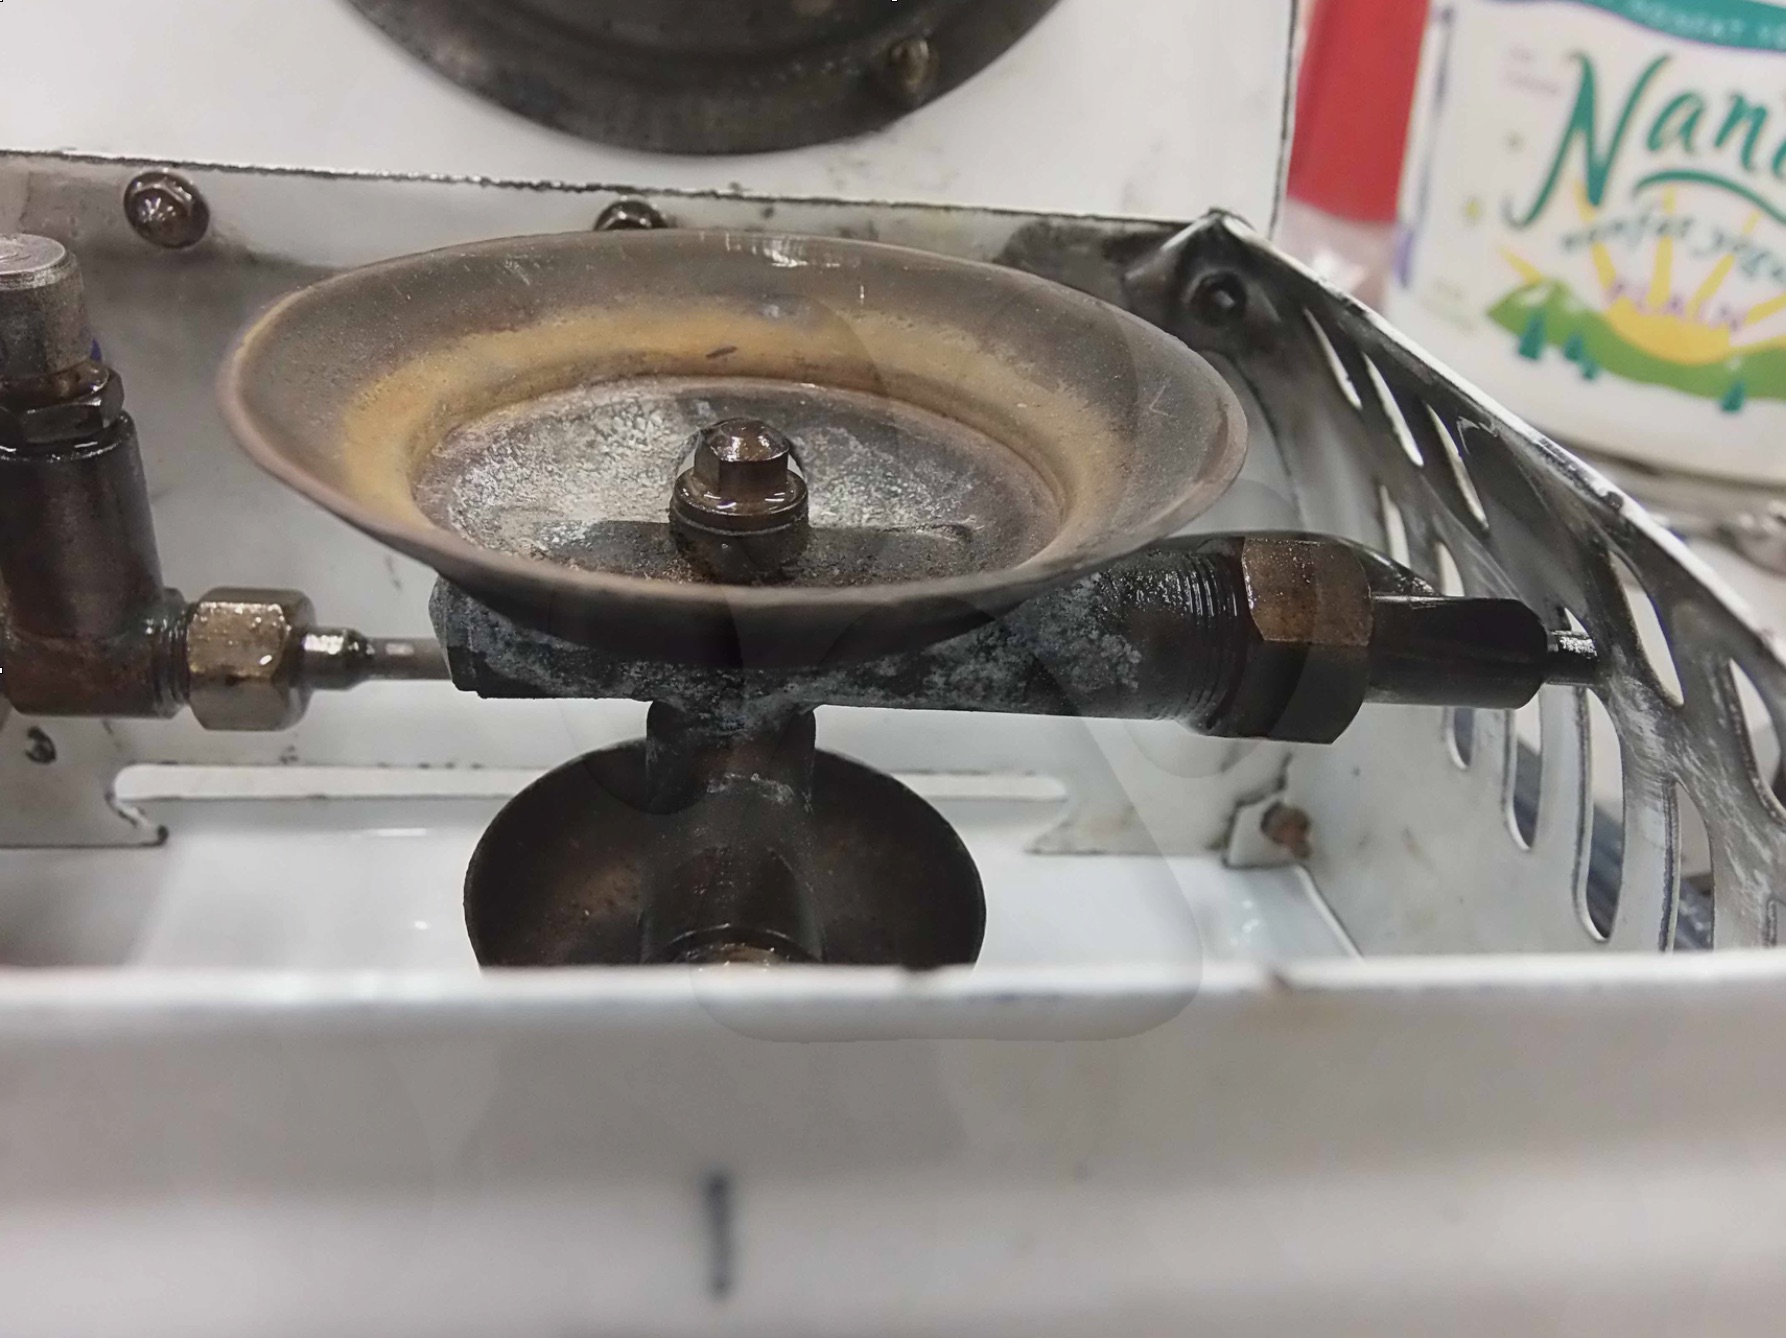
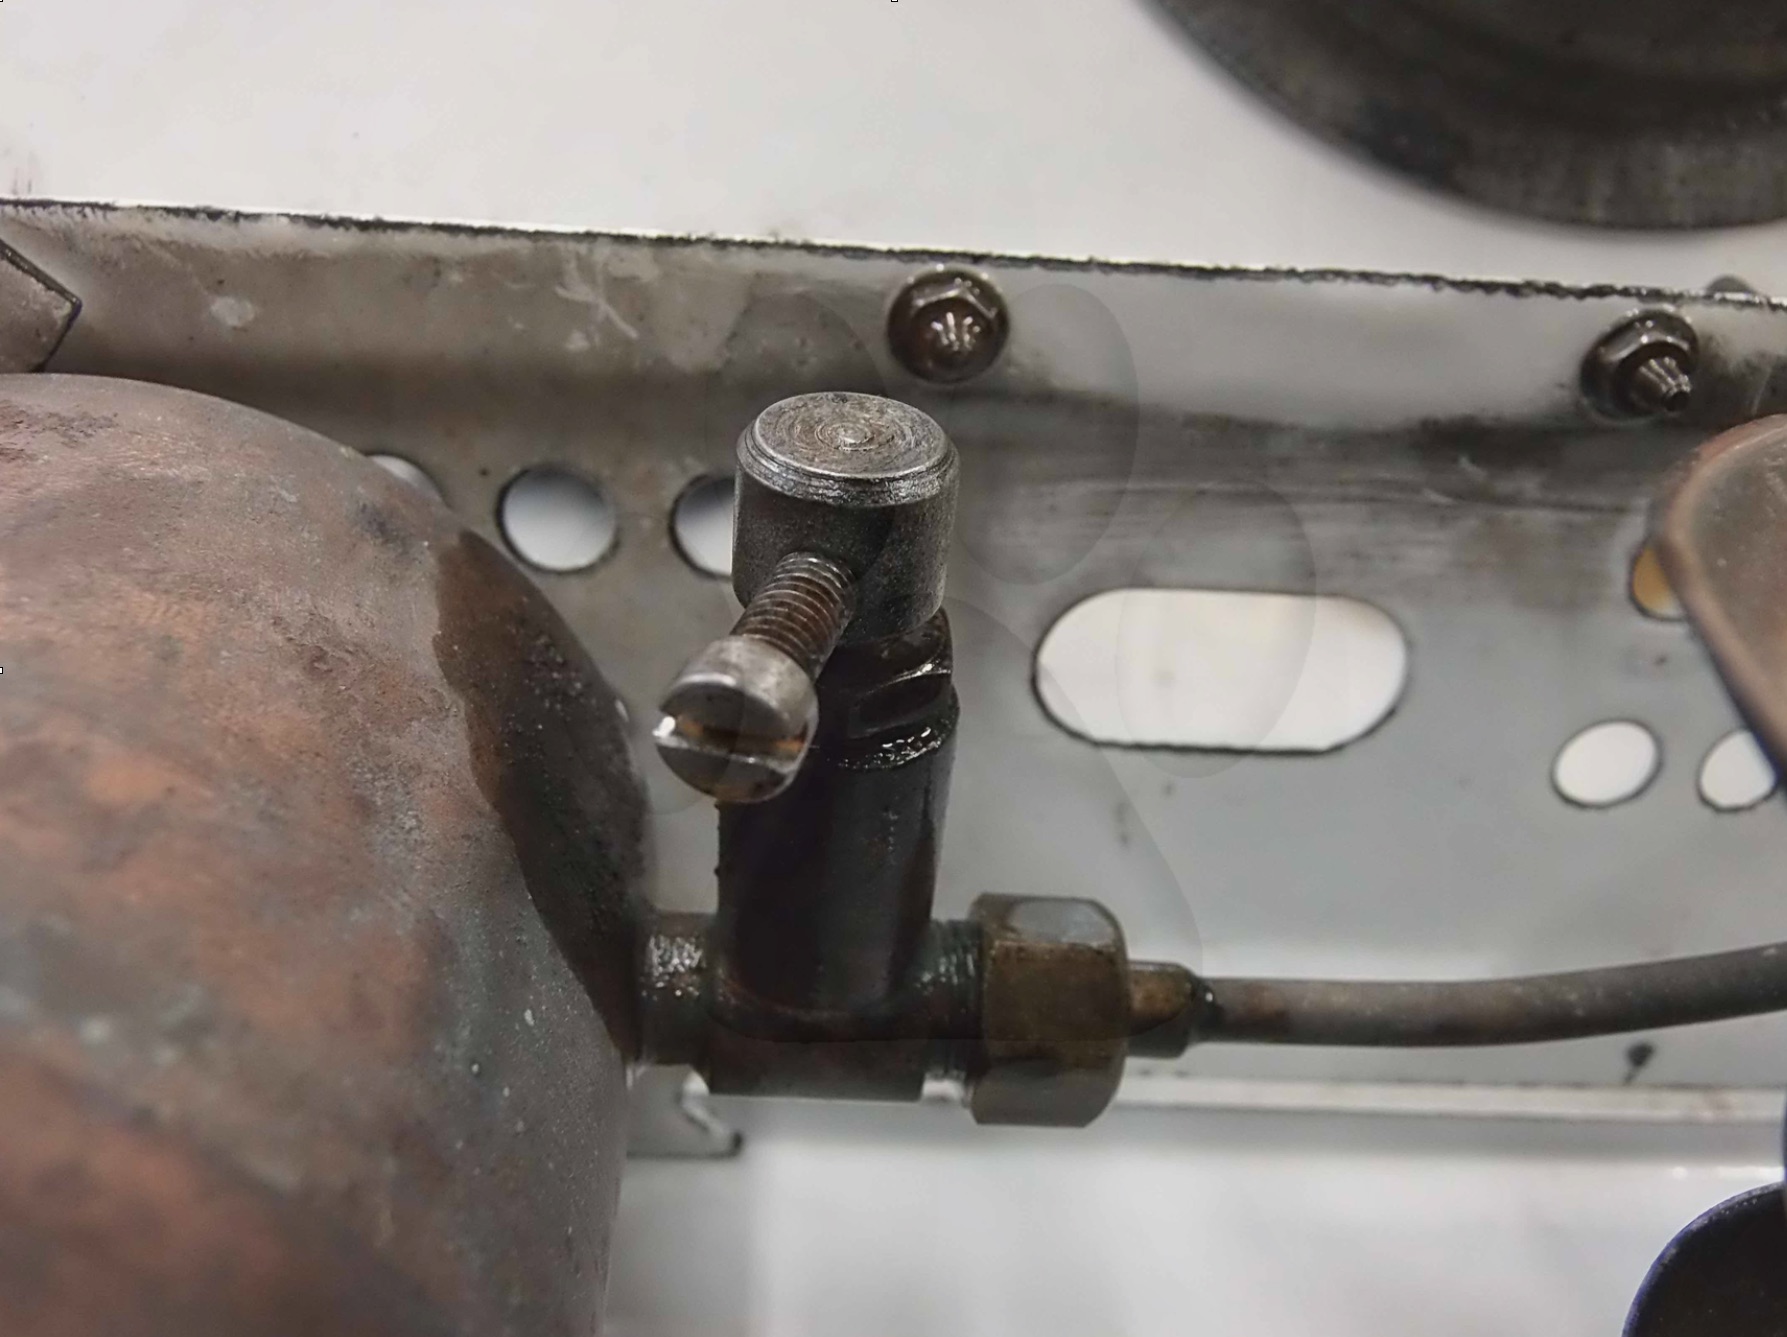
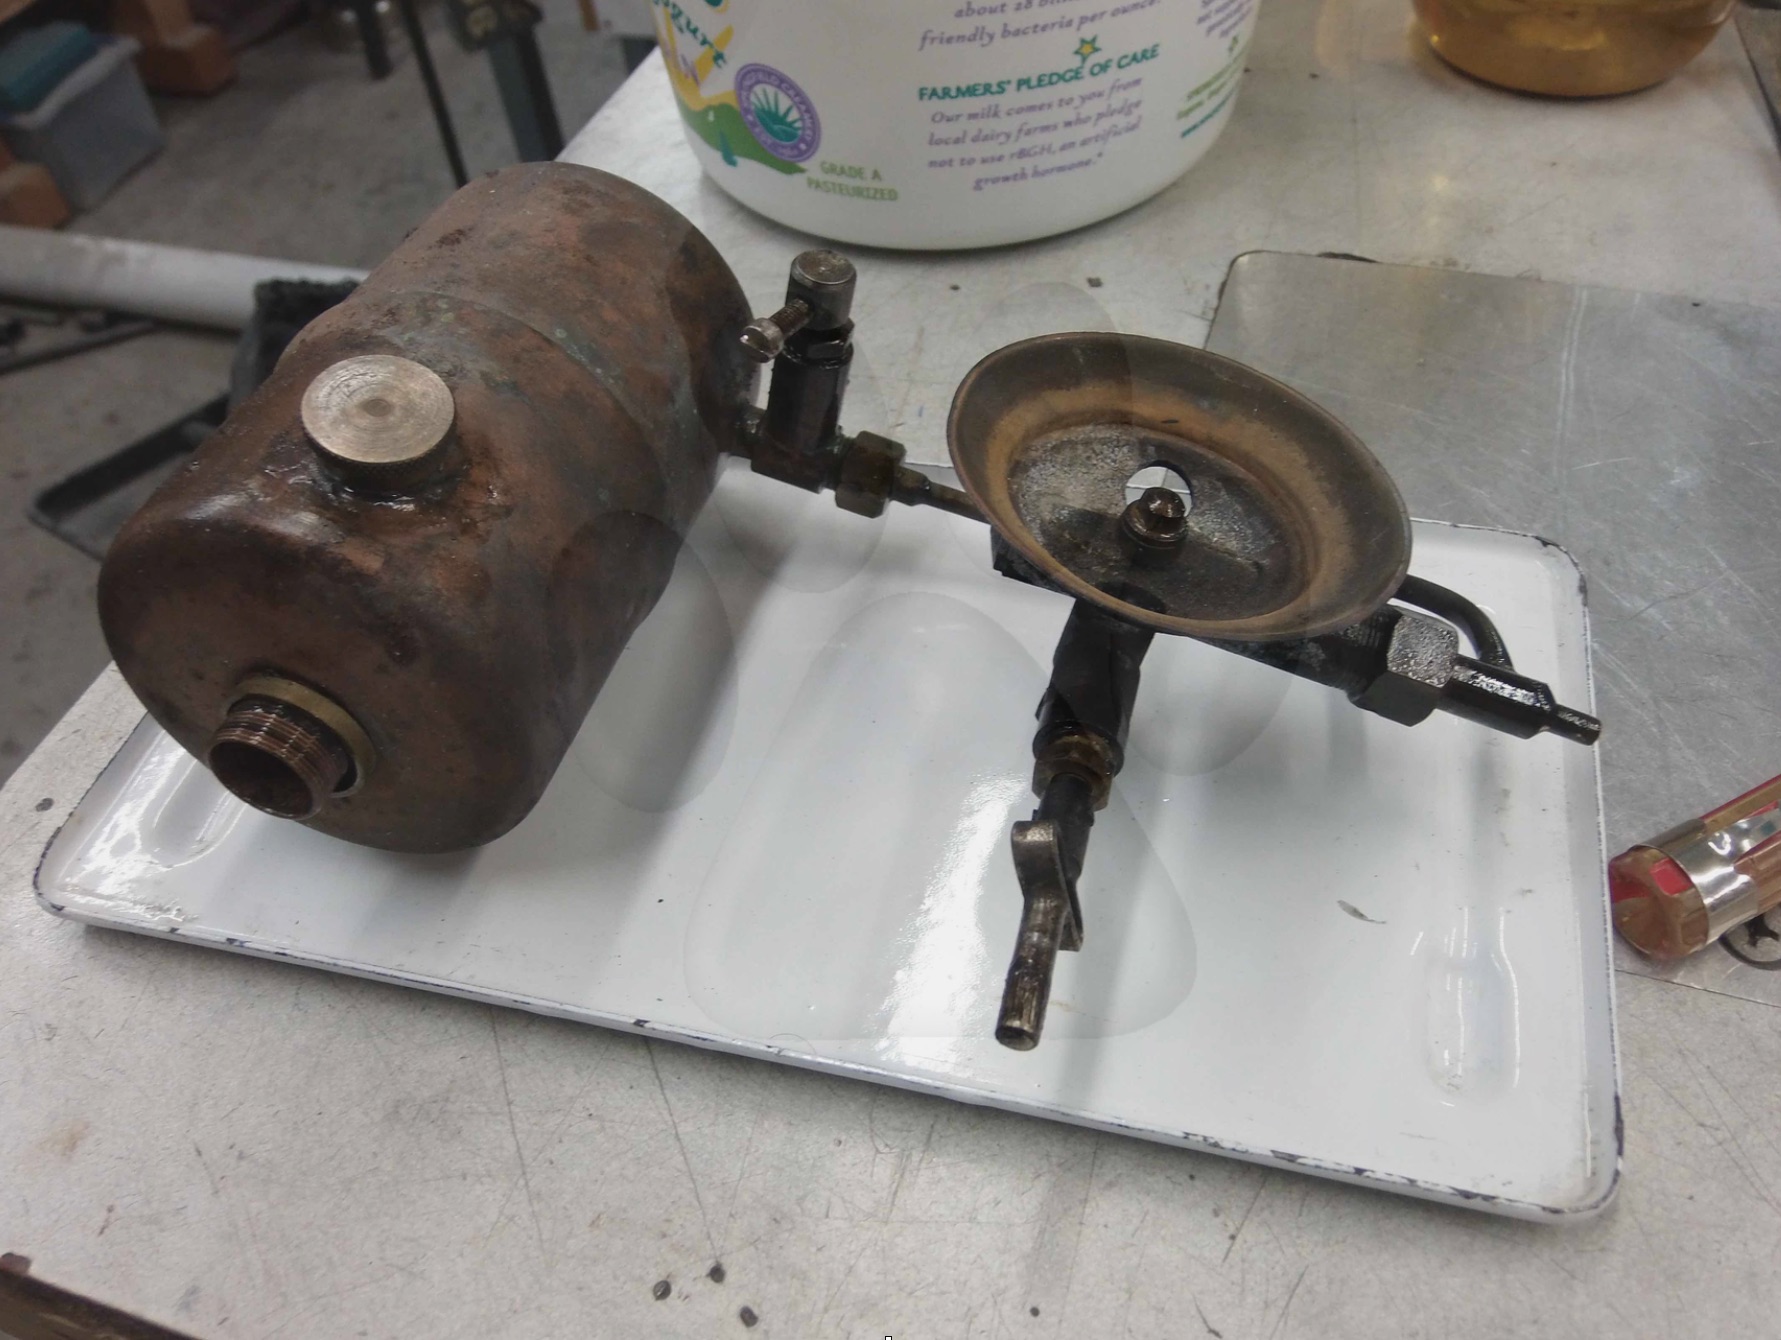
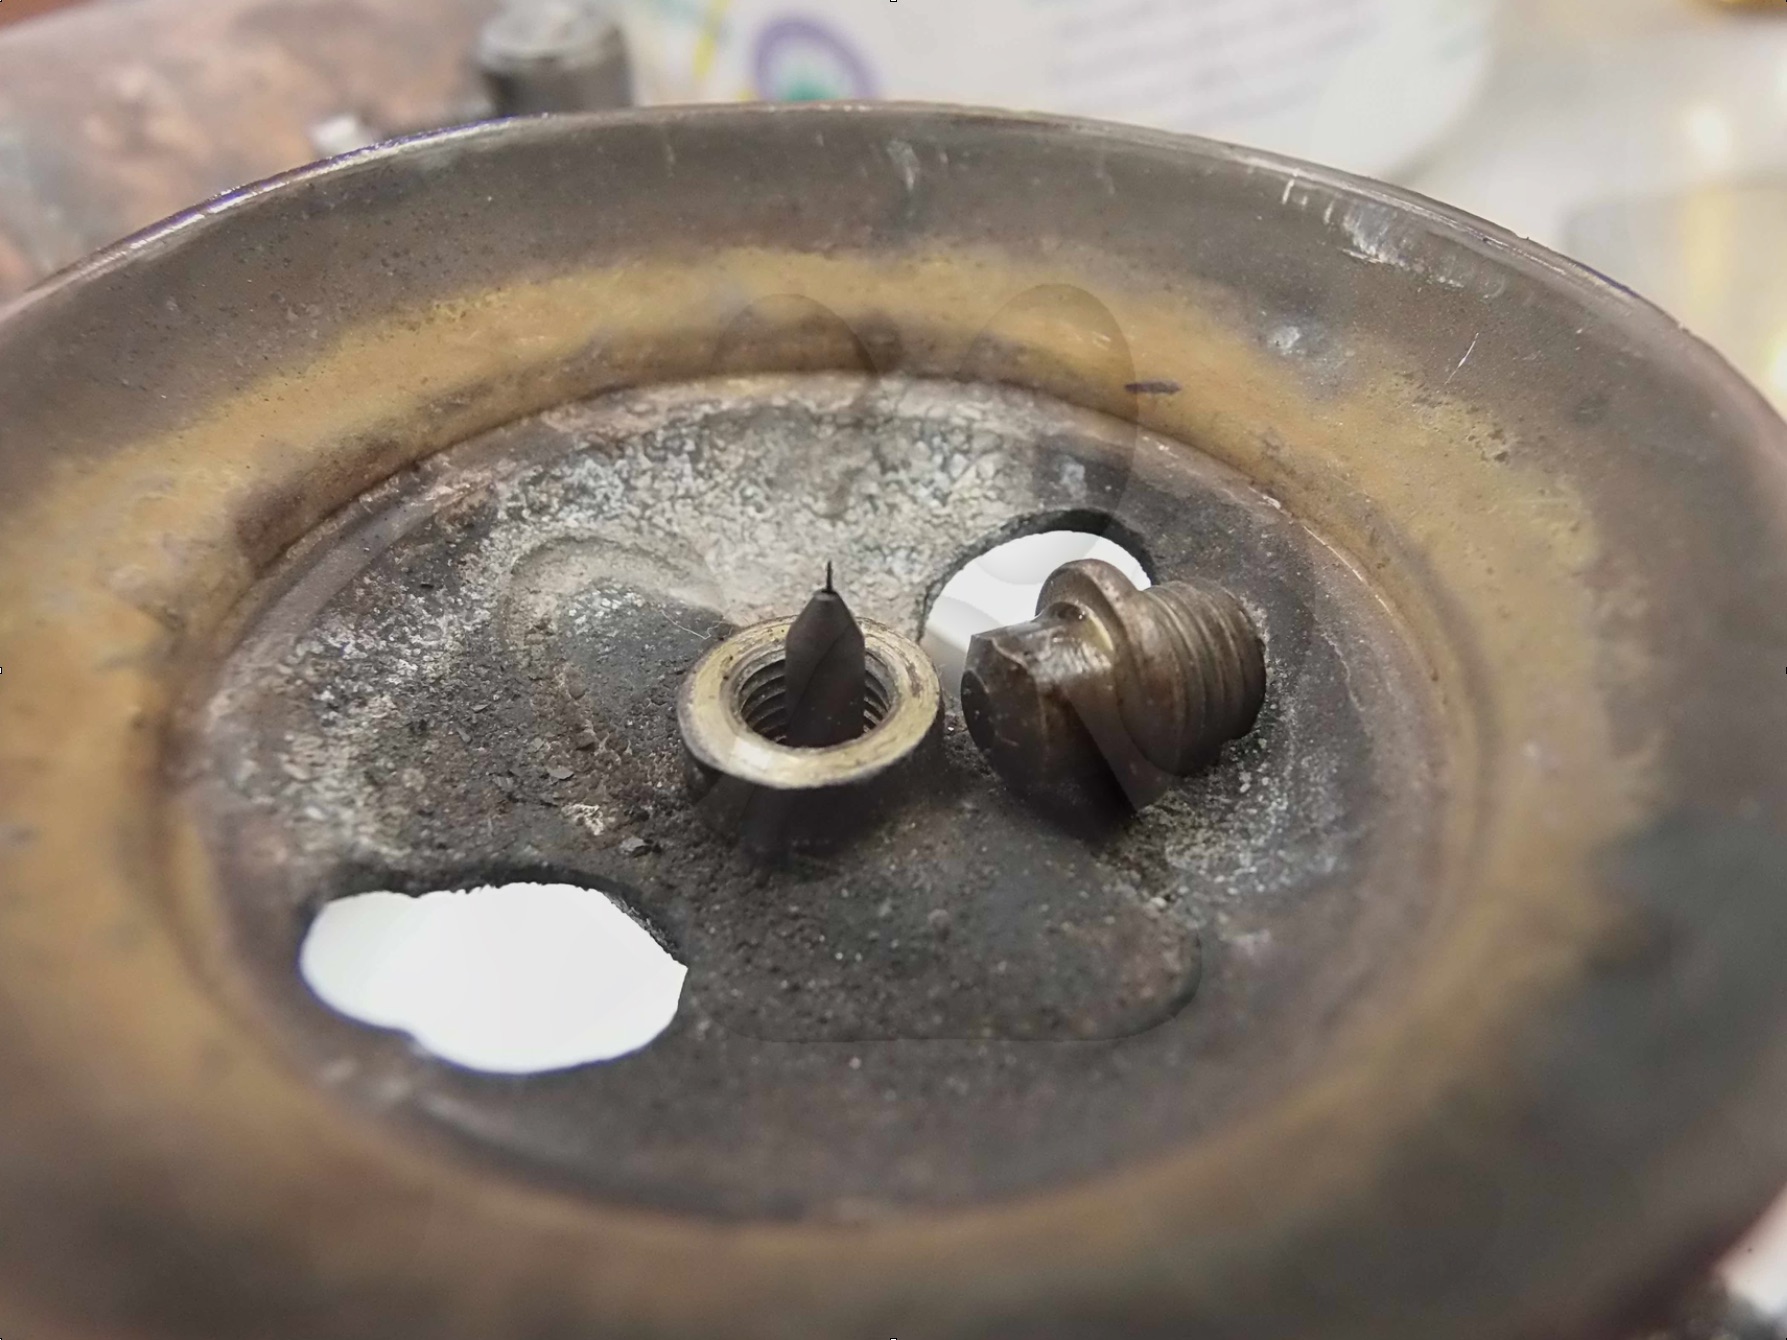
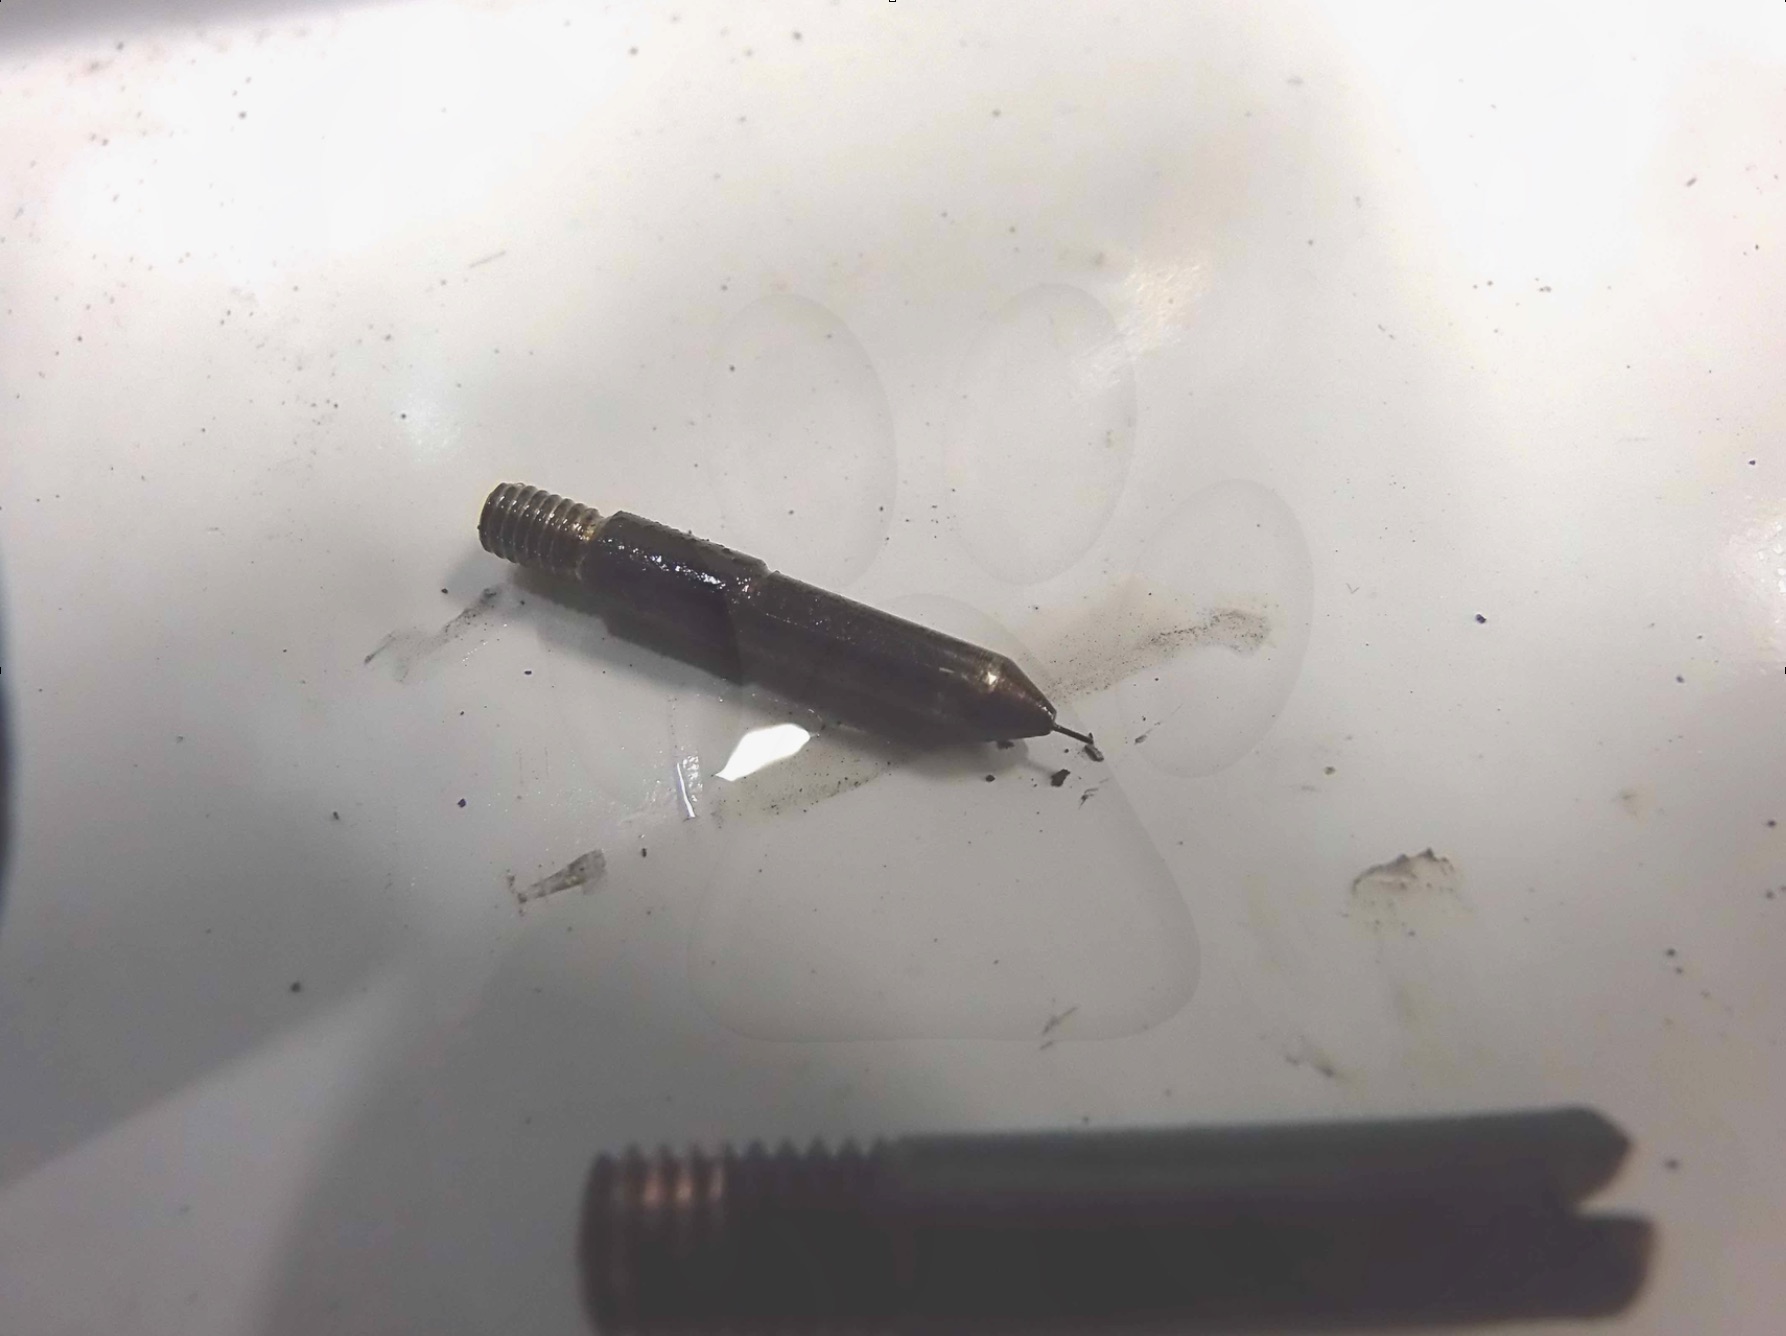
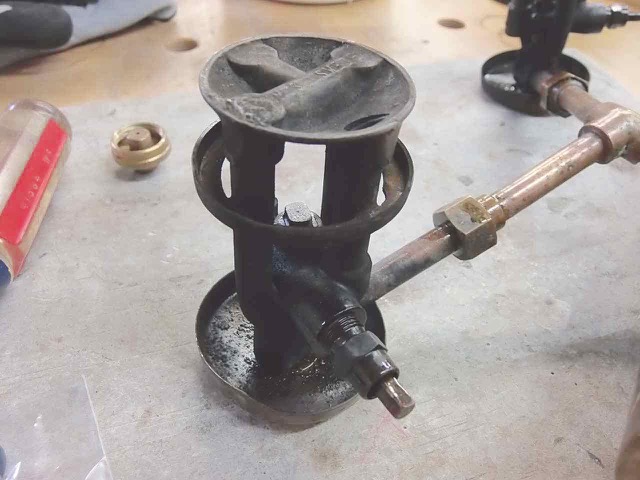
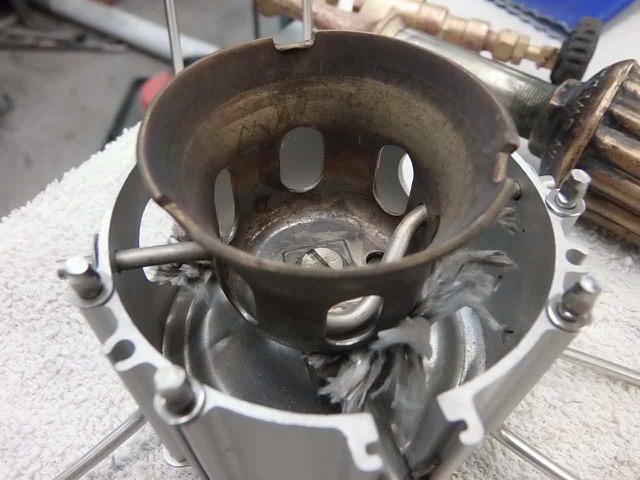
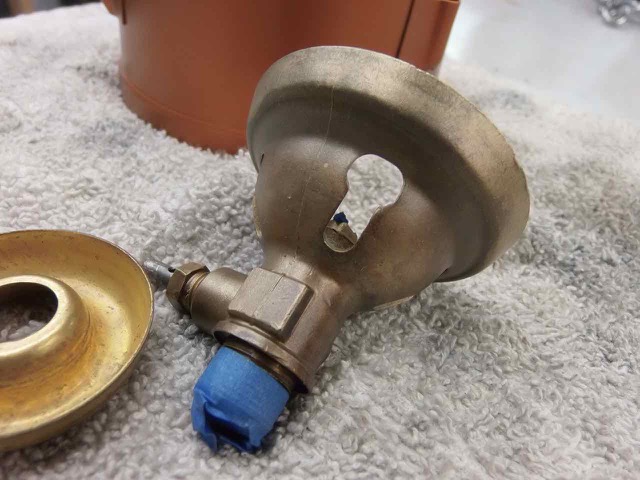
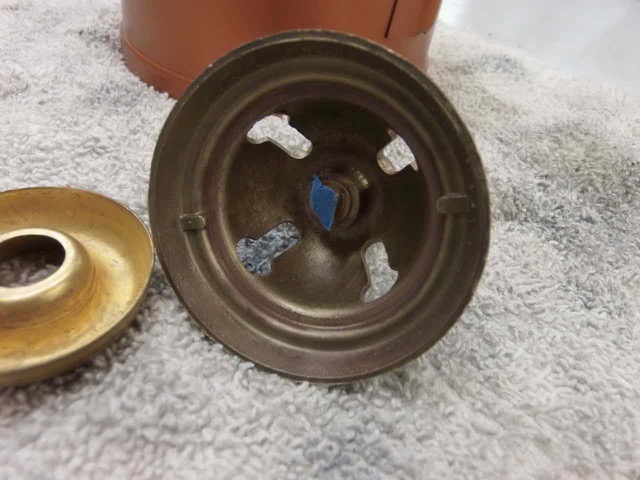
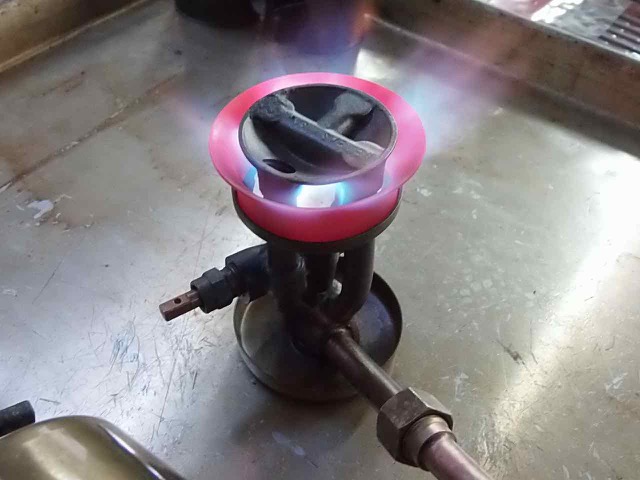
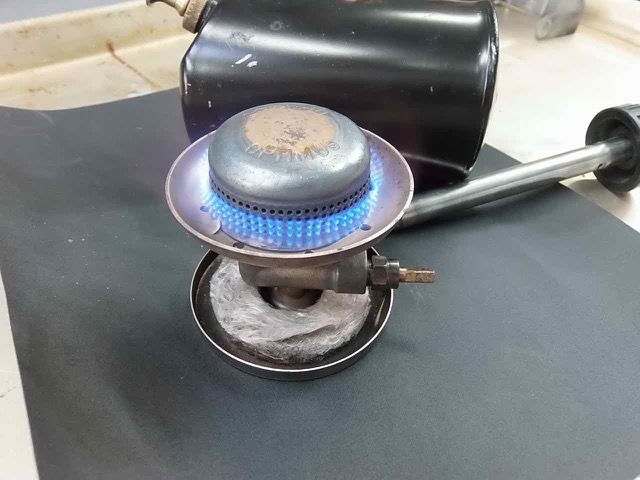
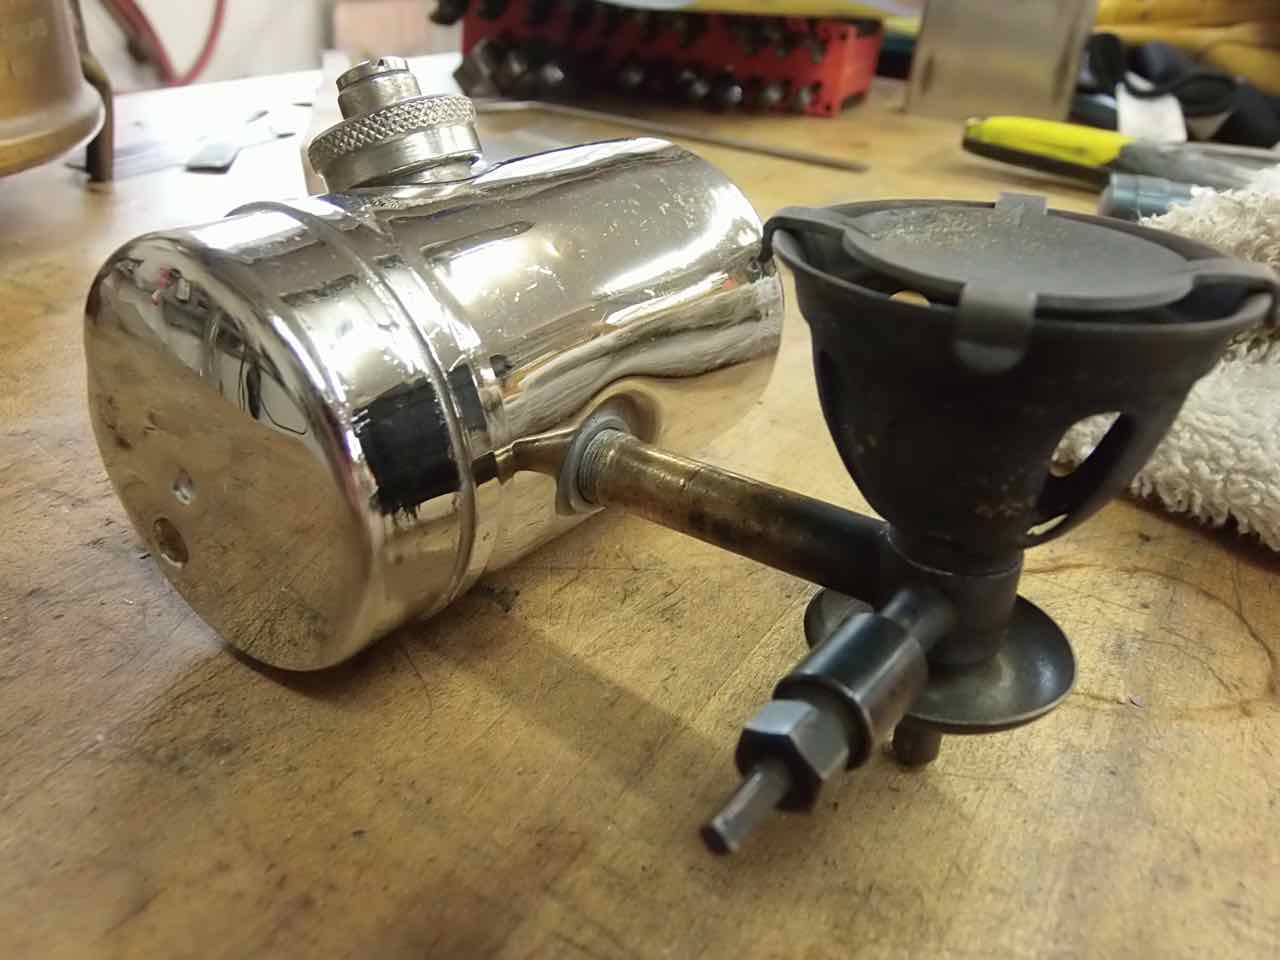
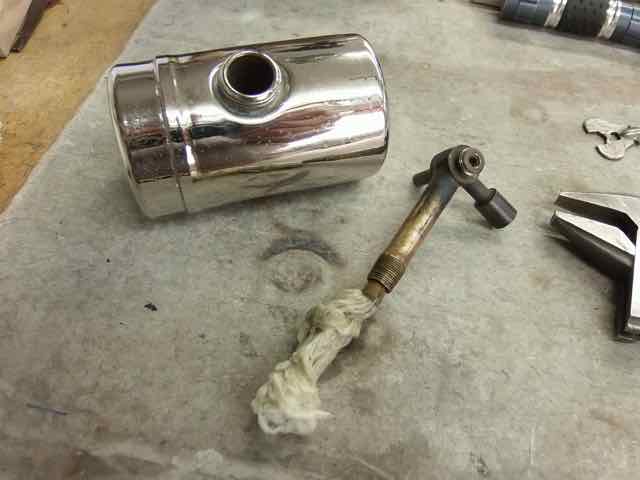
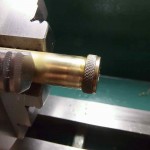
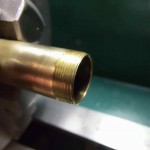
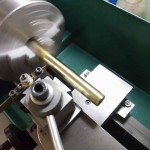
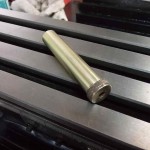
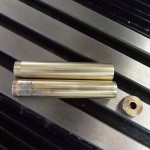
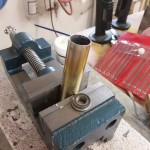
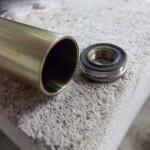
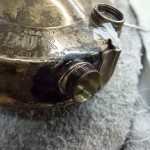
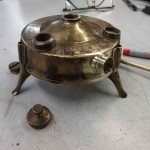
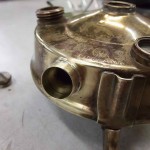
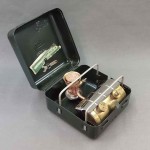
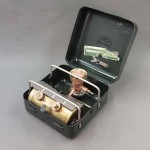
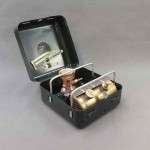
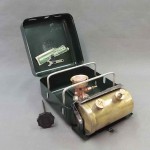
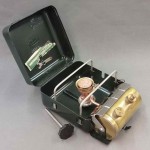
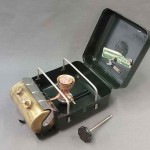
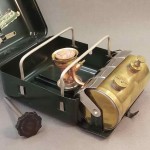
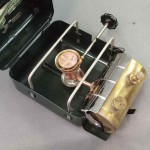
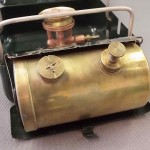
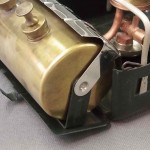
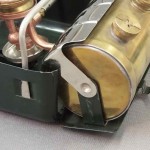
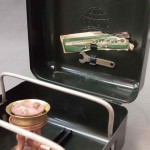
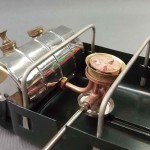
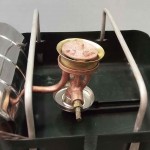
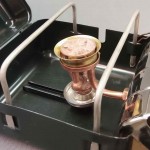
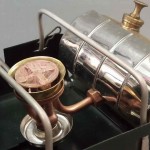
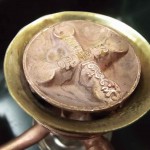
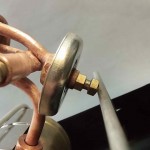
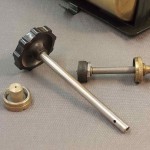
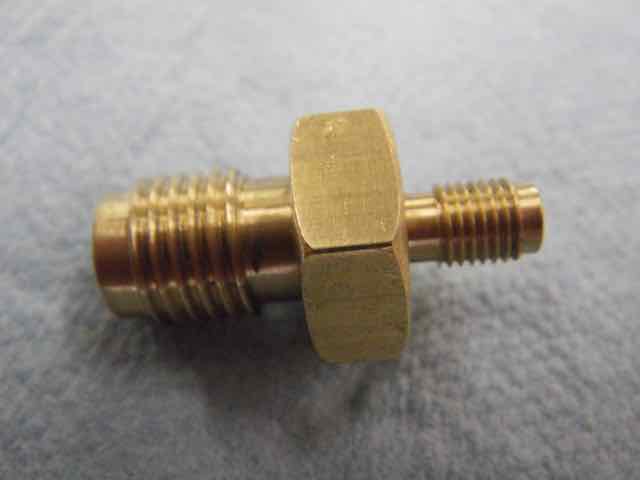
I did a small run of custom-machined adapters for Hank Roberts conversions back in 2010 for some fans of this budget-priced stove of yore. I no longer have any in stock. The machined brass adapter connects the Hank Roberts/Gerry 7/16 x 20 stove thread to the Chinese M6 x 0.75 threaded hose/valve set.

HR adapter HR adapter burn

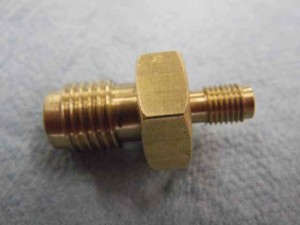
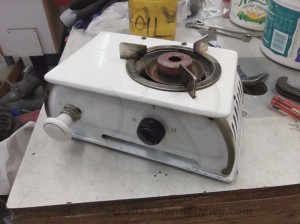
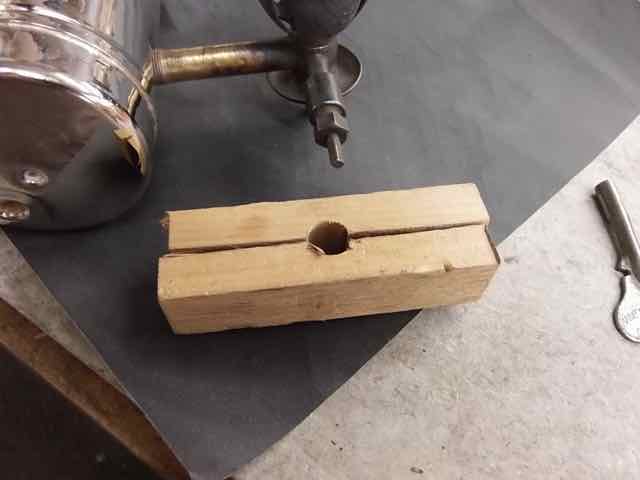
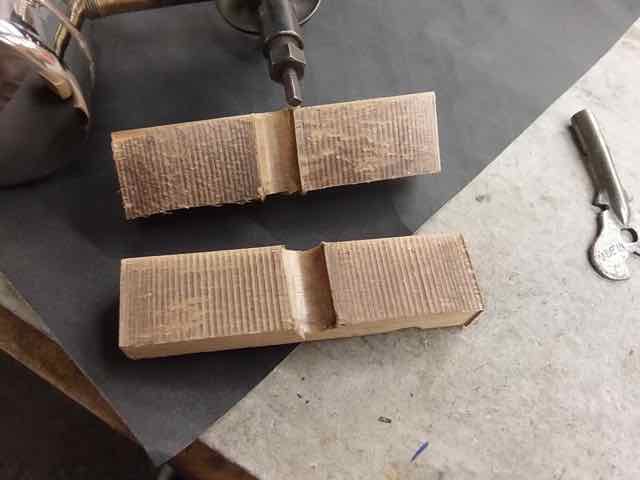
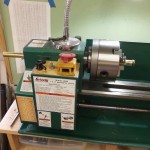
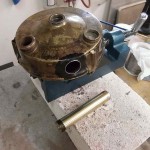
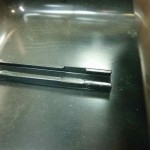
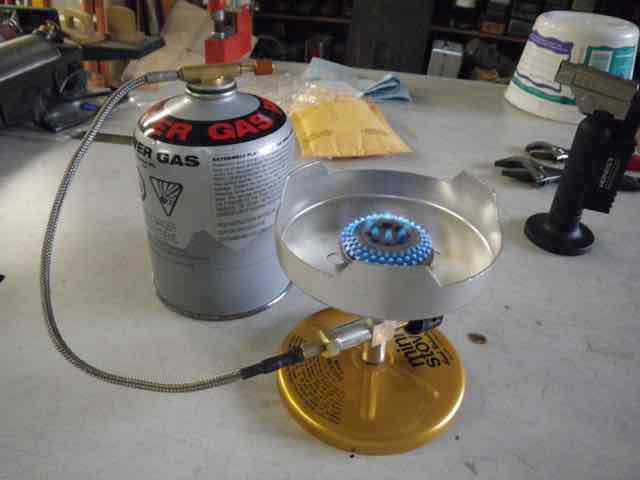
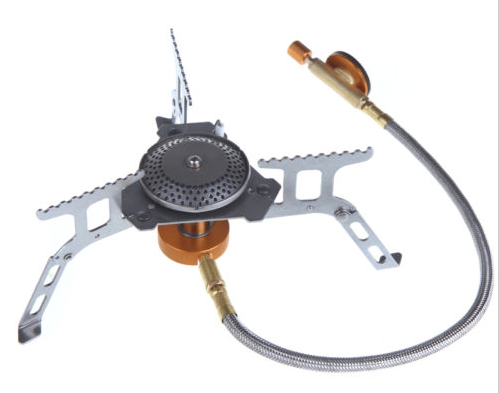
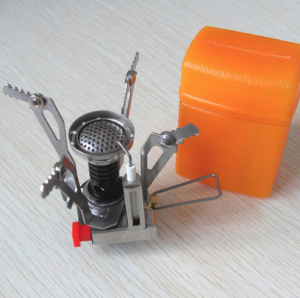
If you’d like me to custom-machine a brass adapter on my precision mini-lathe it’d cost you $45 plus shipping (about $3 in the USA). You can buy the Chinese-made valve/hose set shown in the photo for about $12 on eBay. If you think I’m out of line on the cost of that custom machining, you can give the thread data and show the photos above to your local machinist and see what he’d quote you.

There is no one anywhere else in the world that I know of that does any sort of conversions for these. So, there is no need to knock yourself out searching the web further.

All this said… most people (including me!) don’t think converting a Hank Roberts/Gerry is worth it. You can get most modern brand name isobutane stoves new at under $50-60. That’s what I would encourage you to do. Why? Well…

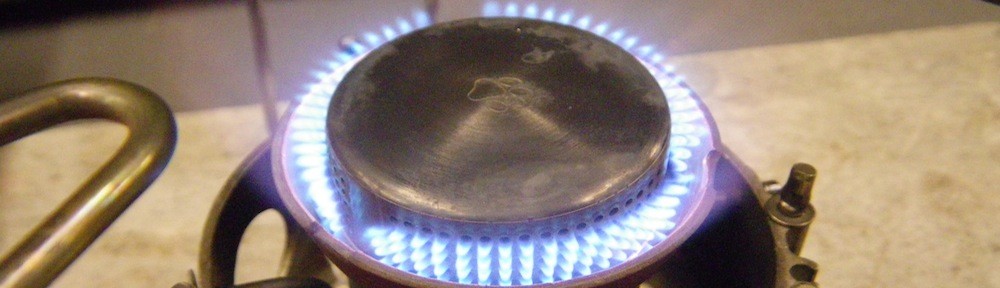
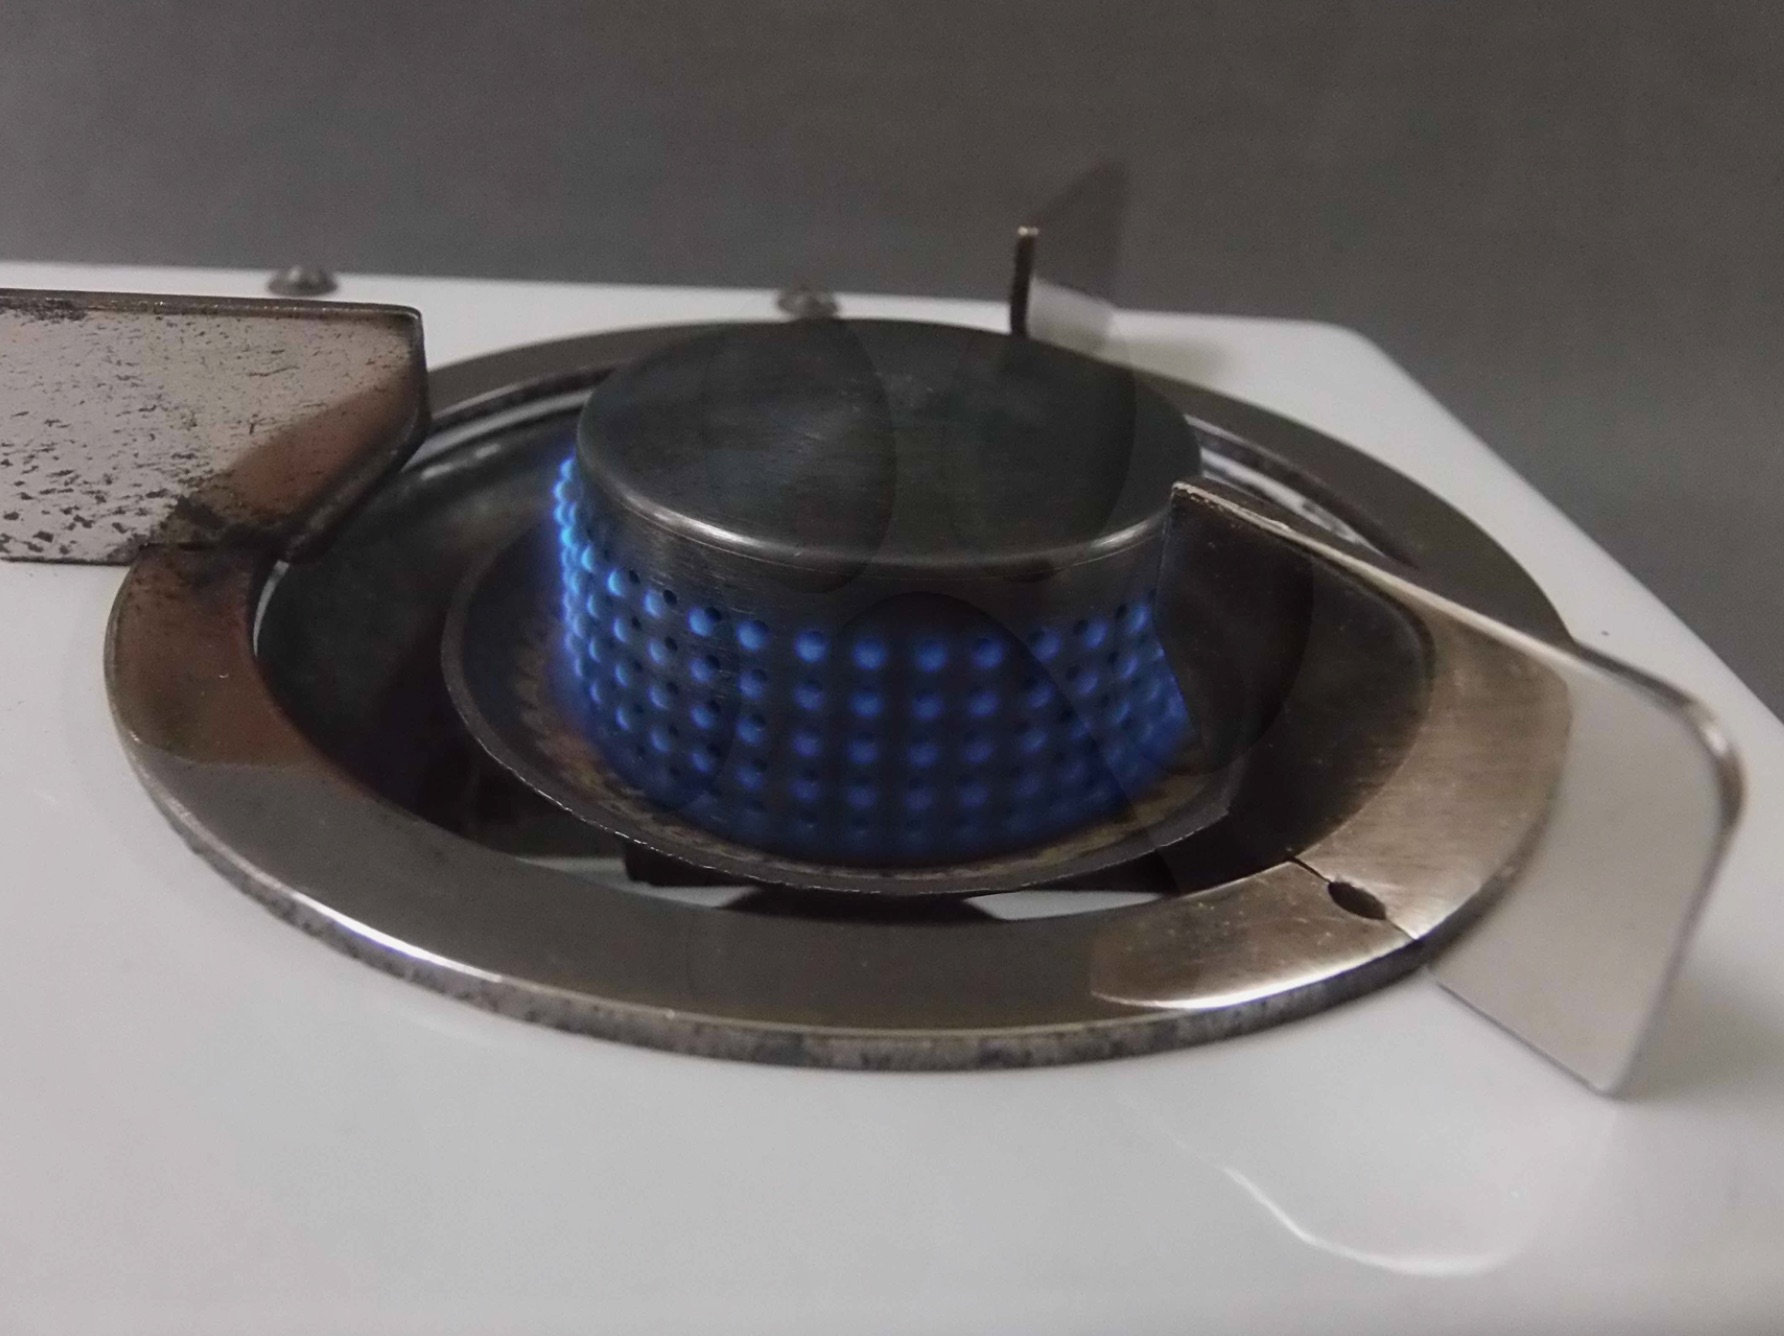
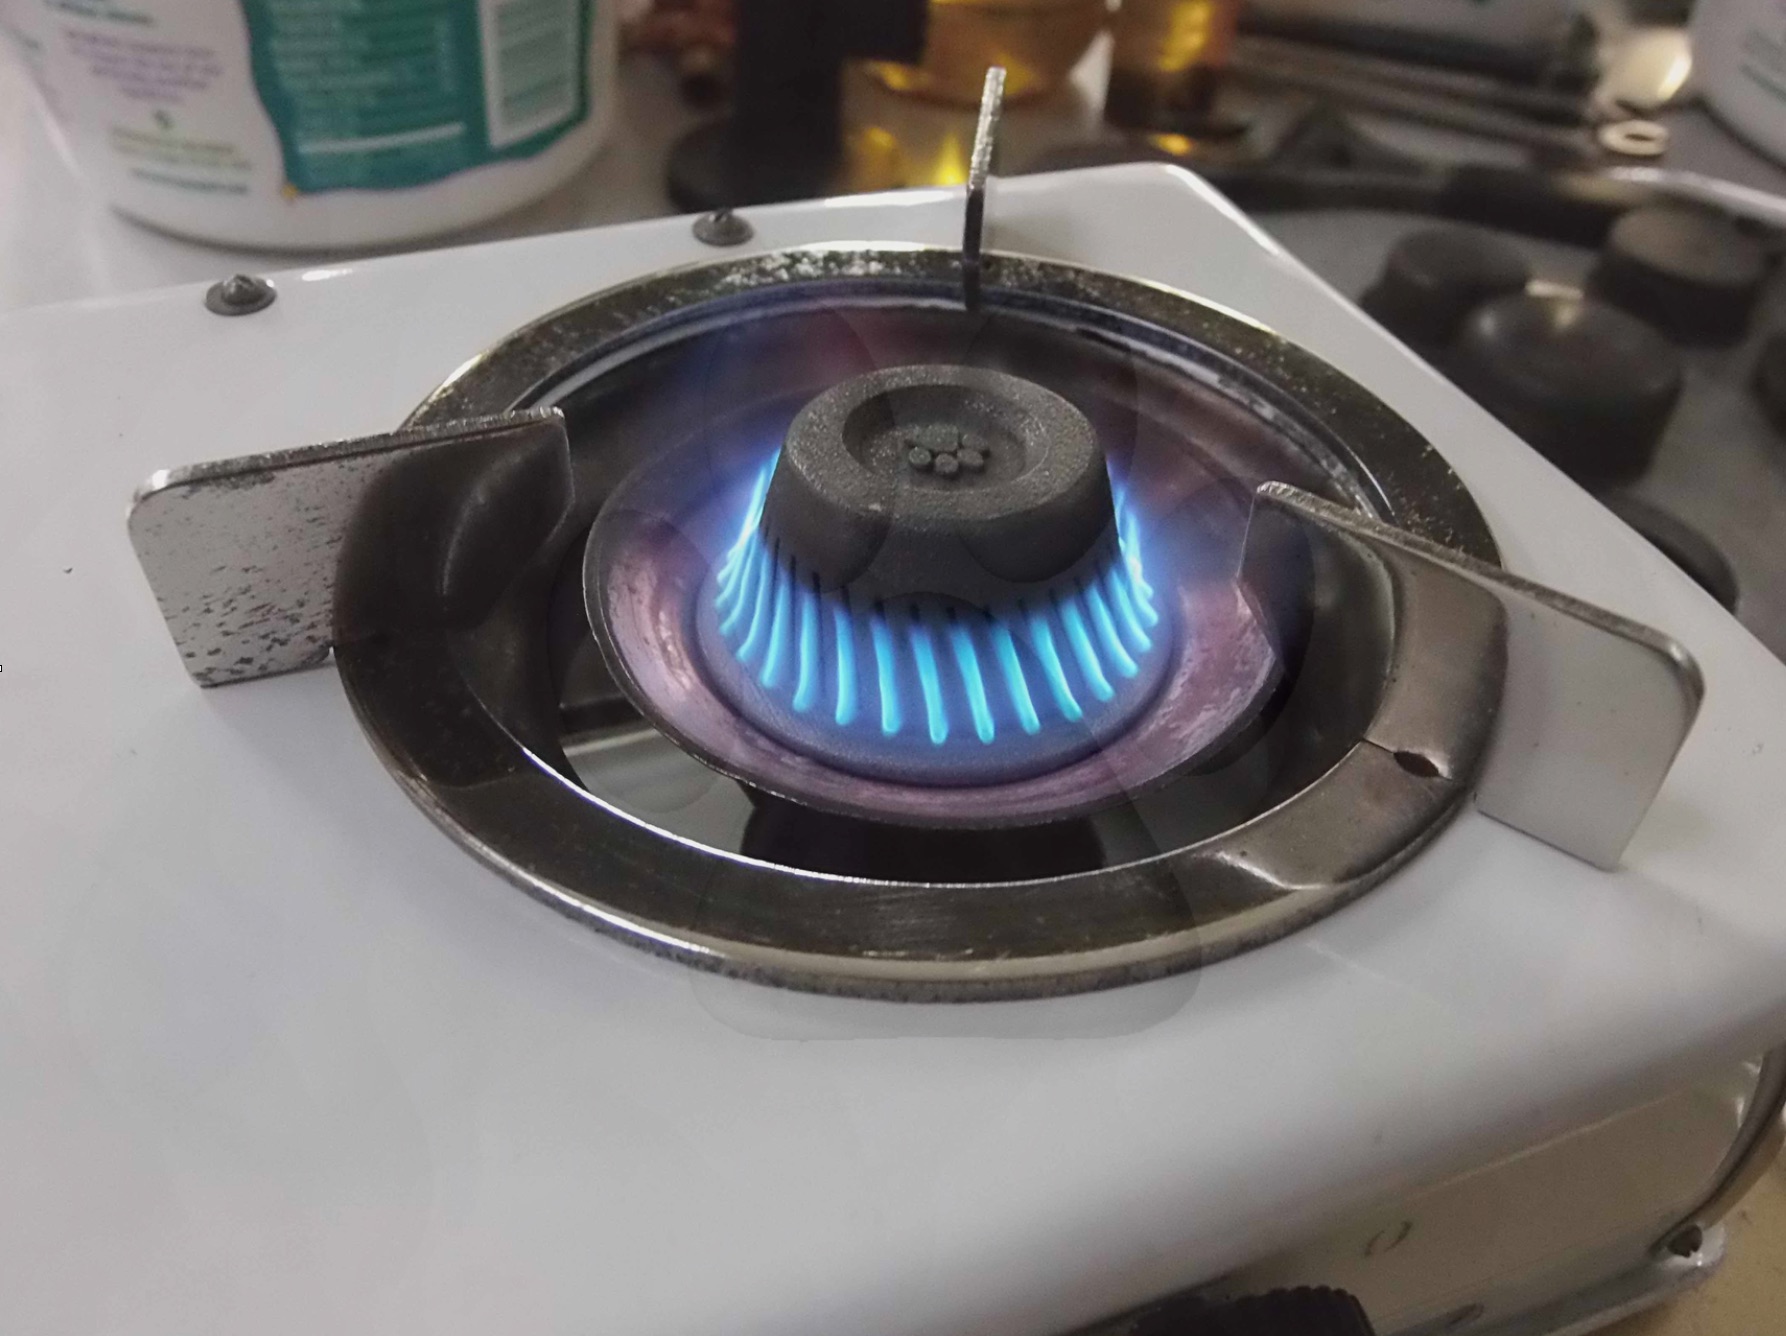
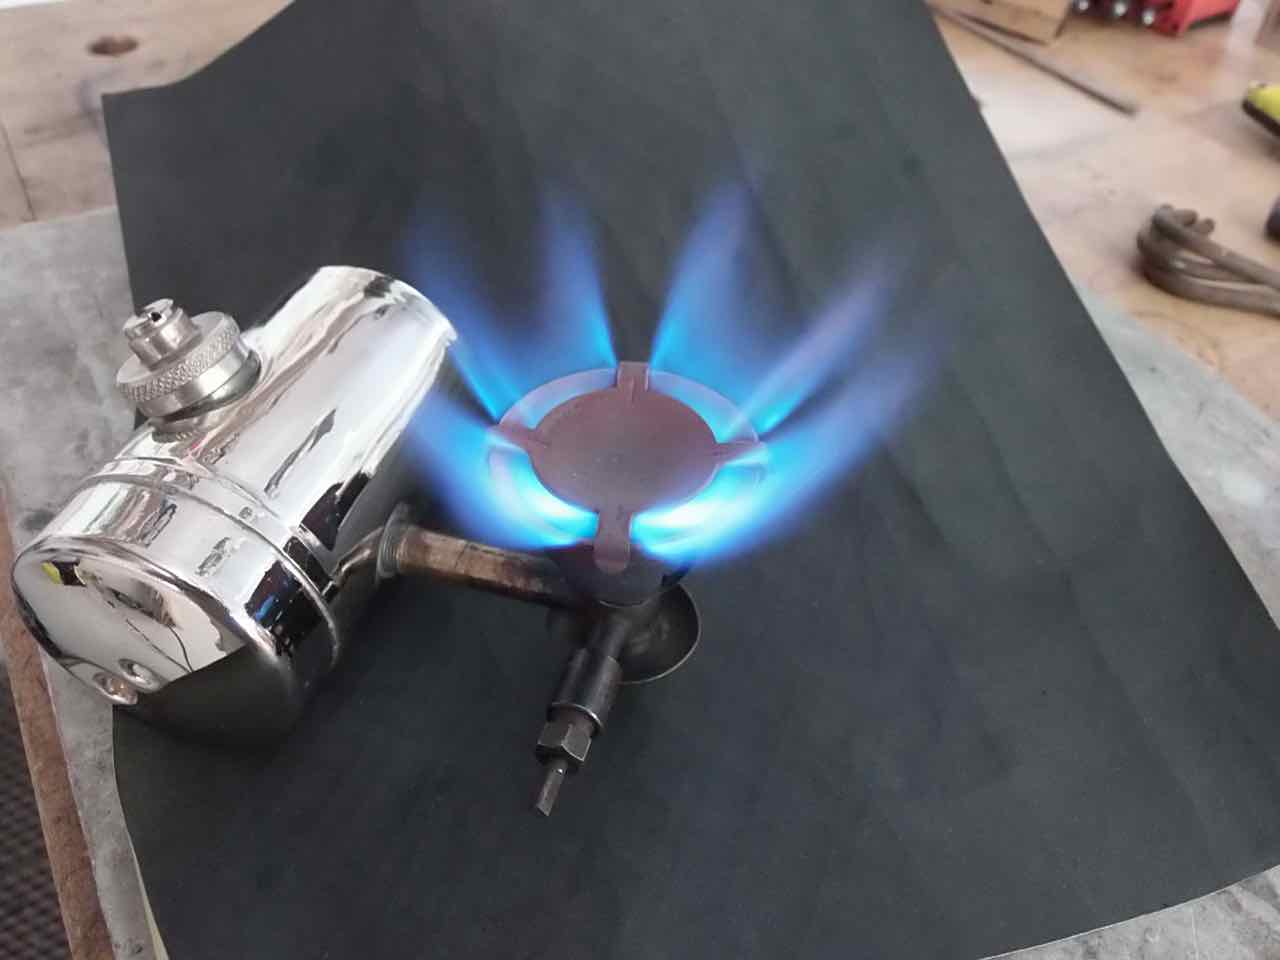
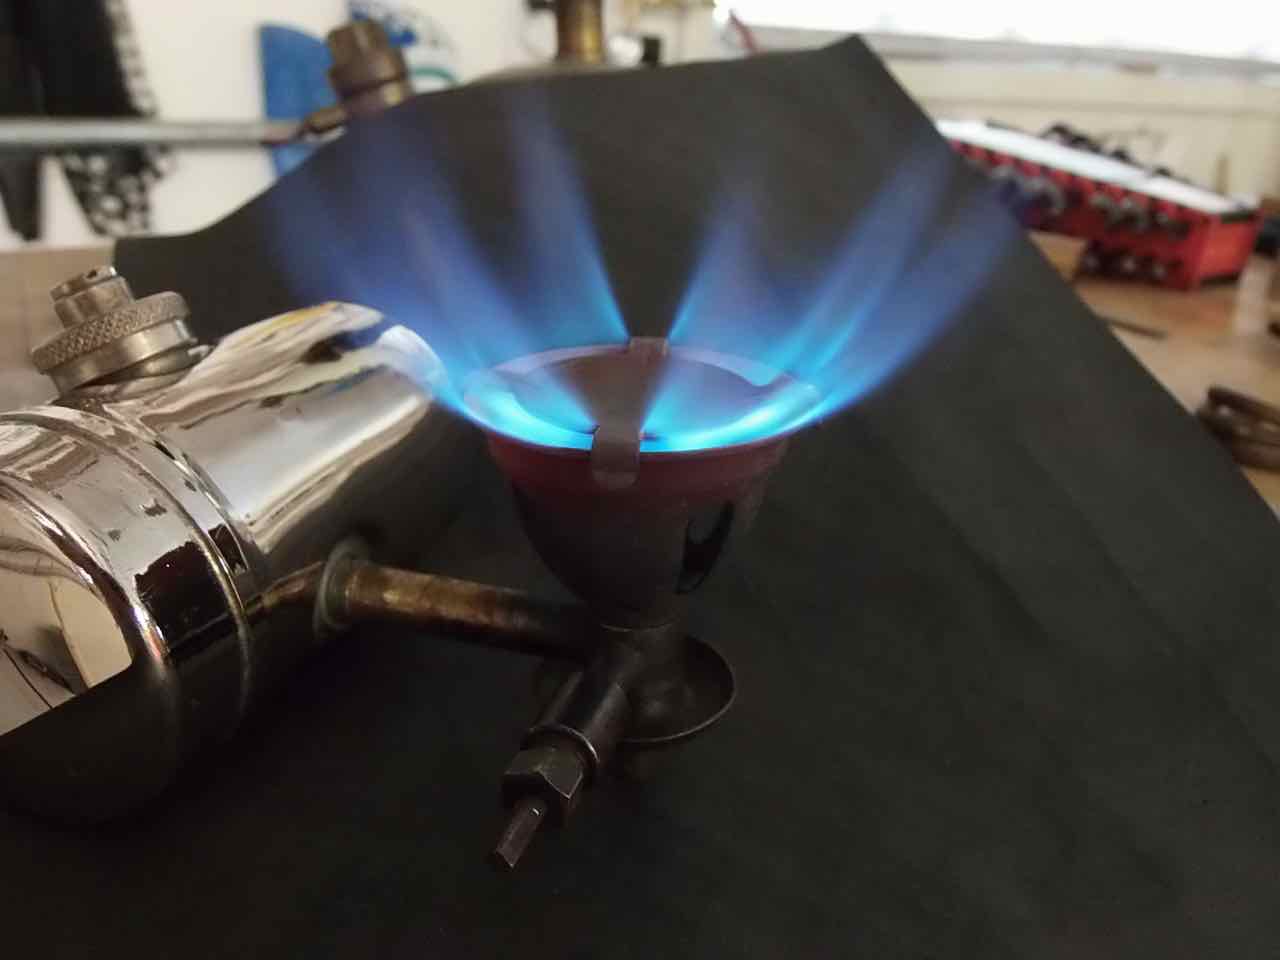
Modern lightweight backpacking stoves are designed to specifically burn the gas mixtures in present day isobutane cartridges. Hank Roberts and Gerrys, on the other hand, were designed to burn straight butane. Isobutane works much better in cold conditions and comes in canisters you can find all over. The Hank Roberts/Gerrys simply aren’t designed or jetted to work as well as a modern stove with isobutane canisters. They are cute “collector item” stoves, but they are not serious outdoor stoves compared to modern alternatives. (Sorry if this isn’t what you wanted to hear.)

Here are a few name brand modern stove candidates you can Google that would make good replacements for your Hank Roberts/Gerrys:
Snow Peak Gig, manual – $39.95 msrp
MSR Pocket Rocket – $39.95 msrp
MSR Micro Rocket – $59.95 msrp
Kovea Tornado – about $41 with shipping via eBay
Optimus Crux – $59.95 msrp
Optimus Crux Lite – $39.95 msrp
Primus Classic Trail – $25 msrp

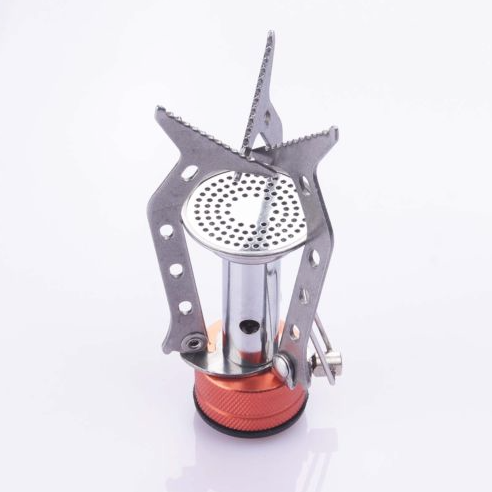
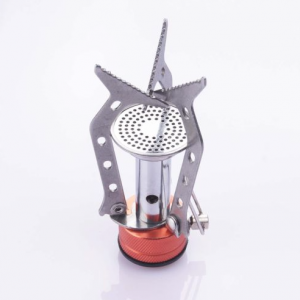
And… if you are looking for even cheaper, but still usable stove alternatives, there are many, many imported isobutane stoves coming out of China and Korea that are really quite good. You can find them on sale on eBay for under $20 with the shipping included in that price. Here are three I’ve purchased that I found work just fine and all for under $20 shipped:

Screen Shot 2015-10-06 at 8.47.28 AM Screen Shot 2015-10-06 at 8.47.54 AM Screen Shot 2015-10-06 at 8.48.17 AM

You can curb recycle your old Hank Roberts/Gerry stoves as aluminum in many communities in the USA. Or, you can try to sell it on eBay, though most people have figured out they are pretty much useless now that cartridges for them have been gone for 10+ years. Or, you can make a nice display of vintage backpacking gear in your home to remember those great old times on the trail. (I still have my old 1977 Kelty frame pack hanging on my wall!)

Happy Camping!
BernieDawg

Phoebus 625 Restoration

Here’s a quick post of a recent restoration of a Phoebus 625. This was one of a pair I bought on eBay as a two-stove Buy-It-Now package deal. Both stoves seemed mostly complete though this one of the pair was missing it’s spindle knob. And, of the two, this one came in a stuff sack while the other sported an actual tin.

Here are some shots of the process. click image to enlarge

The tank was stripped and glass bead blasted to provide a good surface for new paint. All the parts were degreased and cleaned. The pot supports were polished up on my buffing wheels. The tank was sprayed with VHT Engine Paint SP402 Burnt Copper. I like this color because it’s about the closest rattle can color to the original, plus it’s rated to 650 deg F (240 deg C) in heat resistance. Well-cured for three to four weeks, it’s pretty much proof to Coleman fuel.

The windshield was glass bead blasted and then painted with VHT “Flame Proof” SP998 Cast Iron. This is a paint rated even more heat resistant at 2000 deg F (1100 deg C). Unlike some of the other VHT Flame Proof paints, this one doesn’t seem to “brown” as much with exposure to direct flame. Good idea as the wind shield gets a lot of that from the preheat flames.

I added a brass preheat pan between the tank riser and the burner base so that the preheat alcohol will stay off the tank. Here’s how it turned out. click image to enlarge

Silent Burner Spindle Nut Leak

Hi BernieDawg, 
 What would cause a flame to emerge right out of the connection where the spindle enters the burner on my Force 10 boat heater? Is it an o-ring/seal gone bad or? I can blow the flame out, but it wants to come back occasionally. I’m leaning towards the burner not being pre-warmed enough as it also wants to flame more than the nice red/blue I should be getting at the burner.
Thank you!
“Leaky Flame”

Hi “Leaky Flame”
You need to tighten up the spindle nut. Provided there’s still enough graphite packing around the spindle, a slight tighten should reseal the spindle packing around the spindle. I often do this “on the fly”, ie: with the burner running. I carefully snug up the spindle nut with a 10mm open end wrench until the little flame just goes out.
Here’s a cut away view photo that a guy on the internet made. He made it wrong. The graphite spindle packing and the spindle ring should be swapped in position as I’ve indicated in the photo. The little brass spindle ring has a flat side and a cupped side. The cupped side should be facing toward the spindle nut and touching the graphite packing. The flat side of the brass spindle ring should face toward the jet and be touching the large threads on the shaft of the spindle.
  Reg Burner Cut Away <— click me to enlarge
And, you can see an online repair manual for your burner/heater at this link:
Here’s a copy of that webpage as a PDF file you can store on your computer/tablet/phone for reference when you are working in your boat:
Good luck!
BernieDawg