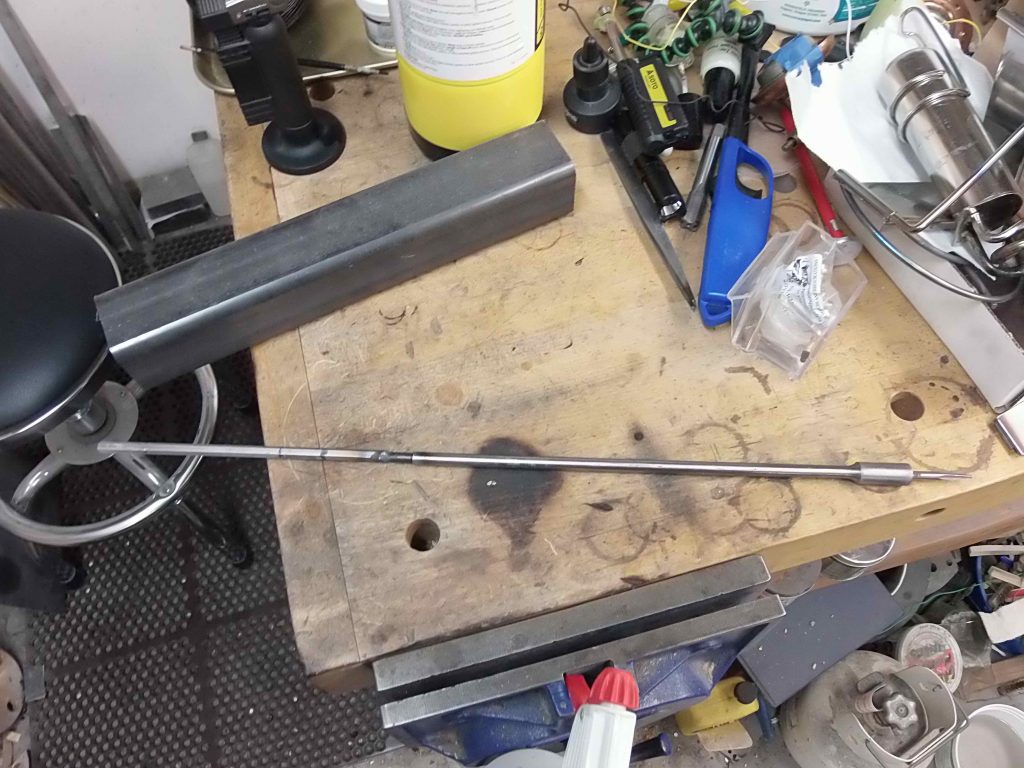
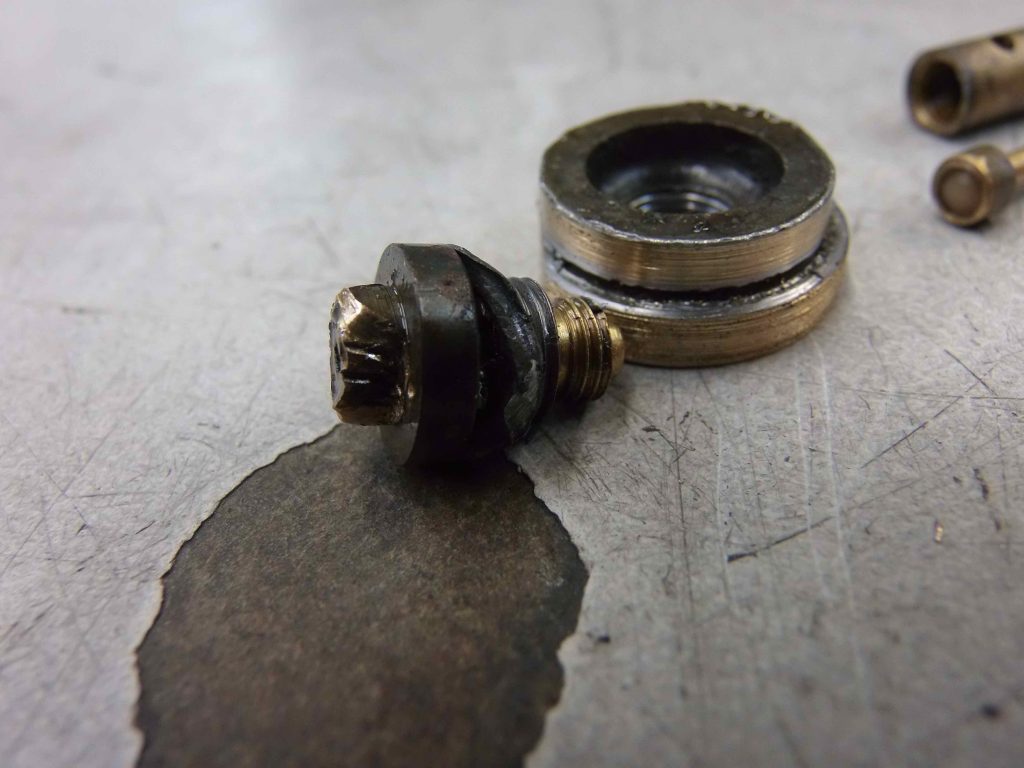
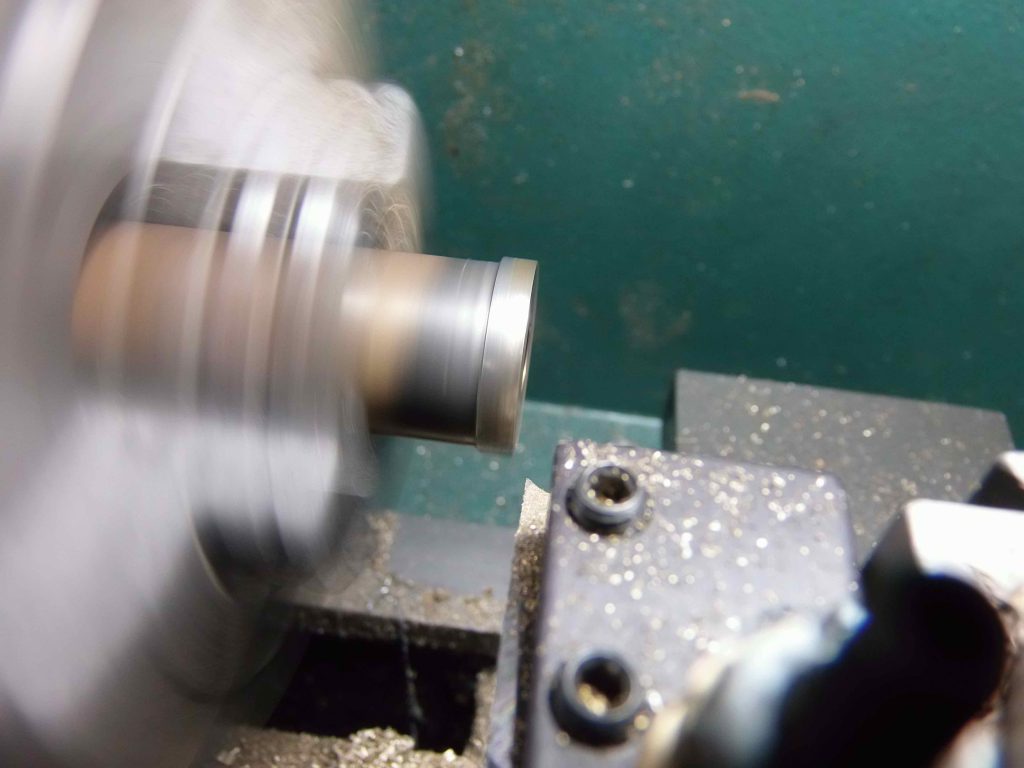
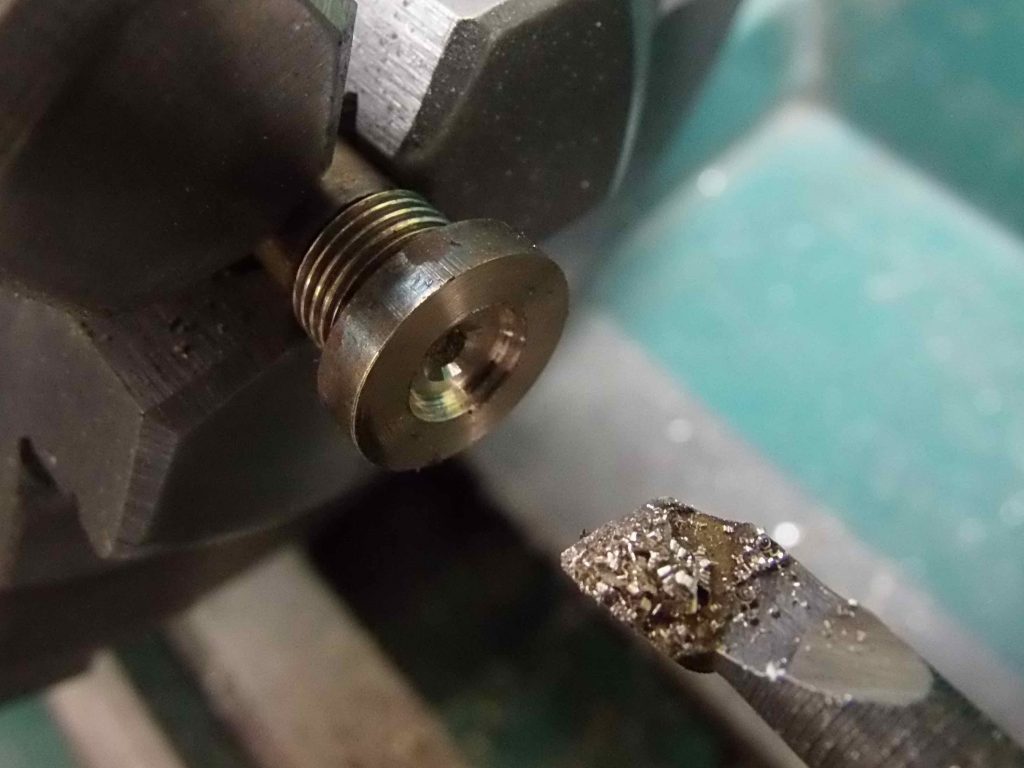
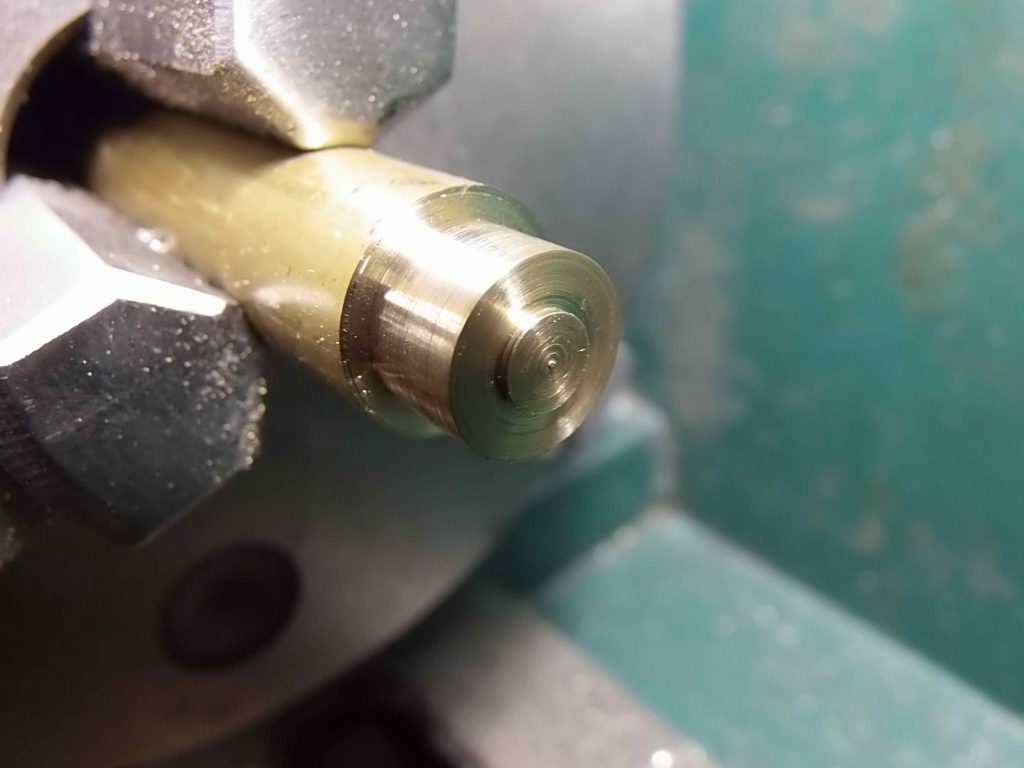
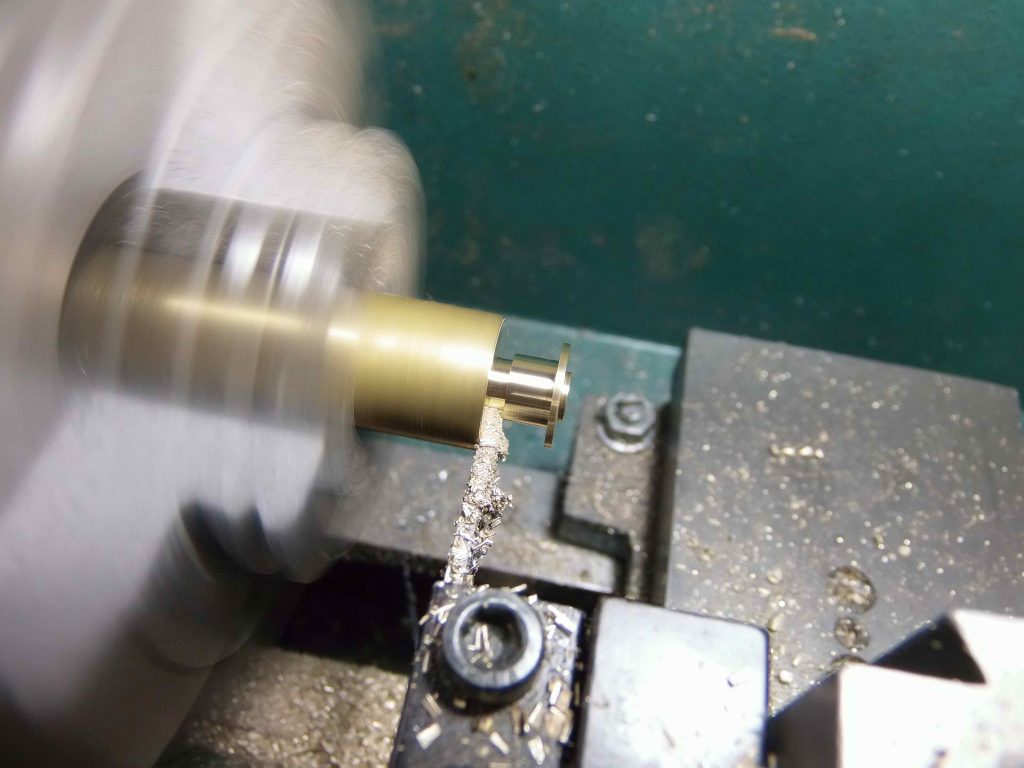
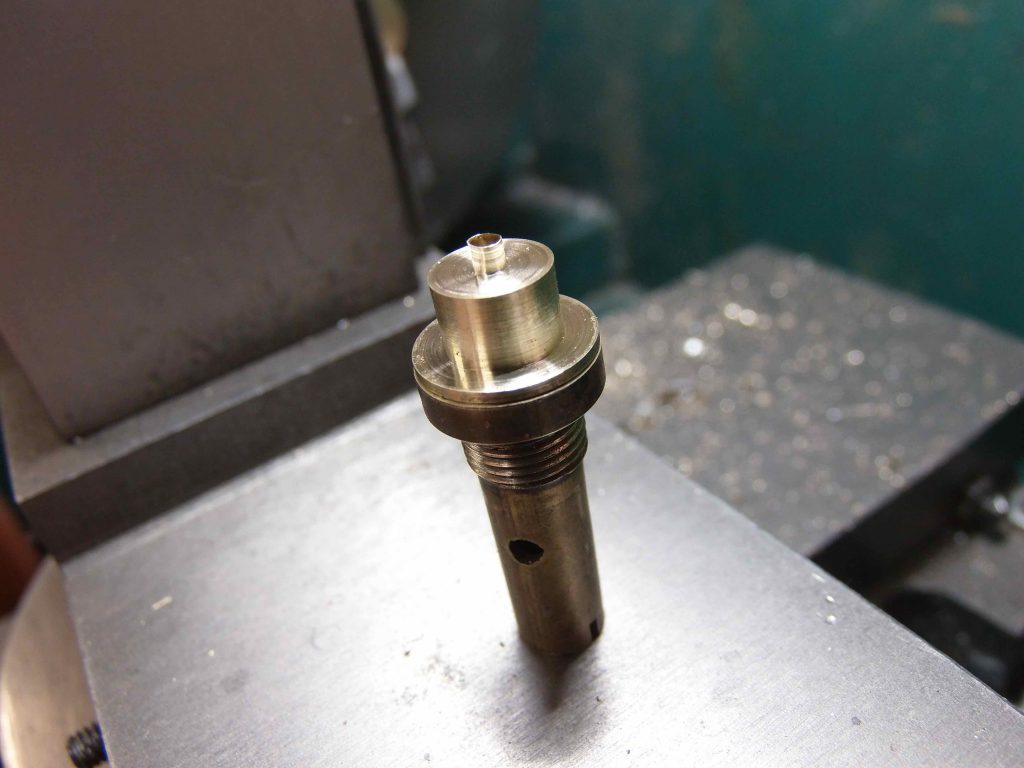
I often am asked to help out when a stove collector has problems removing a NRV (non-return valve) from the bottom of a stove’s pump tube. Usually the stove owner has done their best to remove the NRV, but has inadvertently rounded the soft brass head of the NRV valve. Sometimes I can get these damaged NRVs broken loose by using an “easy-out” (screw extractor bit) mounted in the end of a spade bit extension. I’ve actually made my extension a bit longer by welding an additional section of 1/4″ hex rod to the unit.
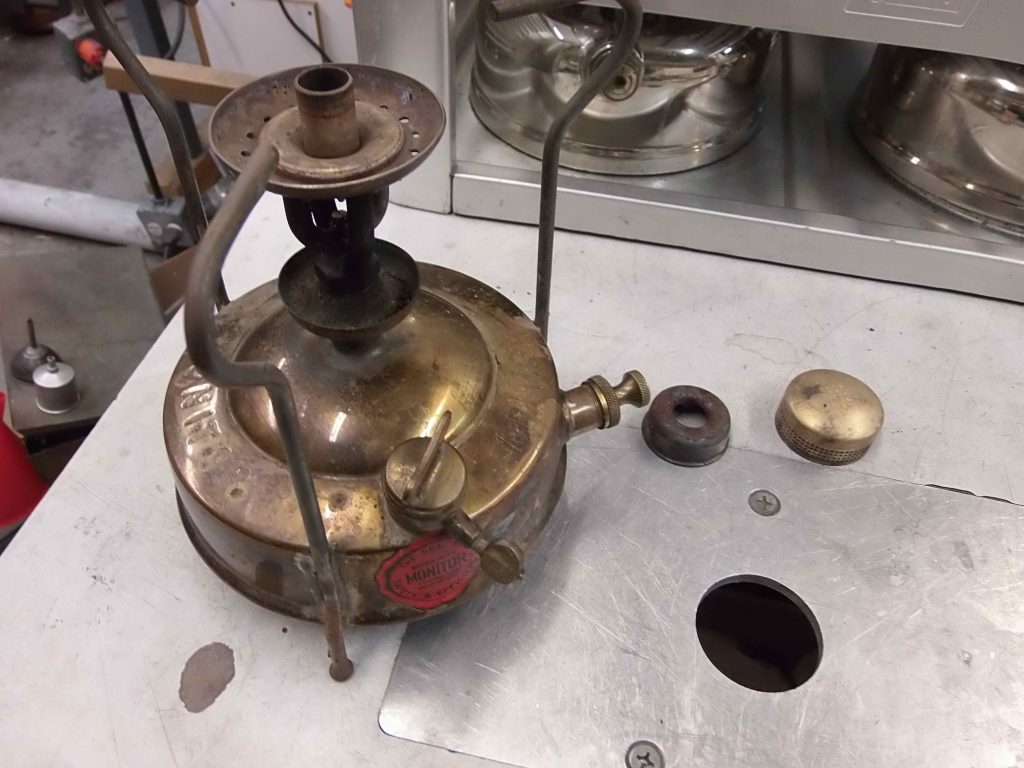
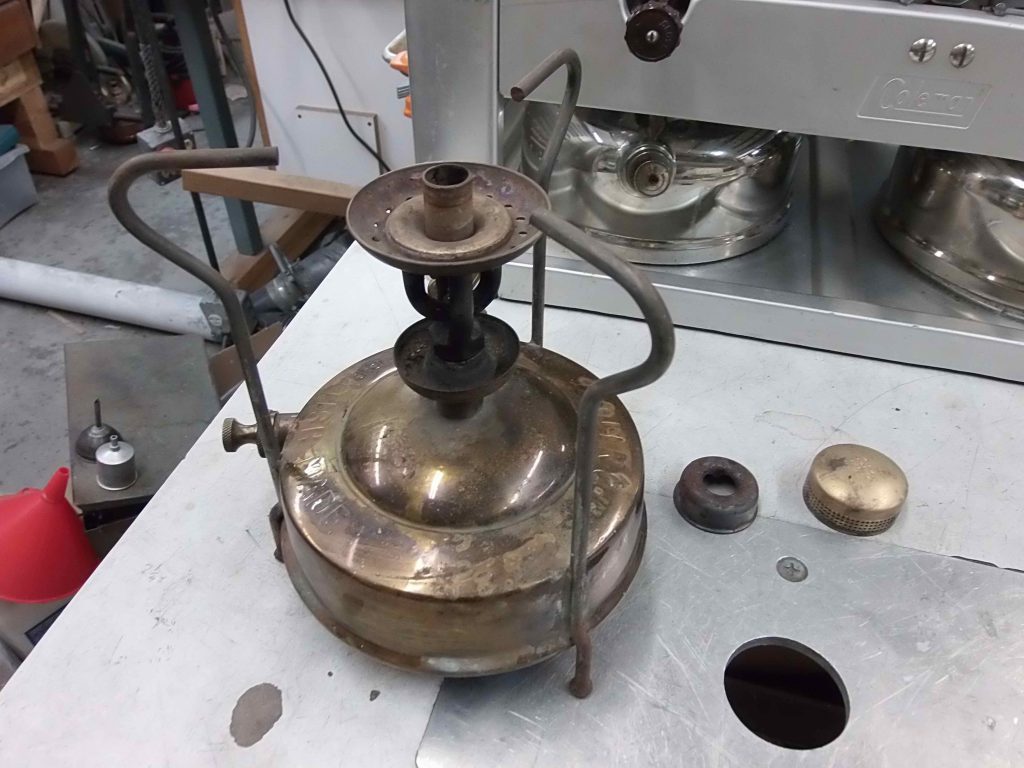
Sadly, this wasn’t possible on this old Monitor stove I was asked to repair.
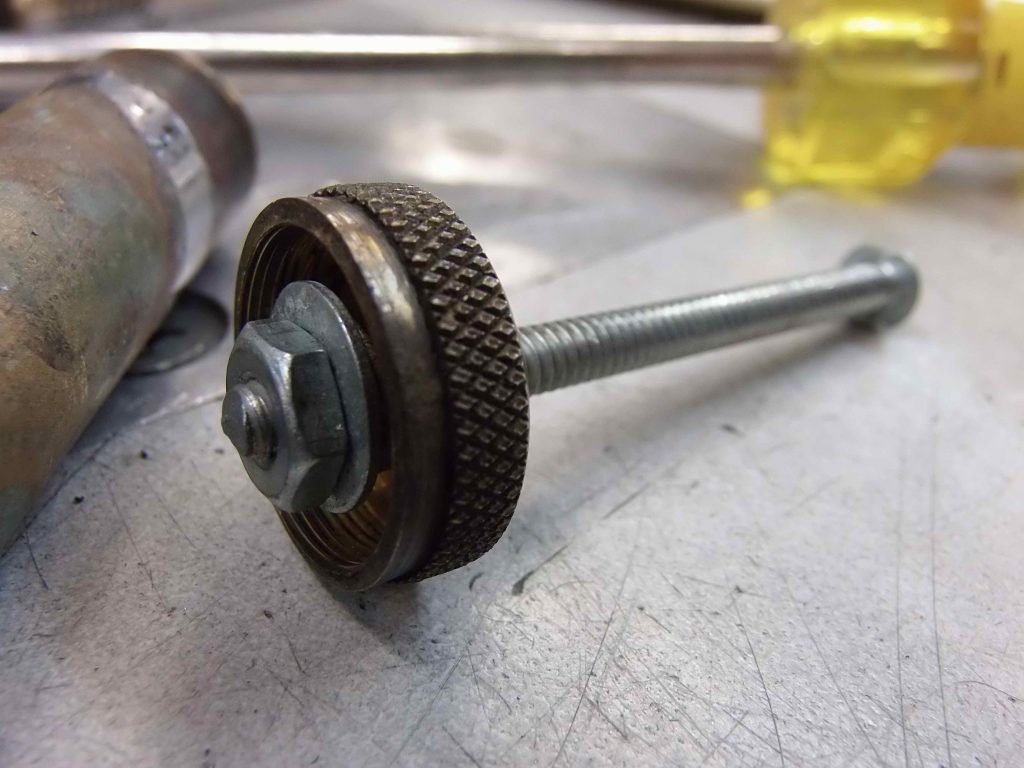
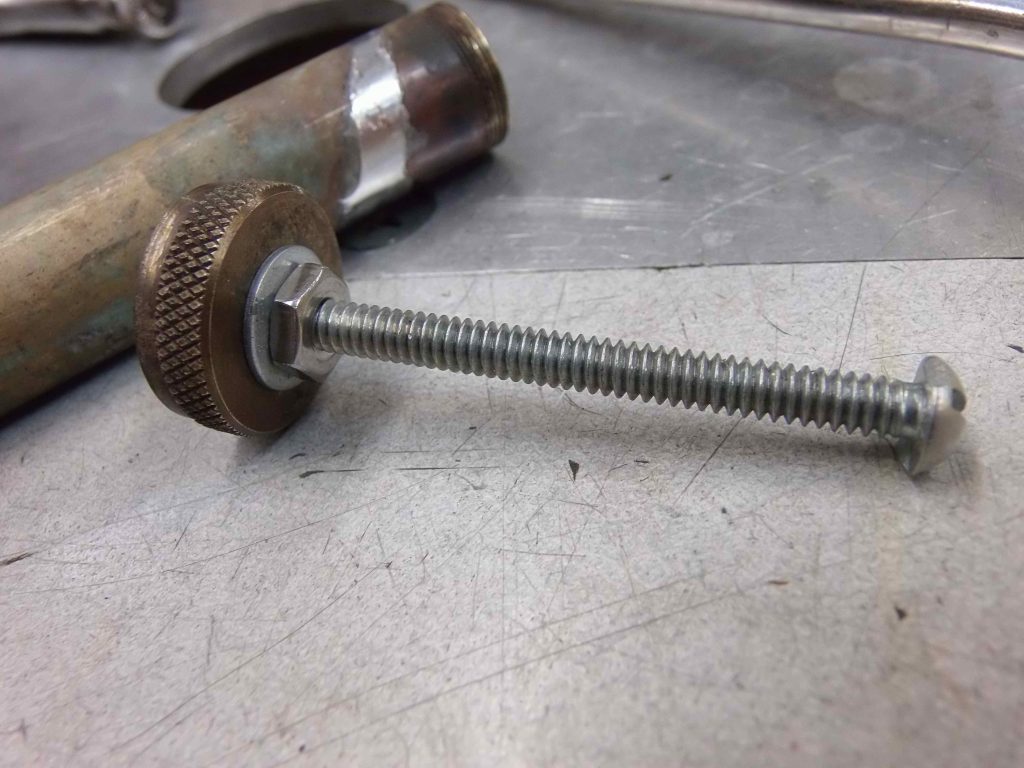
I use the stove’s original pump lid, some washers, a bolt and a nut to make up this little pump pulling tool. It’s easy to do and works great without the fuss or expense of a “special” tool.
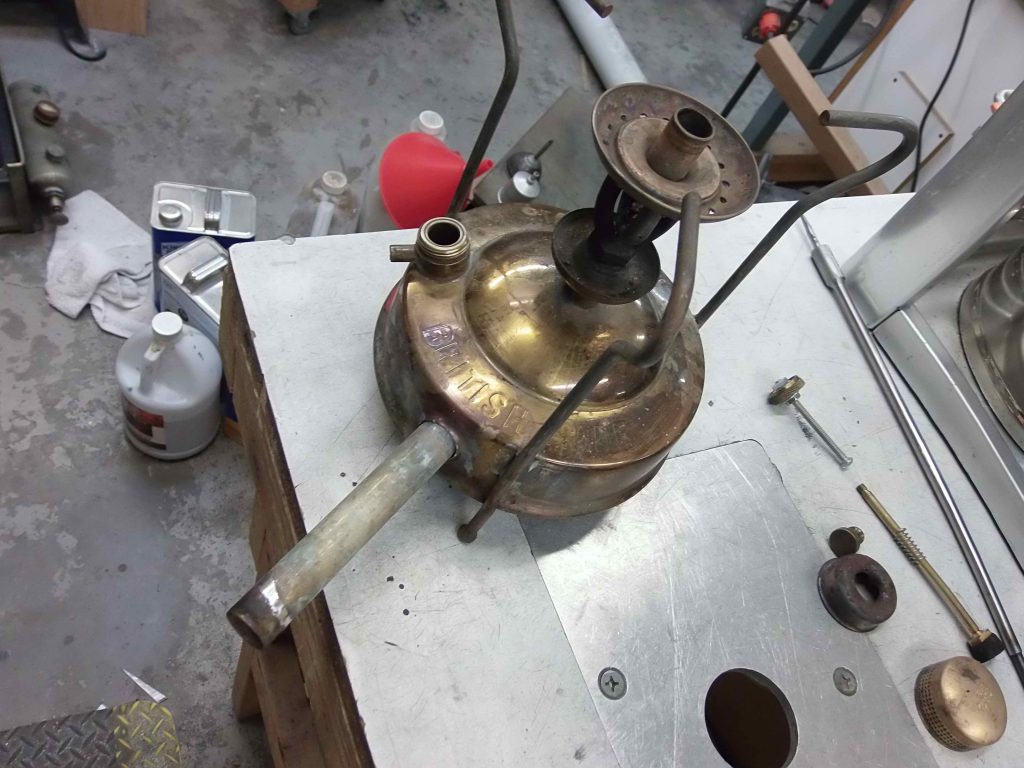
Usually I clamp the head of the bolt “tool” in my bench vise, hold the tank with one hand, and use the torch in the other hand to heat the area of the tank immediately around the pump tube. I put a wad of wet paper toweling all the way into the bottom of the pump tube to keep the heat from melting the solder holding the pump tube base block in place.
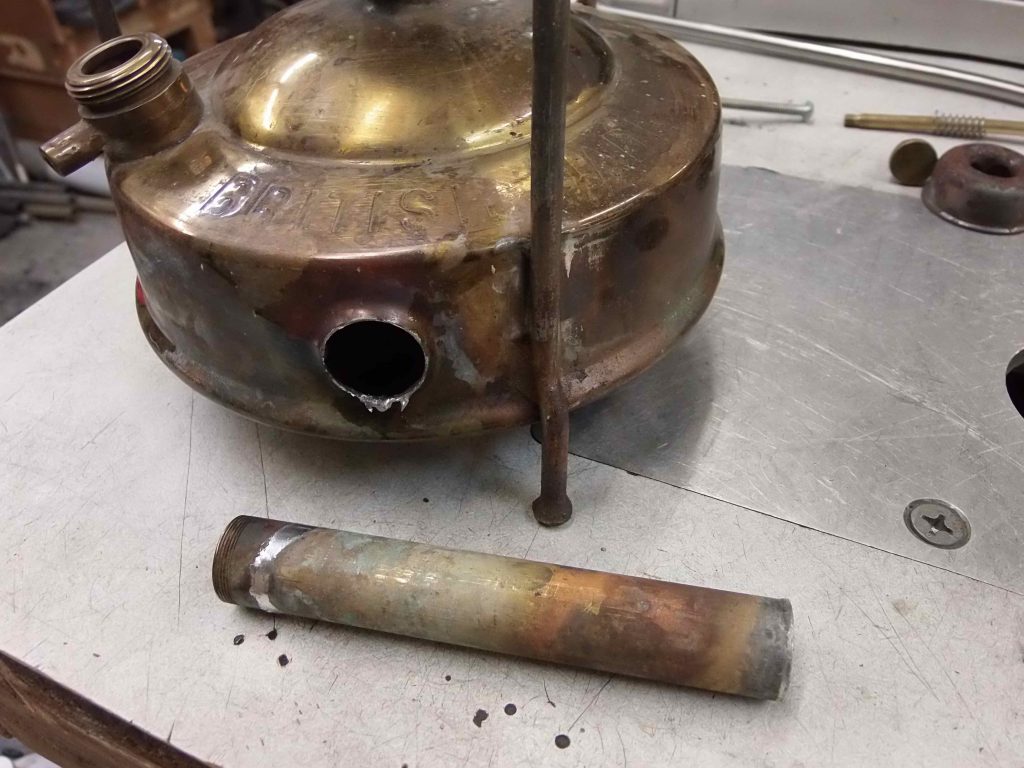
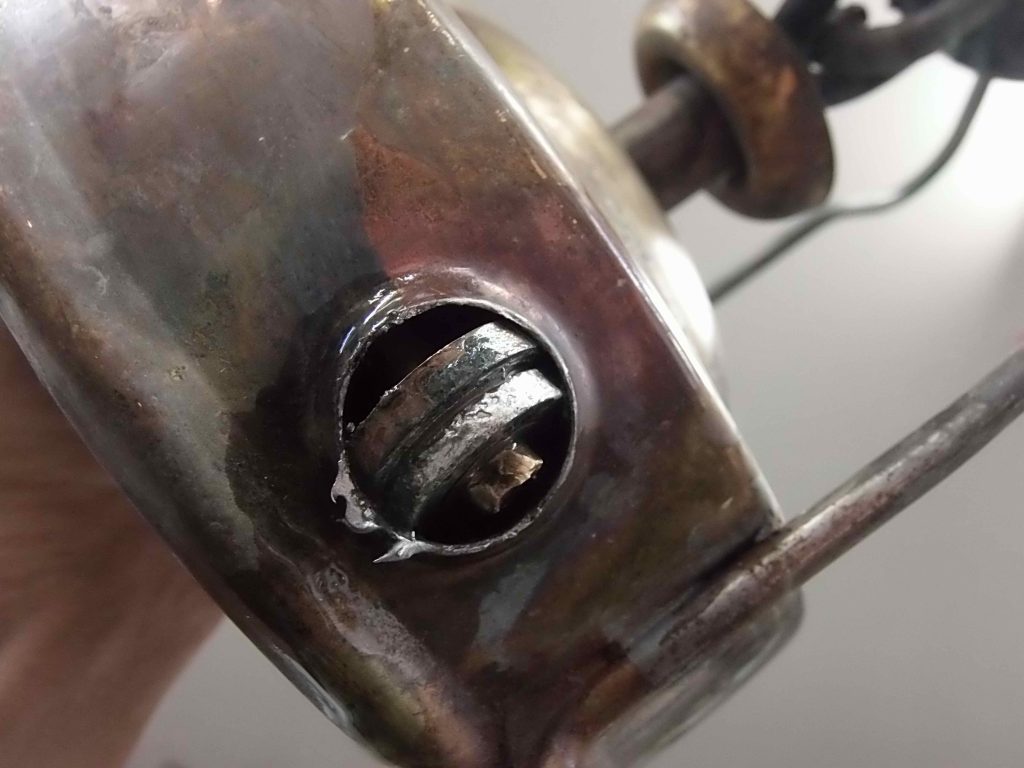
Here I’ve pulled the tube. But, I encountered some resistance as the tube would not completely exit the pump tube opening in the tank. It’s hanging up on the over-large pump tube base block.
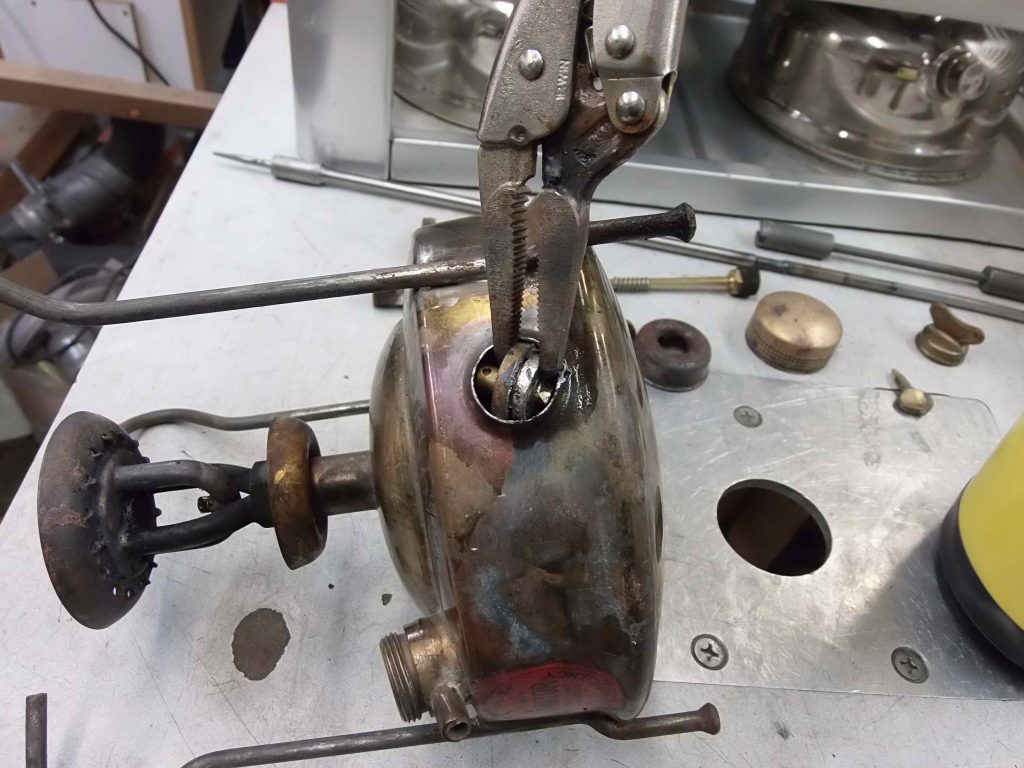
It turns out that the folks that made Monitor stoves in England decided it was a “good” idea (not!) to make their pump tube end block larger in diameter than the outside diameter of the pump tube. There is no way to pull the tube while the end block is in place since its outer diameter is bigger than the hole the tube mounts in, so I had to desolder the pump tube end block from the pump tube and have it drop into the tank.
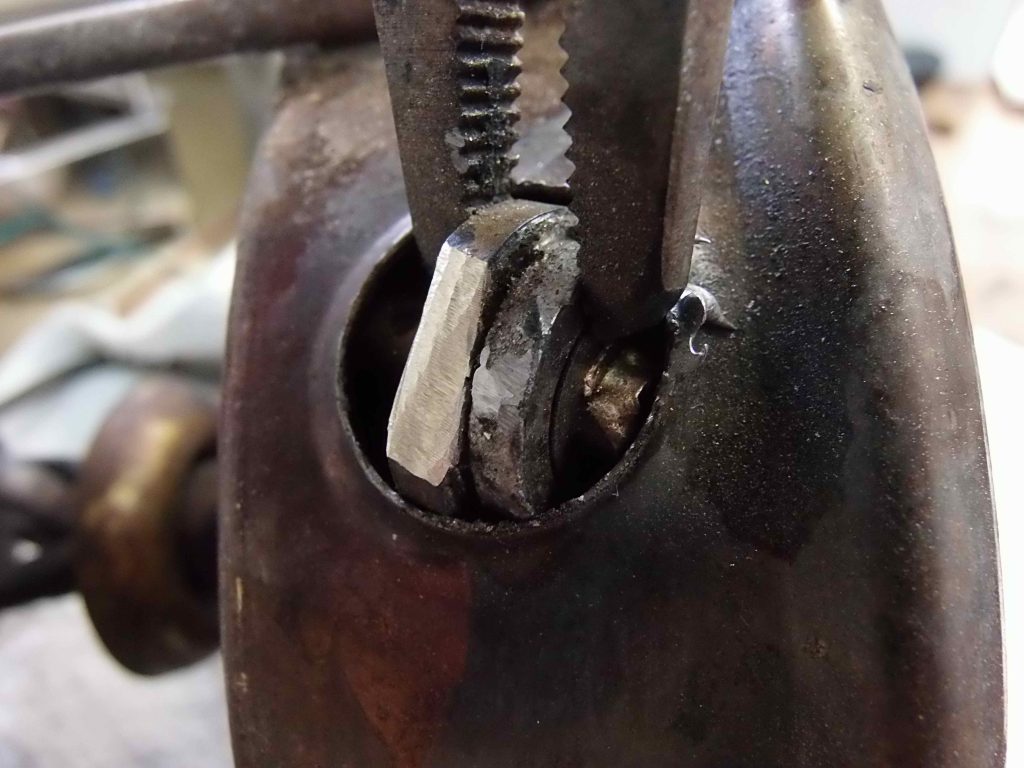
You can see in the photo above that that too-big end block is not going to fit out through that too-small hole. But, by using a small pair of Vise-Grip pliers to hold the end block, I was able to machine two facets into the block to reduce its diameter. I used a grinding wheel on a Dremel tool to do the work, taking off just enough to get the block out the opening. I also made sure I placed the facets in such a way that I could later clamp the block up in the three-jaw chuck of my mini-lathe to clean up the block.
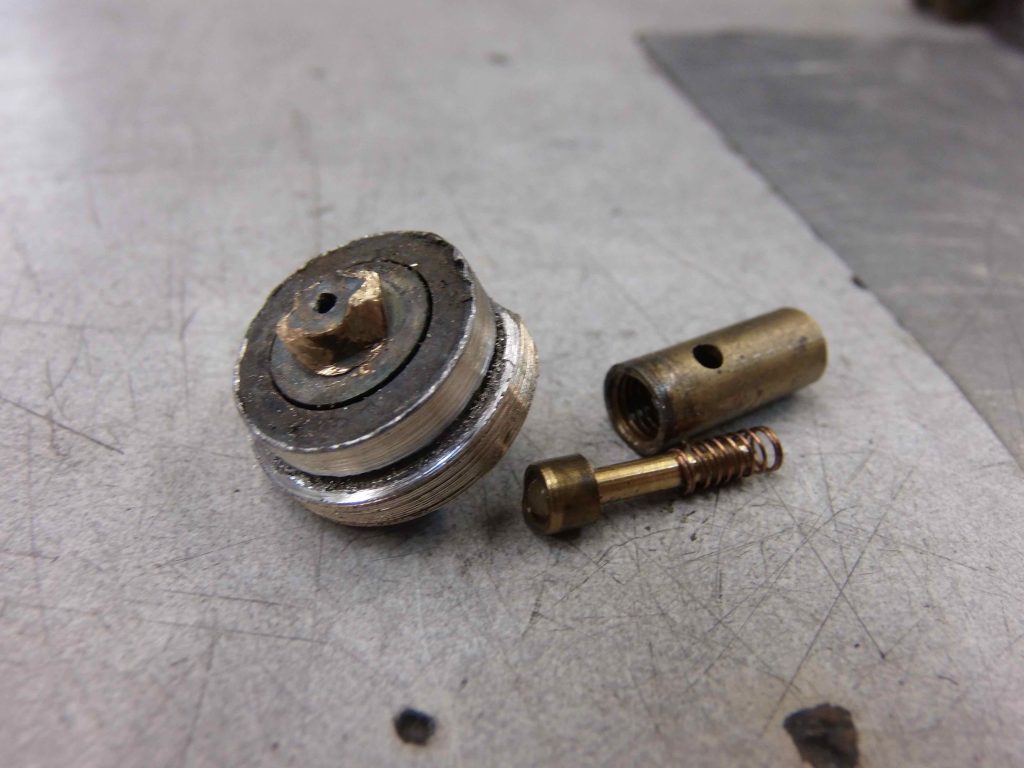
Once the outer diameter of the end block is machined down in a couple of places, it pops right out. A little persuasion with some penetrant and some torch heat pops the NRV head loose from the block.
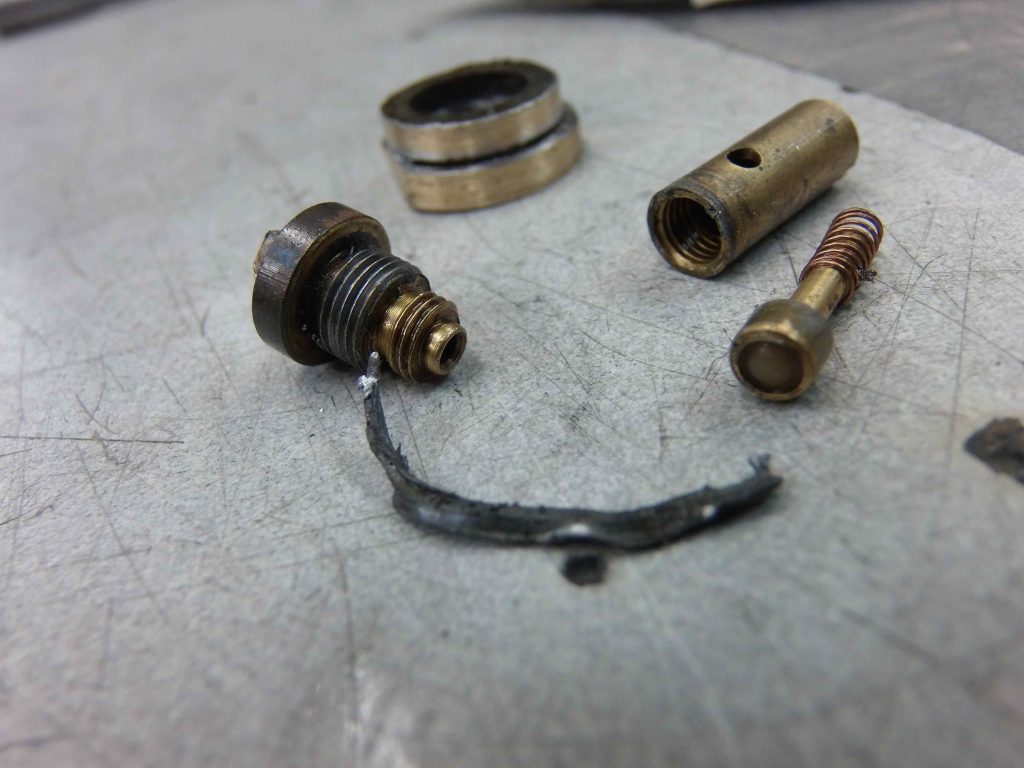
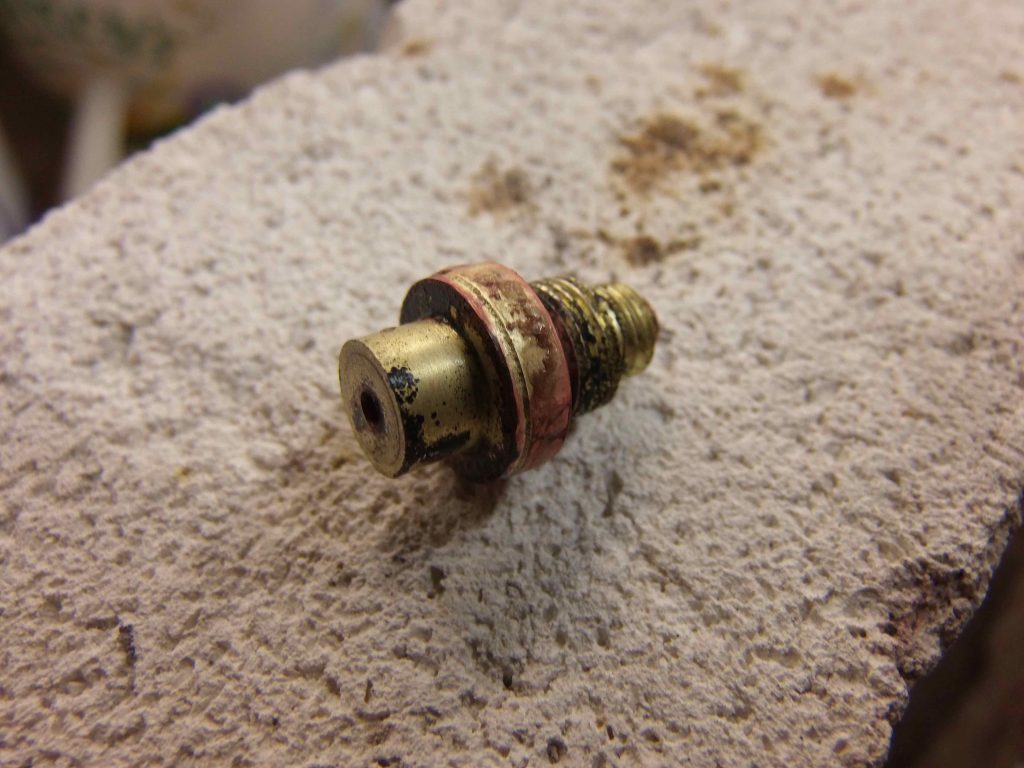
This stubborn NRV had a lead washer in place under the head. Didn’t seem to do much good to assist in removal, though. This is often the case with old lead washers as they seem to tend to get brittle and harder with age.
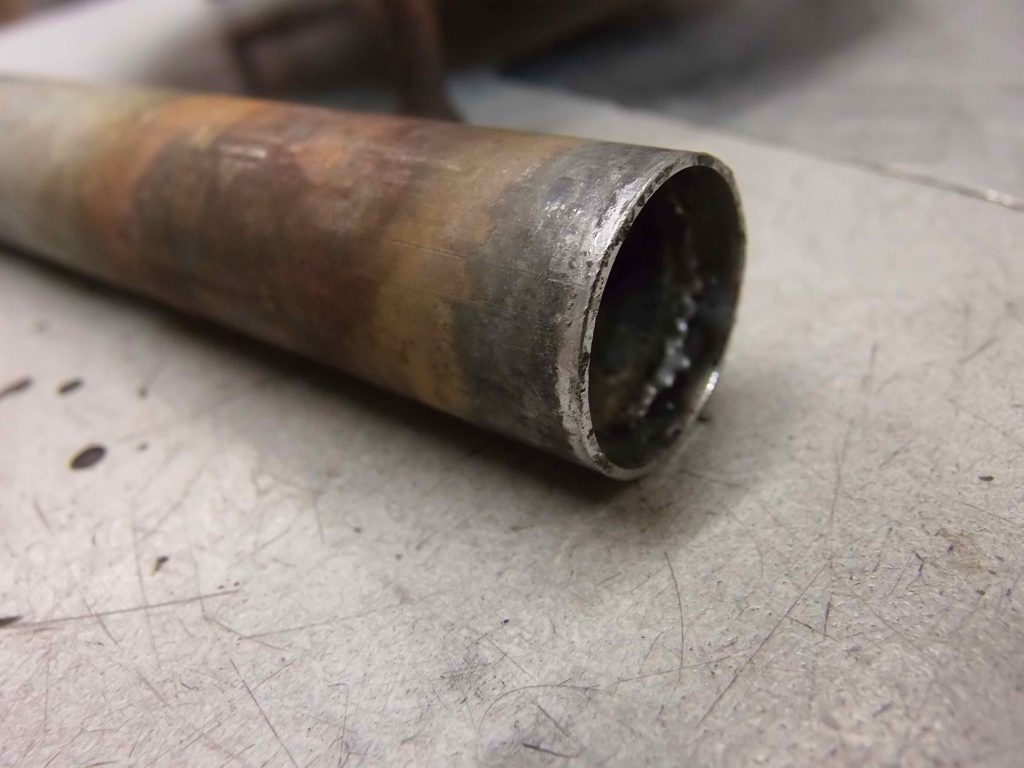
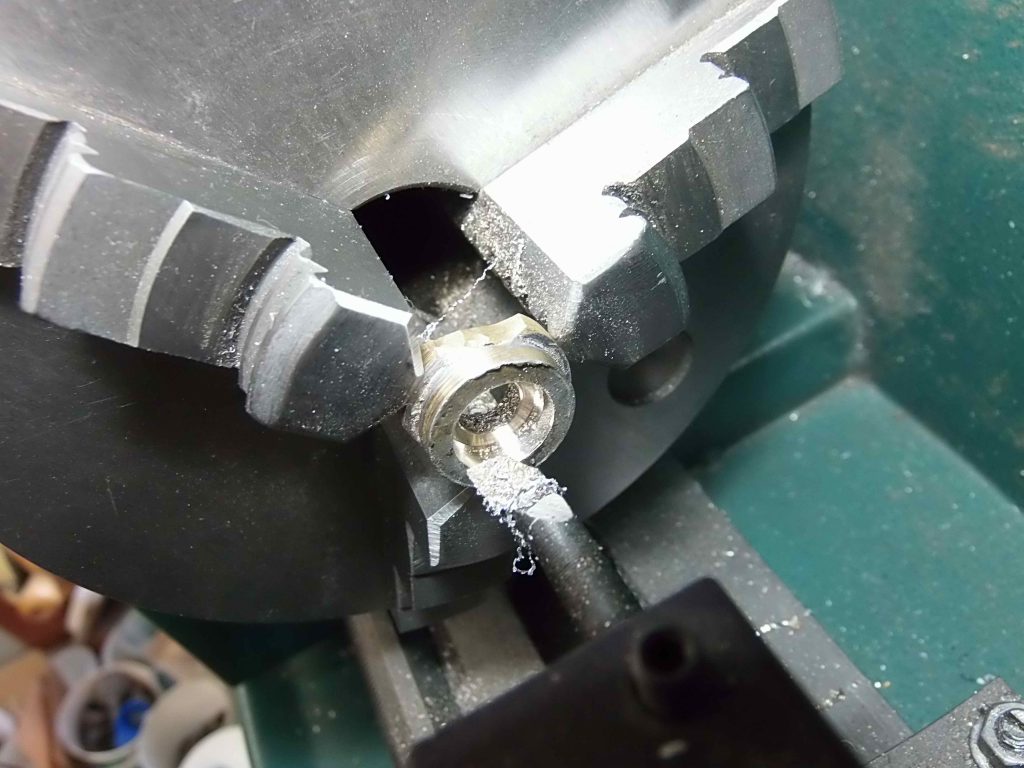
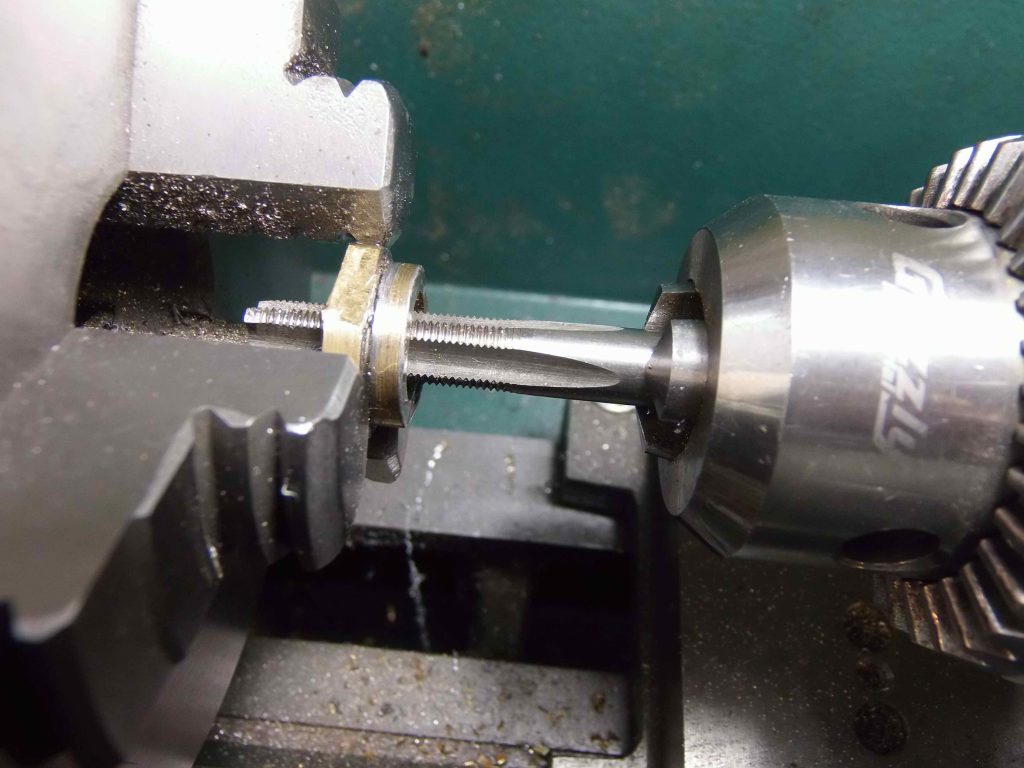
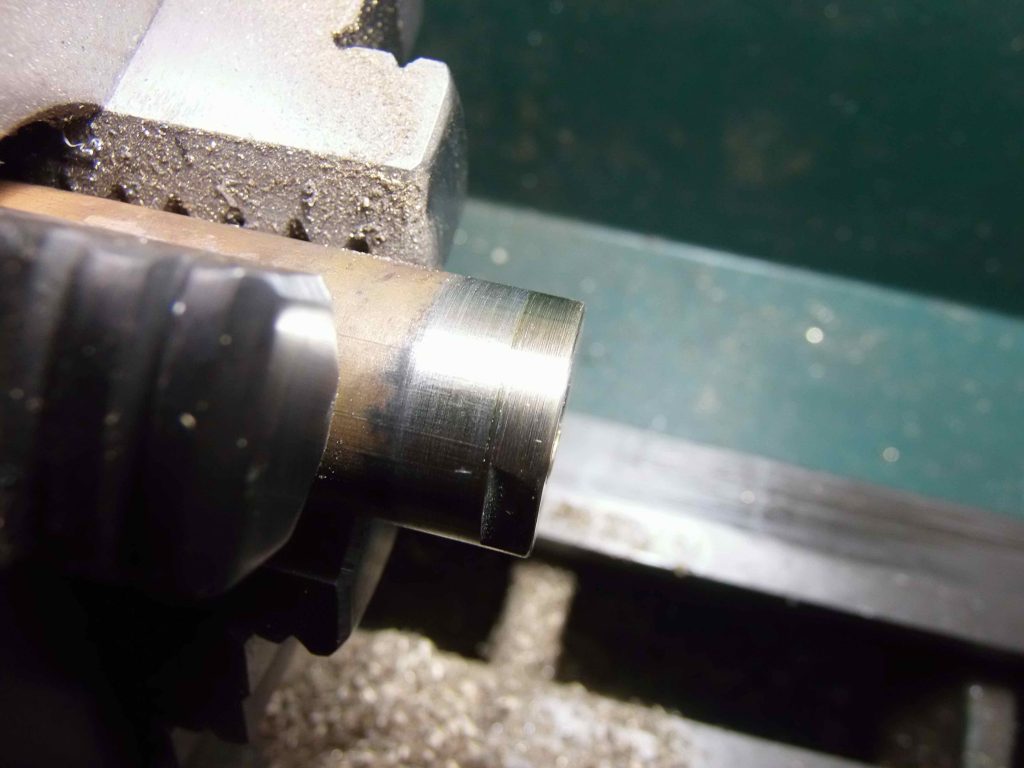
Because I had to desolder the end block inside the tank and with little control to the operation, the lead washer “migrated” a bit into the block and also into the threads of the block. I chose to clean the lead residues out of the block as I didn’t want this old lead to be causing me problems later on when resoldering the assembly together (I wanted to avoid contamination of the new solder with the lead). Spinning up the block on the lathe took care of the inside of the block and using a tap cleaned up the threads nicely without removing any brass. I’ve found through doing many pump tube pulls in the past that a 5/16″x36tpi tap is a remarkably close and completely functional match for the original proprietary non-standard NRV head threads.
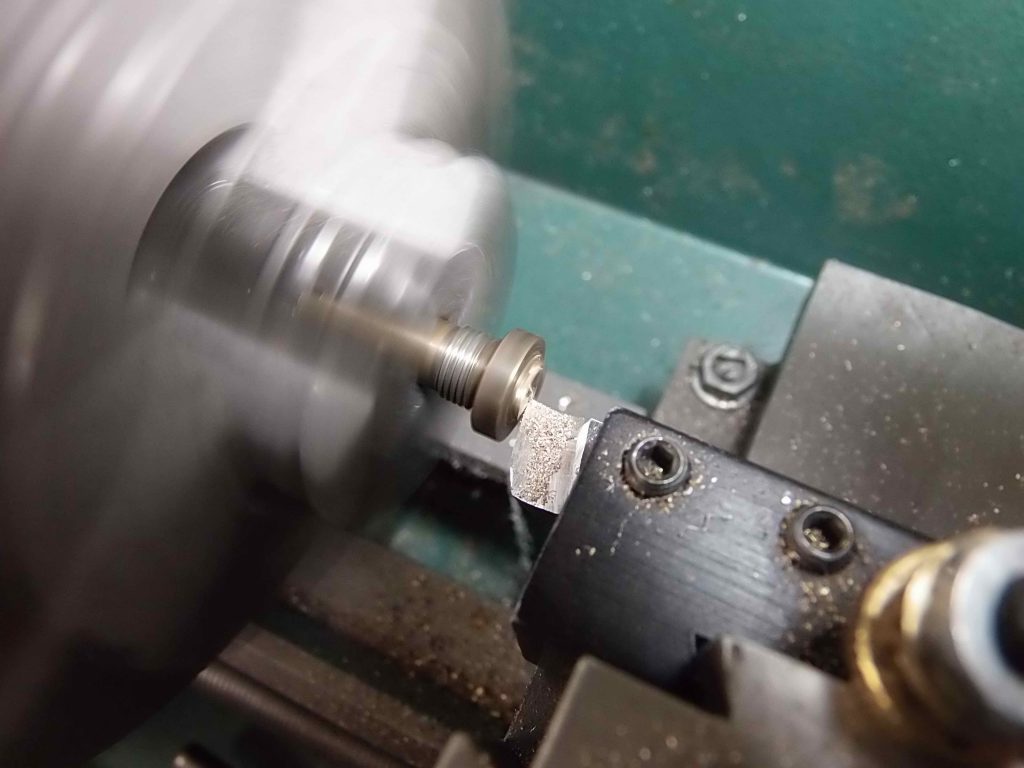
So… I then soldered the end block back into the pump tube, then turned the pump tube end block flush with the pump tube diameter so that I could get the assembly (easily and sensibly) back inside the stove tank.
I needed to cut a special small pip for the small-size “tailed” Monitor pip cup.
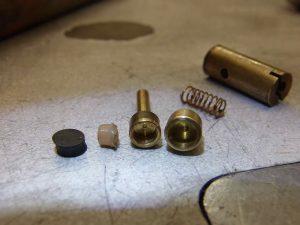
From left and for comparison – standard NRV pip, small weird Monitor NRV pip (about 3.5mm in diameter), Monitor pip cup with it’s long “tail”, standard 4.5mm pip cup.
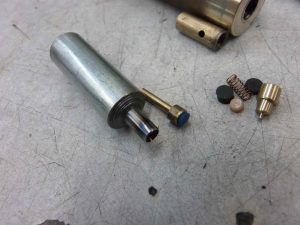
This is the special pip cutter I made a while back for doing the 3.5mm size pip cups (left) next to the Monitor “tailed” pip cup with its new Viton pip(right).
I also chose to rebuild the head of the Monitor NRV since it was slightly different than a standard NRV in an effort to keep things sorta “original” looking.
First step was to machine off the twisted remnants of the NRV head.
Then I cut a socket or “mortise” into the head of the Monitor NRV head.
Next was to machine a small piece I could silver braze to the NRV head to restore the NRV head. I made a corresponding “tenon” to fit the “mortise” I’d cut in the original Monitor NRV head.
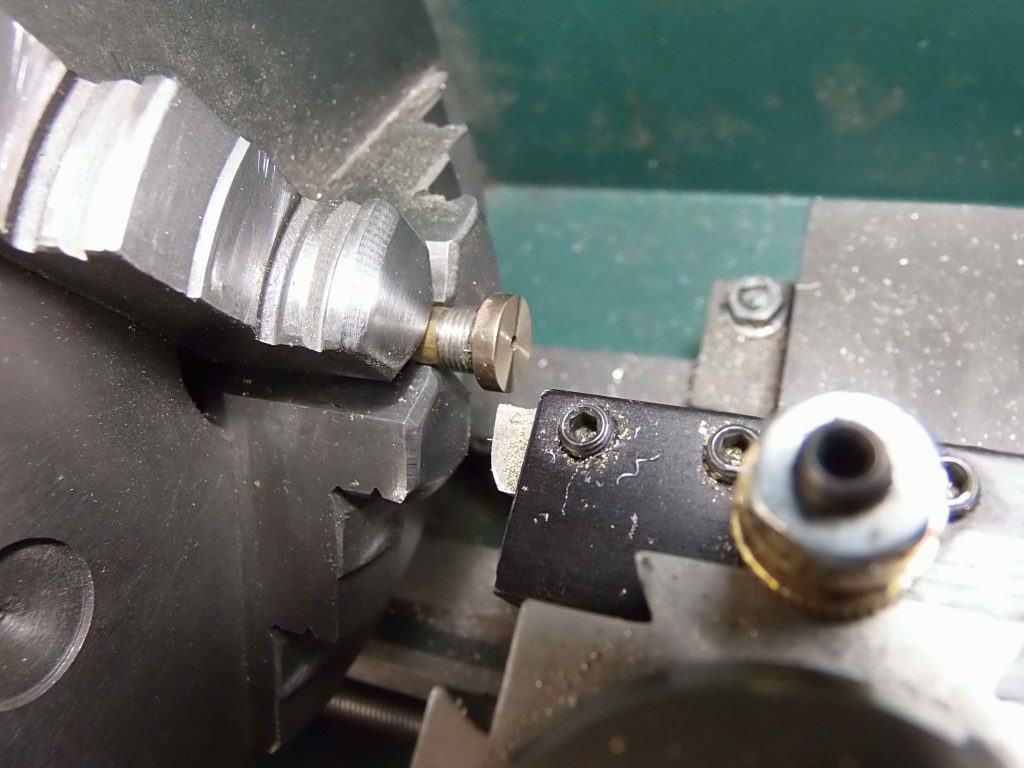
I cleaned up the brazed head, then hand-filed the two facets in the head.
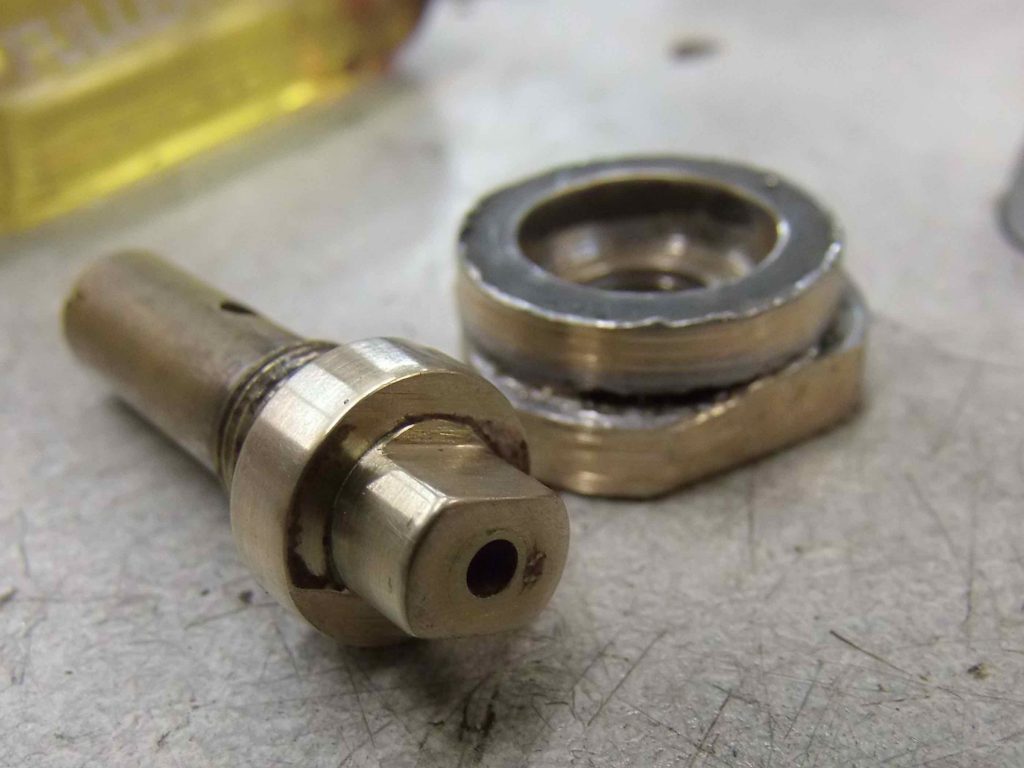
Newly rebuilt NRV head with hand-filed facets. Pump tube end block all cleaned up and ready to resolder.
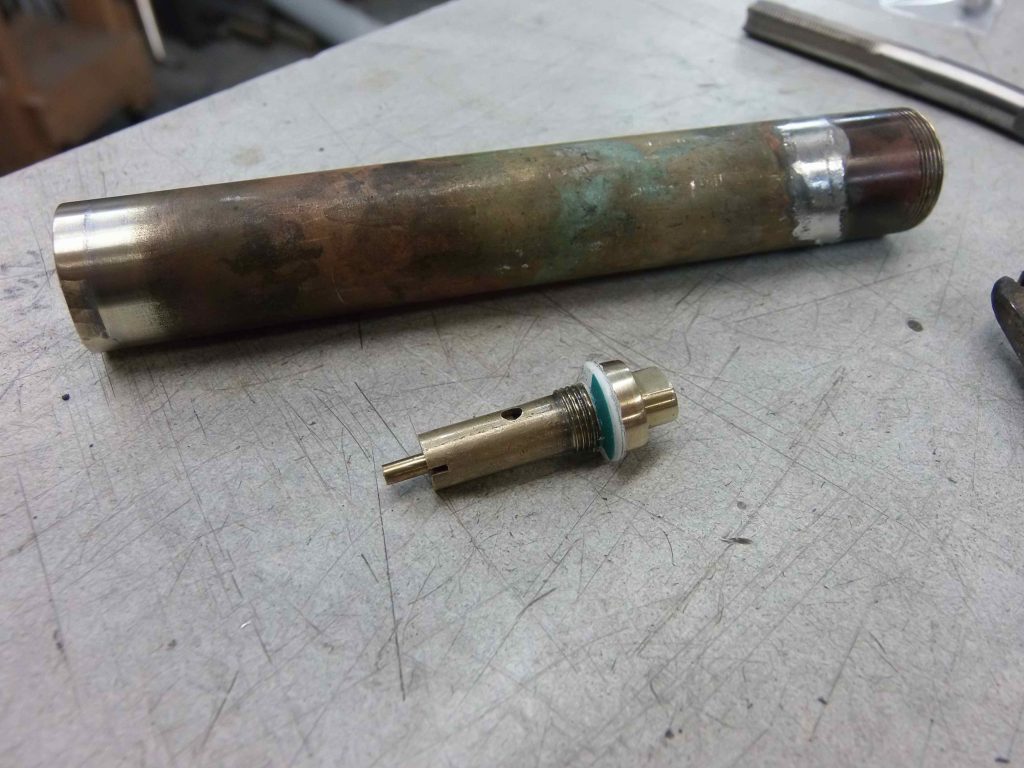
Here is the completed restored pump tube and rebuilt NRV ready for reinstallation into the Monitor stove tank. Note my use of a shop-cut HDPE (high density polyethylene) plastic washer in lieu of a lead washer. I’ve found these HDPE washers to be entirely fuel resistant and superior to lead washers. The HDPE does not stick to the brass of the tube or creep into the threads of the pump tube end block. It also provides a fuel tight seal with much less torque required to make the seal than with lead washers.
Here I’ve used my simple bolt-and-washer tool to set up the pump tube in the tank for soldering, holding it in place with some stiff wire jigging. This jigging setup allows me to use both hands – one for using the torch and one for applying solder to the pump tube/tank joint. 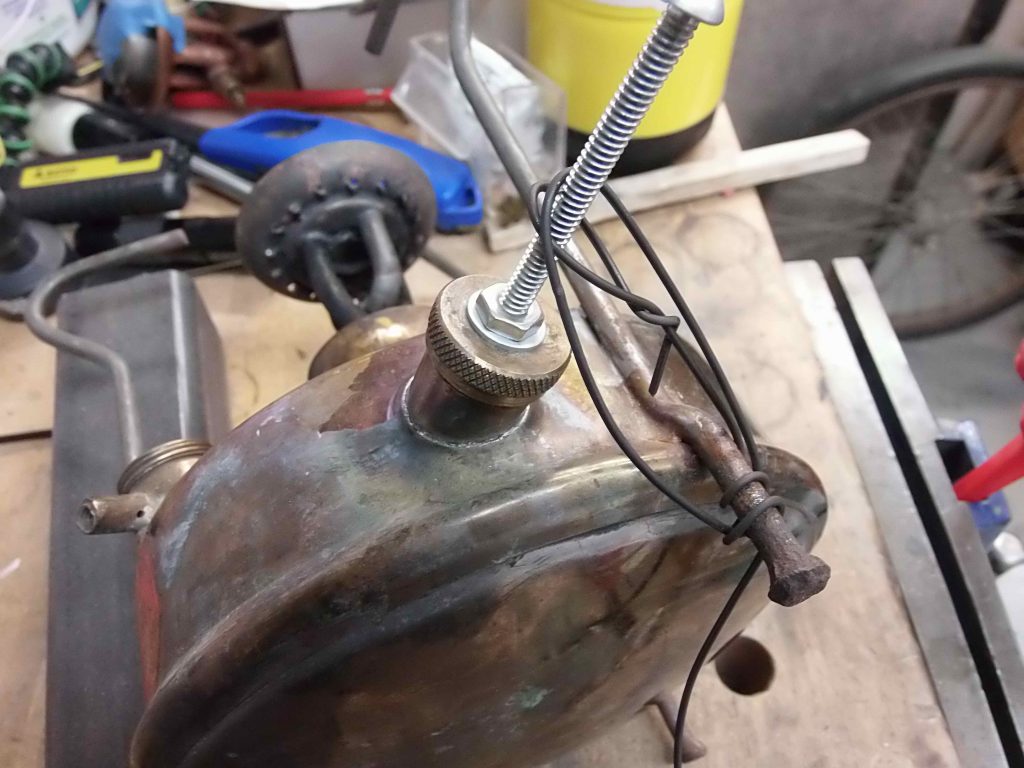
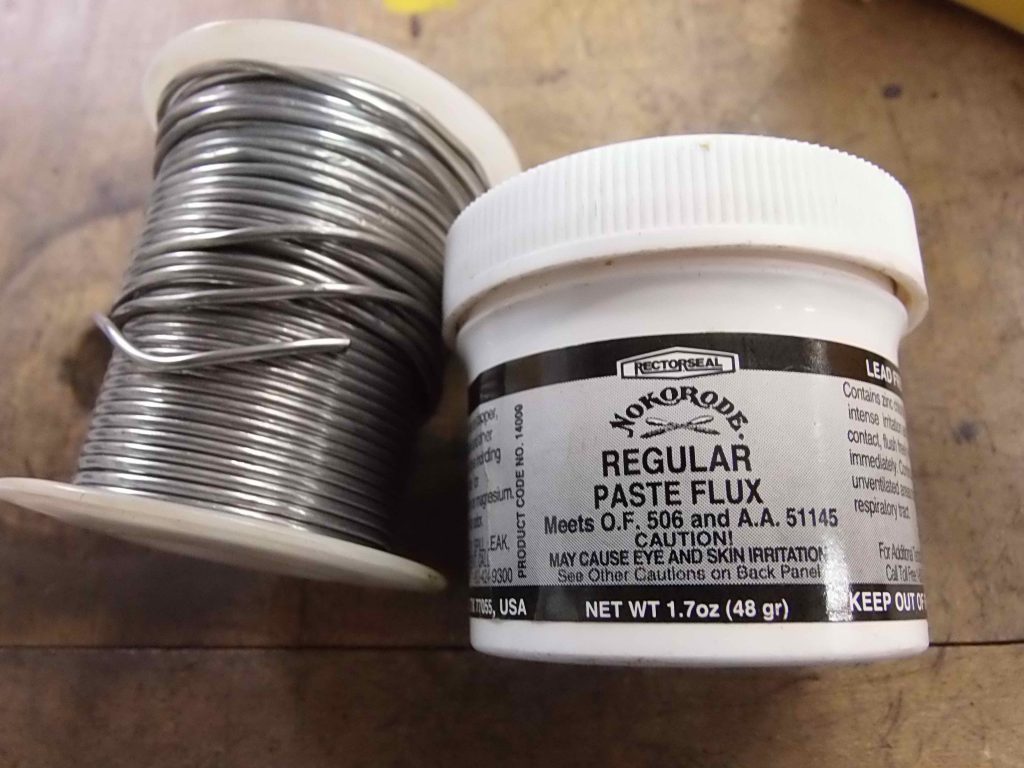
I use standard electrical solder and rosin paste flux to do stove soldering. The rosin flux is inert until heated and any flux residues trapped inside the joint will not erode the brass of the tank on down the road. Acid fluxes will erode the brass over time which is why acid fluxes should never, ever be used around vintage brass stove work.
Inspecting the completed joint. I’m looking for any gaps or pits where solder may not have flowed into the joint. There should be a uniform silvery and liquid-looking seam of solder flowed in all round the joint.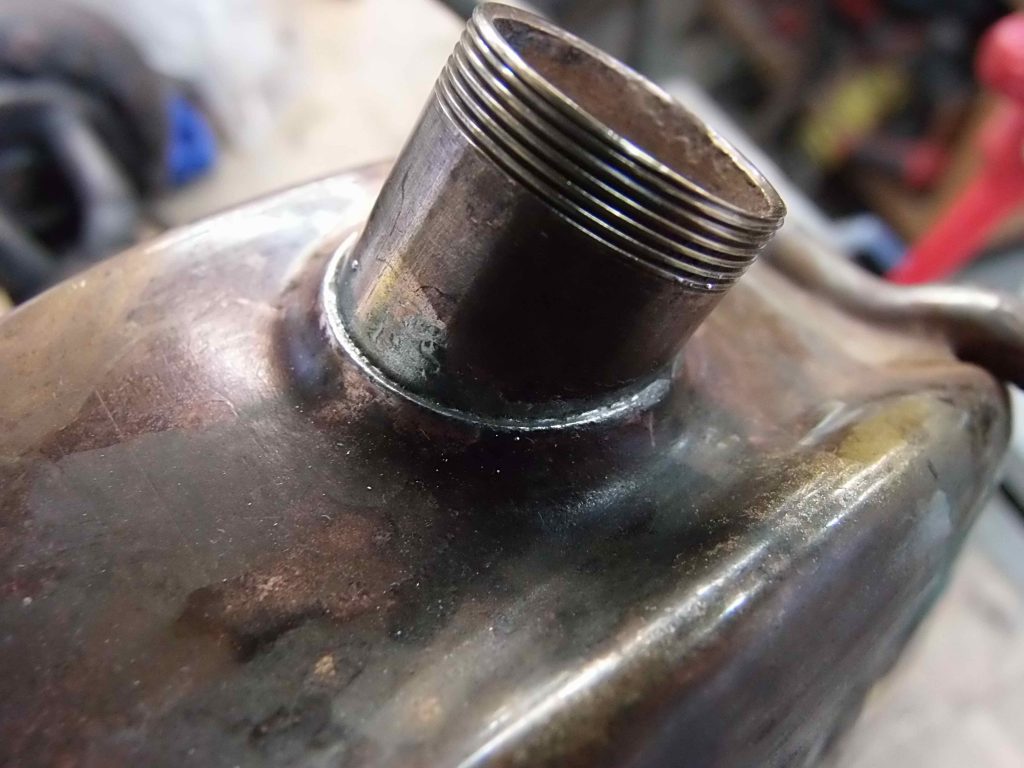
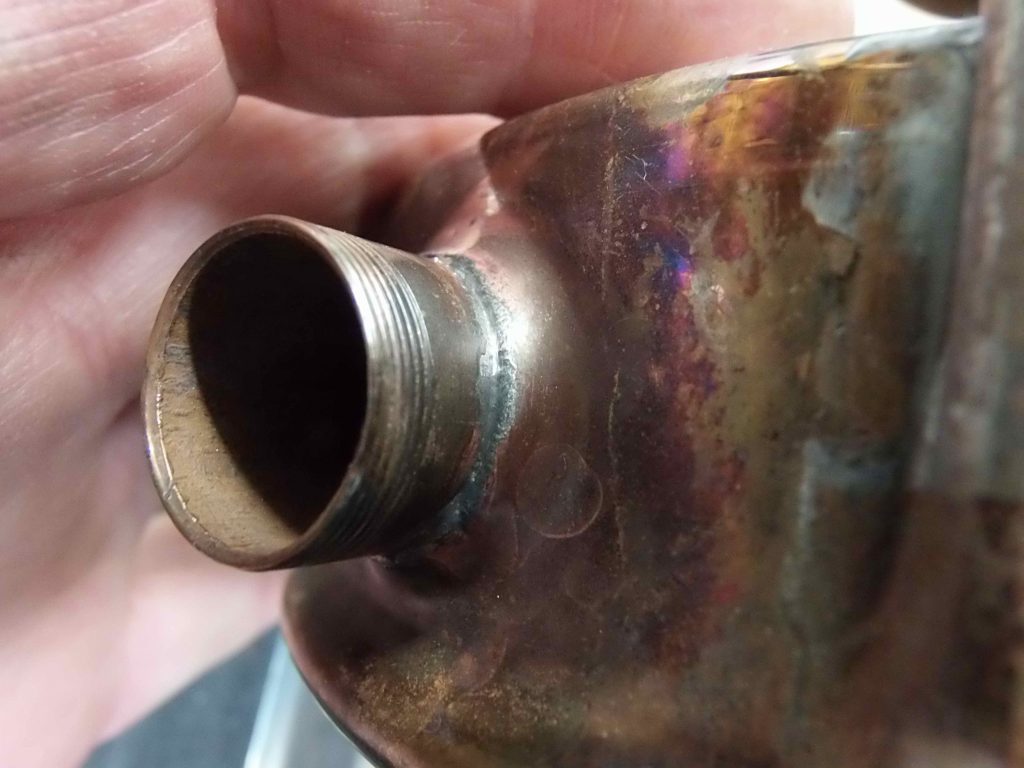
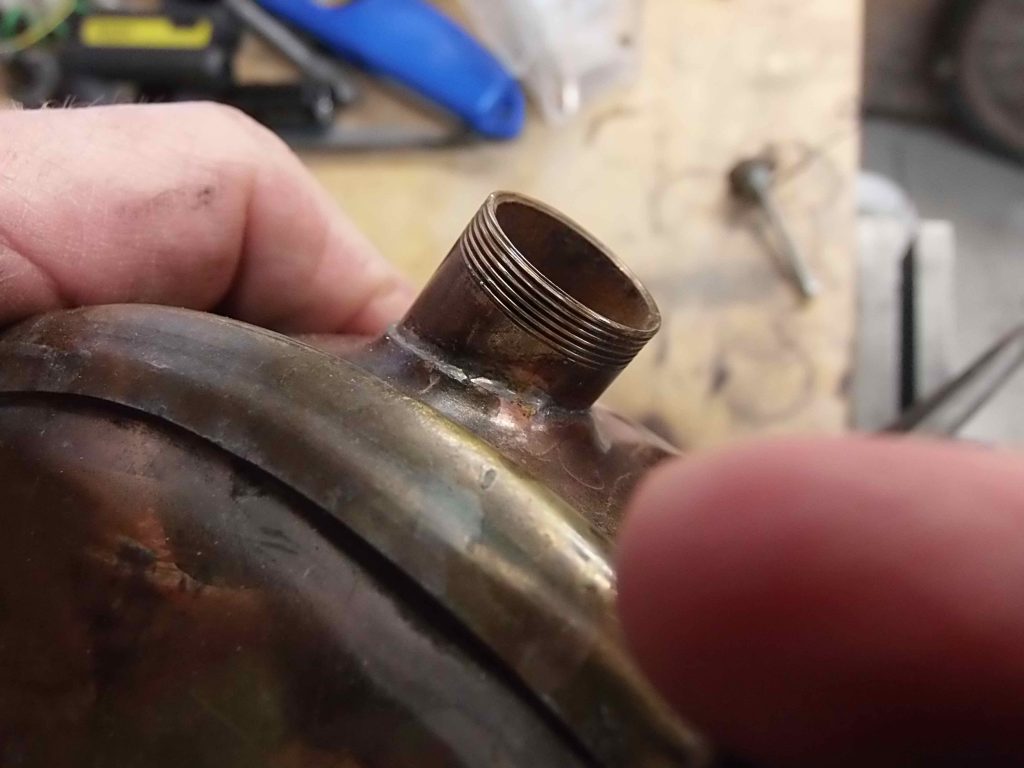
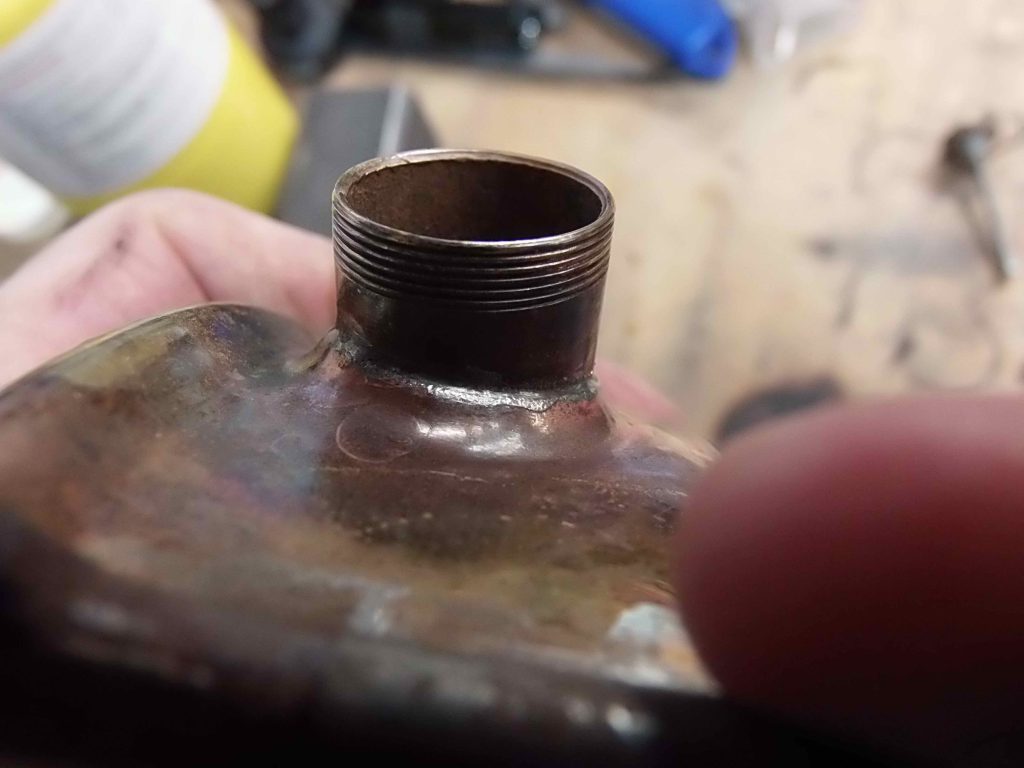
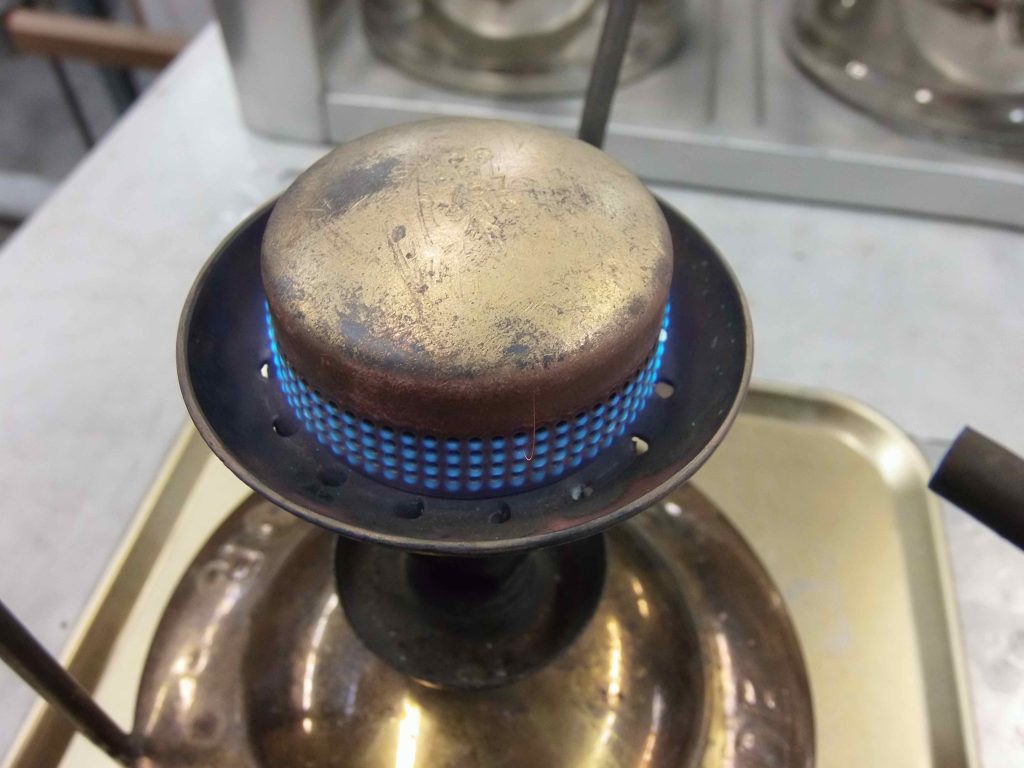
Here’s the repaired stove reassembled and fired up with no leaks and a great quality clear blue burn.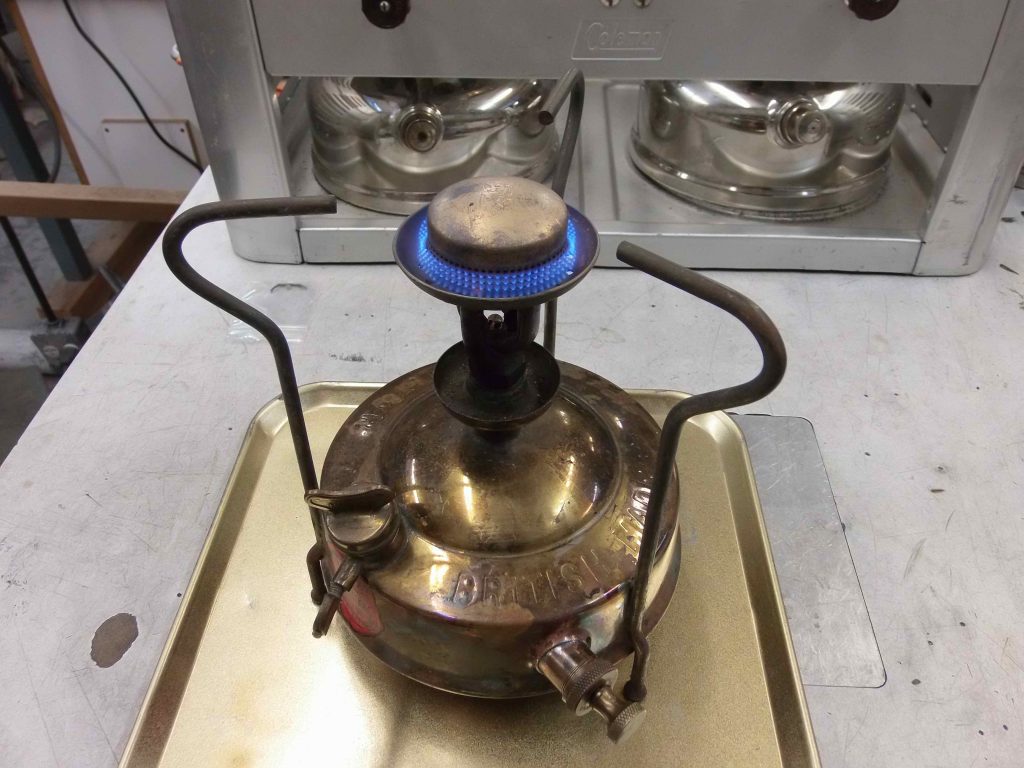
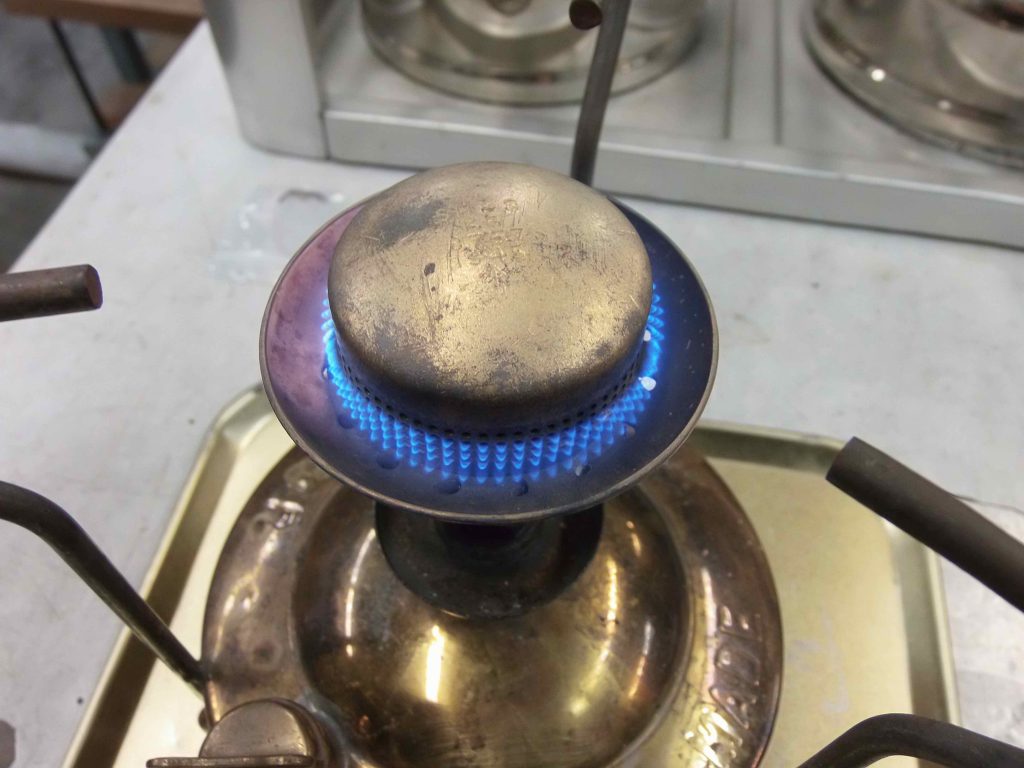
The owner of this stove is a competent stove collector who may or may not chose to polish the stove. I’ll leave that chore to them. I hope this overlong treatise maybe helped some readers who were considering repairing their own stoves.

